Dragon's Dogma 2 Shadowed Prayers - Who's the culprit, and who's the mastermind?
One of the most notable aspects of Dragon's Dogma 2 is how the game isn't afraid to give the player sidequests that can lead to wide-reaching, unexpected consequences. One such sidequest chain is Shadowed Prayers and its follow-up, A Candle in the Storm - where depending on your actions, the life of Empress Nadinia of Battahl can lose her very life if you're not careful. Thankfully, here's all you need to know in order to protect Her Majesty's life.
Shadowed Prayers
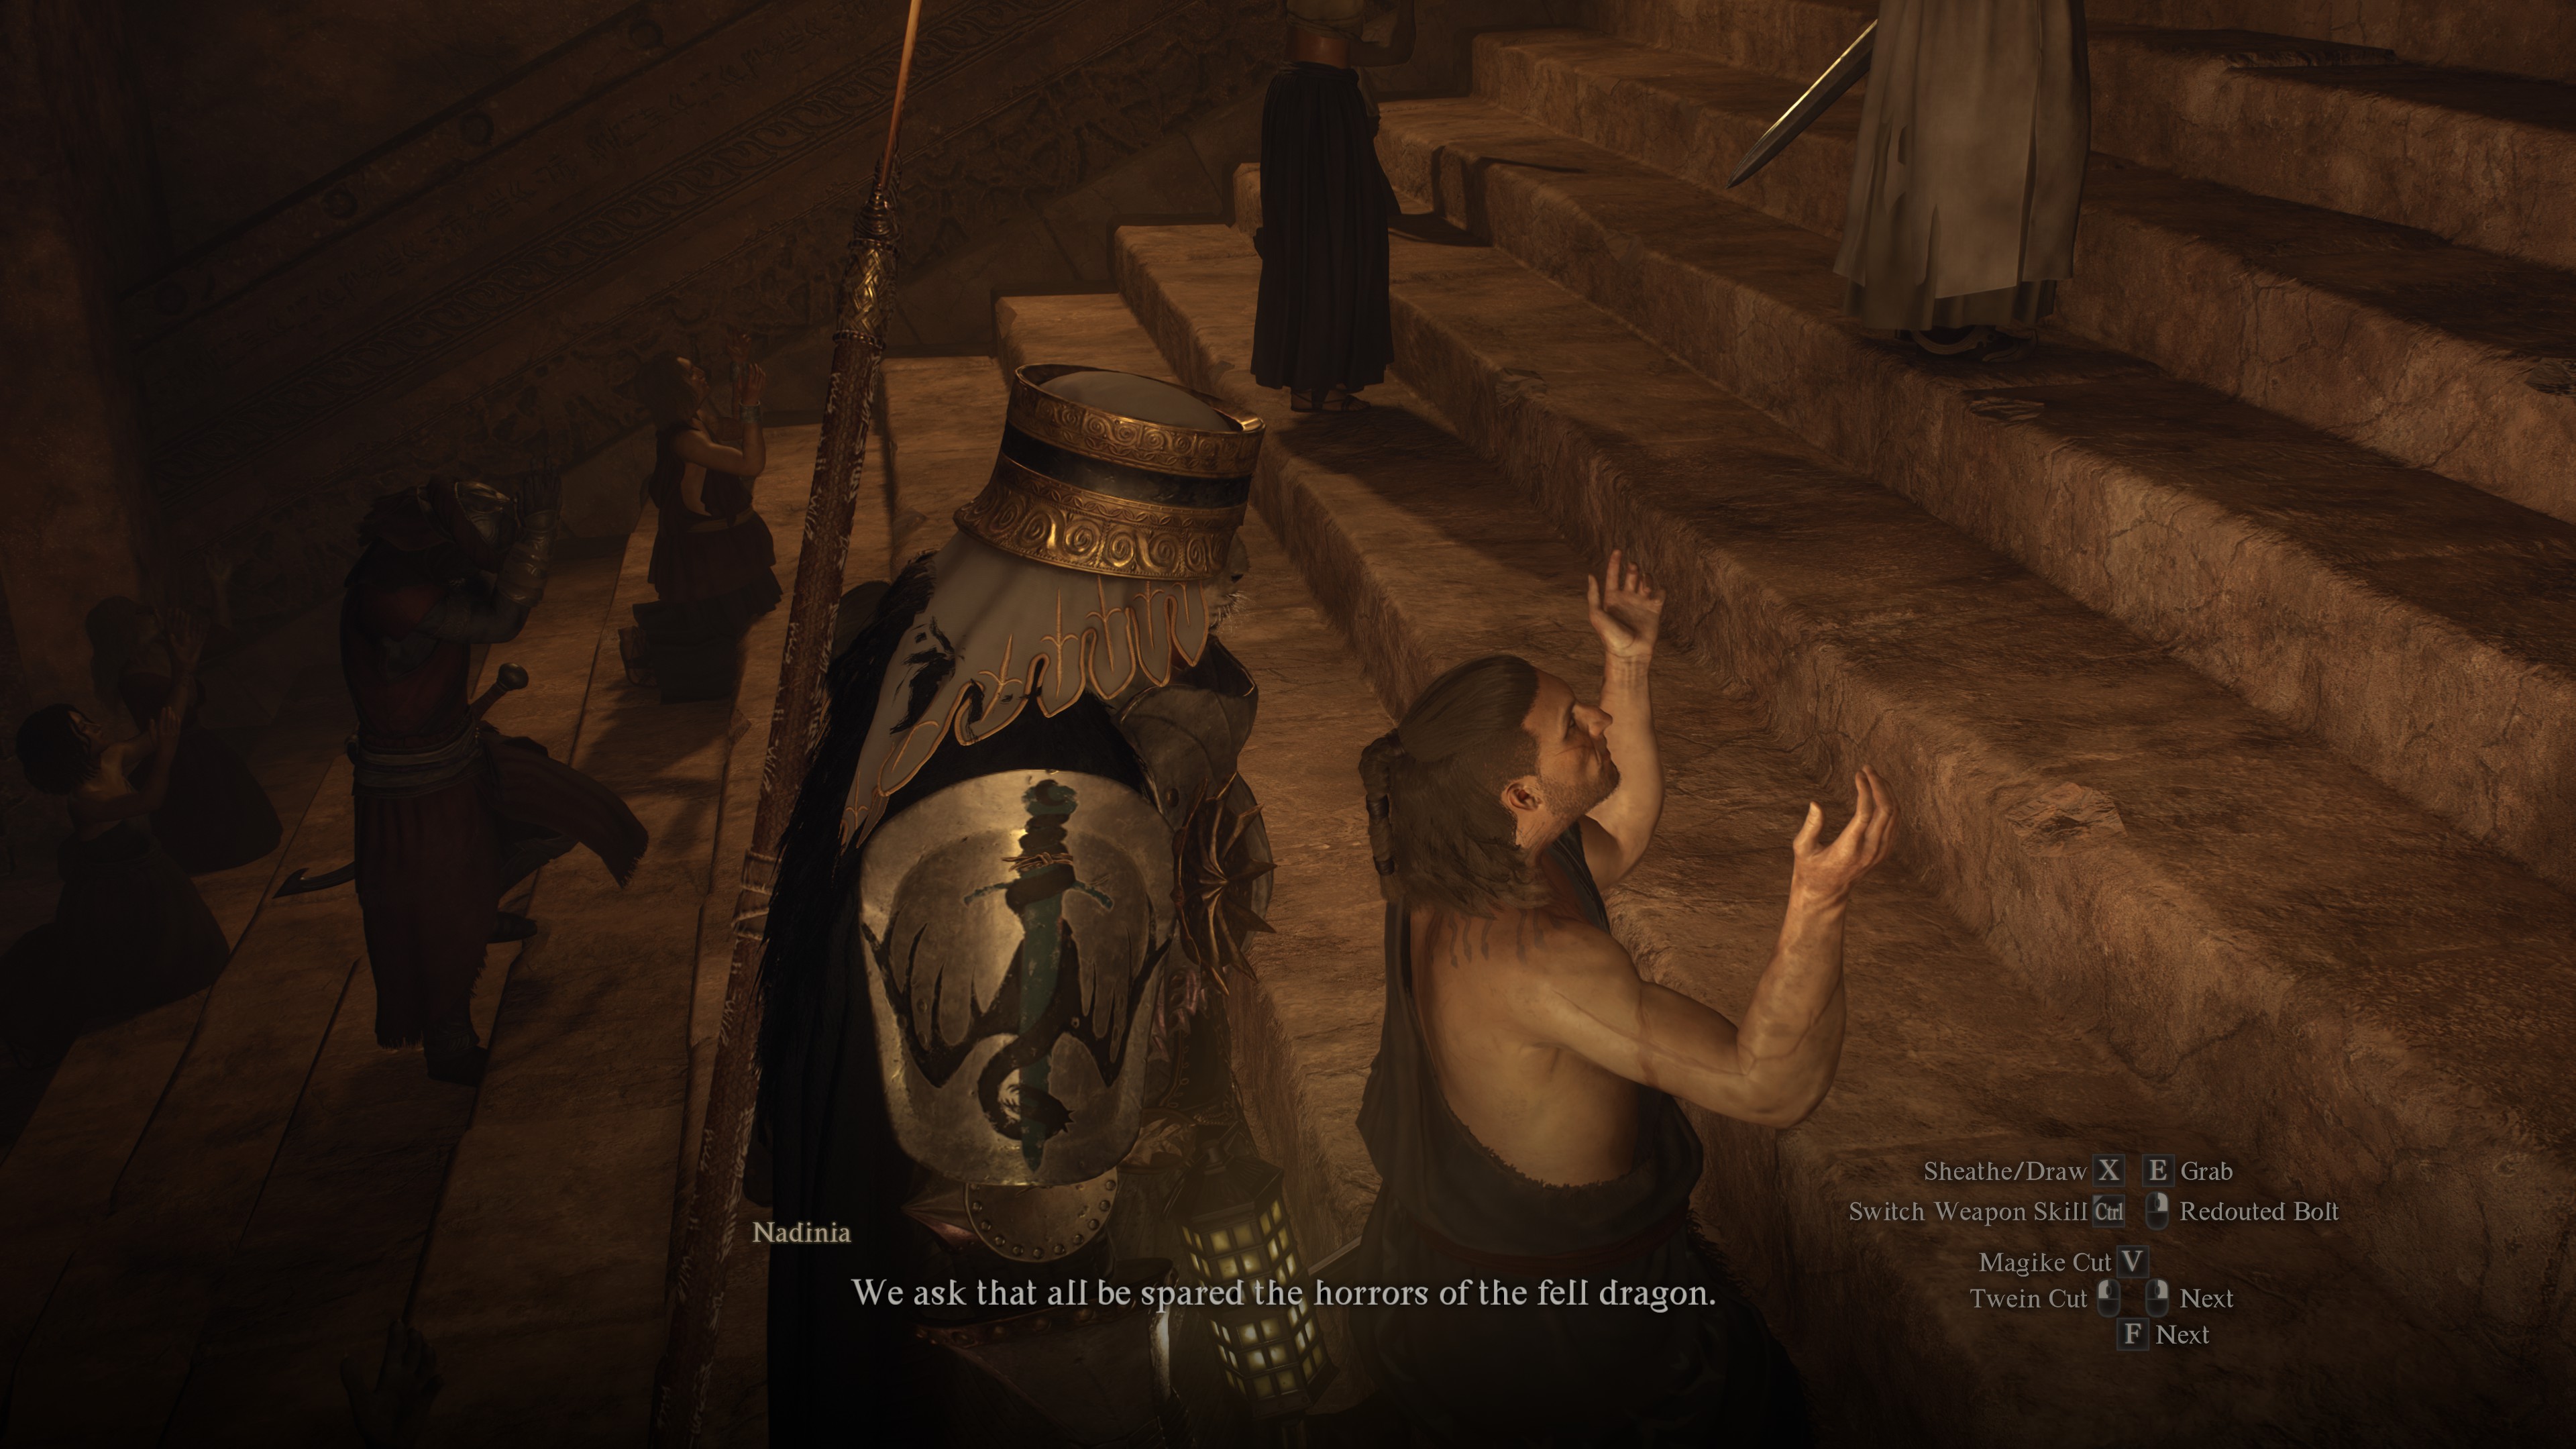
After arriving in Bakbattahl and acquainting yourself with Menella - Empress Nadinia's chief guard - players can once again approach her at Flamebearer Palace and she'll ask for your assistance with a matter of serious importance; an attempt had been made on Nadinia's life, and while it was thwarted the would-be assassin escaped - and worse yet, Menella was injured during the attack. She requires your help to apprehend the assailant, while taking care to not instigate a scene among the populace during the Empress' daily prayer to the Lambent Flame. Once accepted, she'll ask you to return to the palace in the morning.
Rest at an inn or your home and return in the morning to start the next section of the quest. You'll want the Inn Rest save in case you mess up when identifying the assassin; if you mess up with identifying the perpetrator in any way, whether that be by tackling the wrong person or letting the invisible timer run out, the quest will be failed and Nadinia will die. Thankfully, the assassin isn't randomized, so you can simply tackle the person shown below to successfully complete this first quest in the chain.
For completing this first quest, you'll recieve 3500 XP, 18000 Gold, and 5x Jasper. Nadinia is now safe (for now), but whomever sent the assessin her way is still unknown...
A Candle in the Storm
In the aftermath of Shadowed Prayers, Menella set off for the Agamen Volcanic Hotsprings to better help nurse her wounds; which should be your first hint as to where to find her to start the next section of the quest chain. If you'd already completed Shadowed Prayers when you went to unlock Magick Archer or Warfarer, chances are you'll run into Menella naturally. Concerned still for the Empress' life, she wants you to find out who hired the assassin in the first place. To that end, you'll want to head to the gaol.
Find the would-be assassin in his cell, inquire about who hired him, and pay him 5000 Gold to loosen his lips. His contact was through the Coral Snakes; return to Menella to decide how to proceed. She'll ask that you leak false information about the Empress to a member of the Coral Snakes who is also currently jailed. This would be Ashe, a few cells down from the assassin; he's impossible to miss, simply look for the buff man with a snake tattoo. Speak with him, and disseminate the misinformation. The trap is now set; meet Menella in Bakbattahl and prepare to unmask the mastermind.
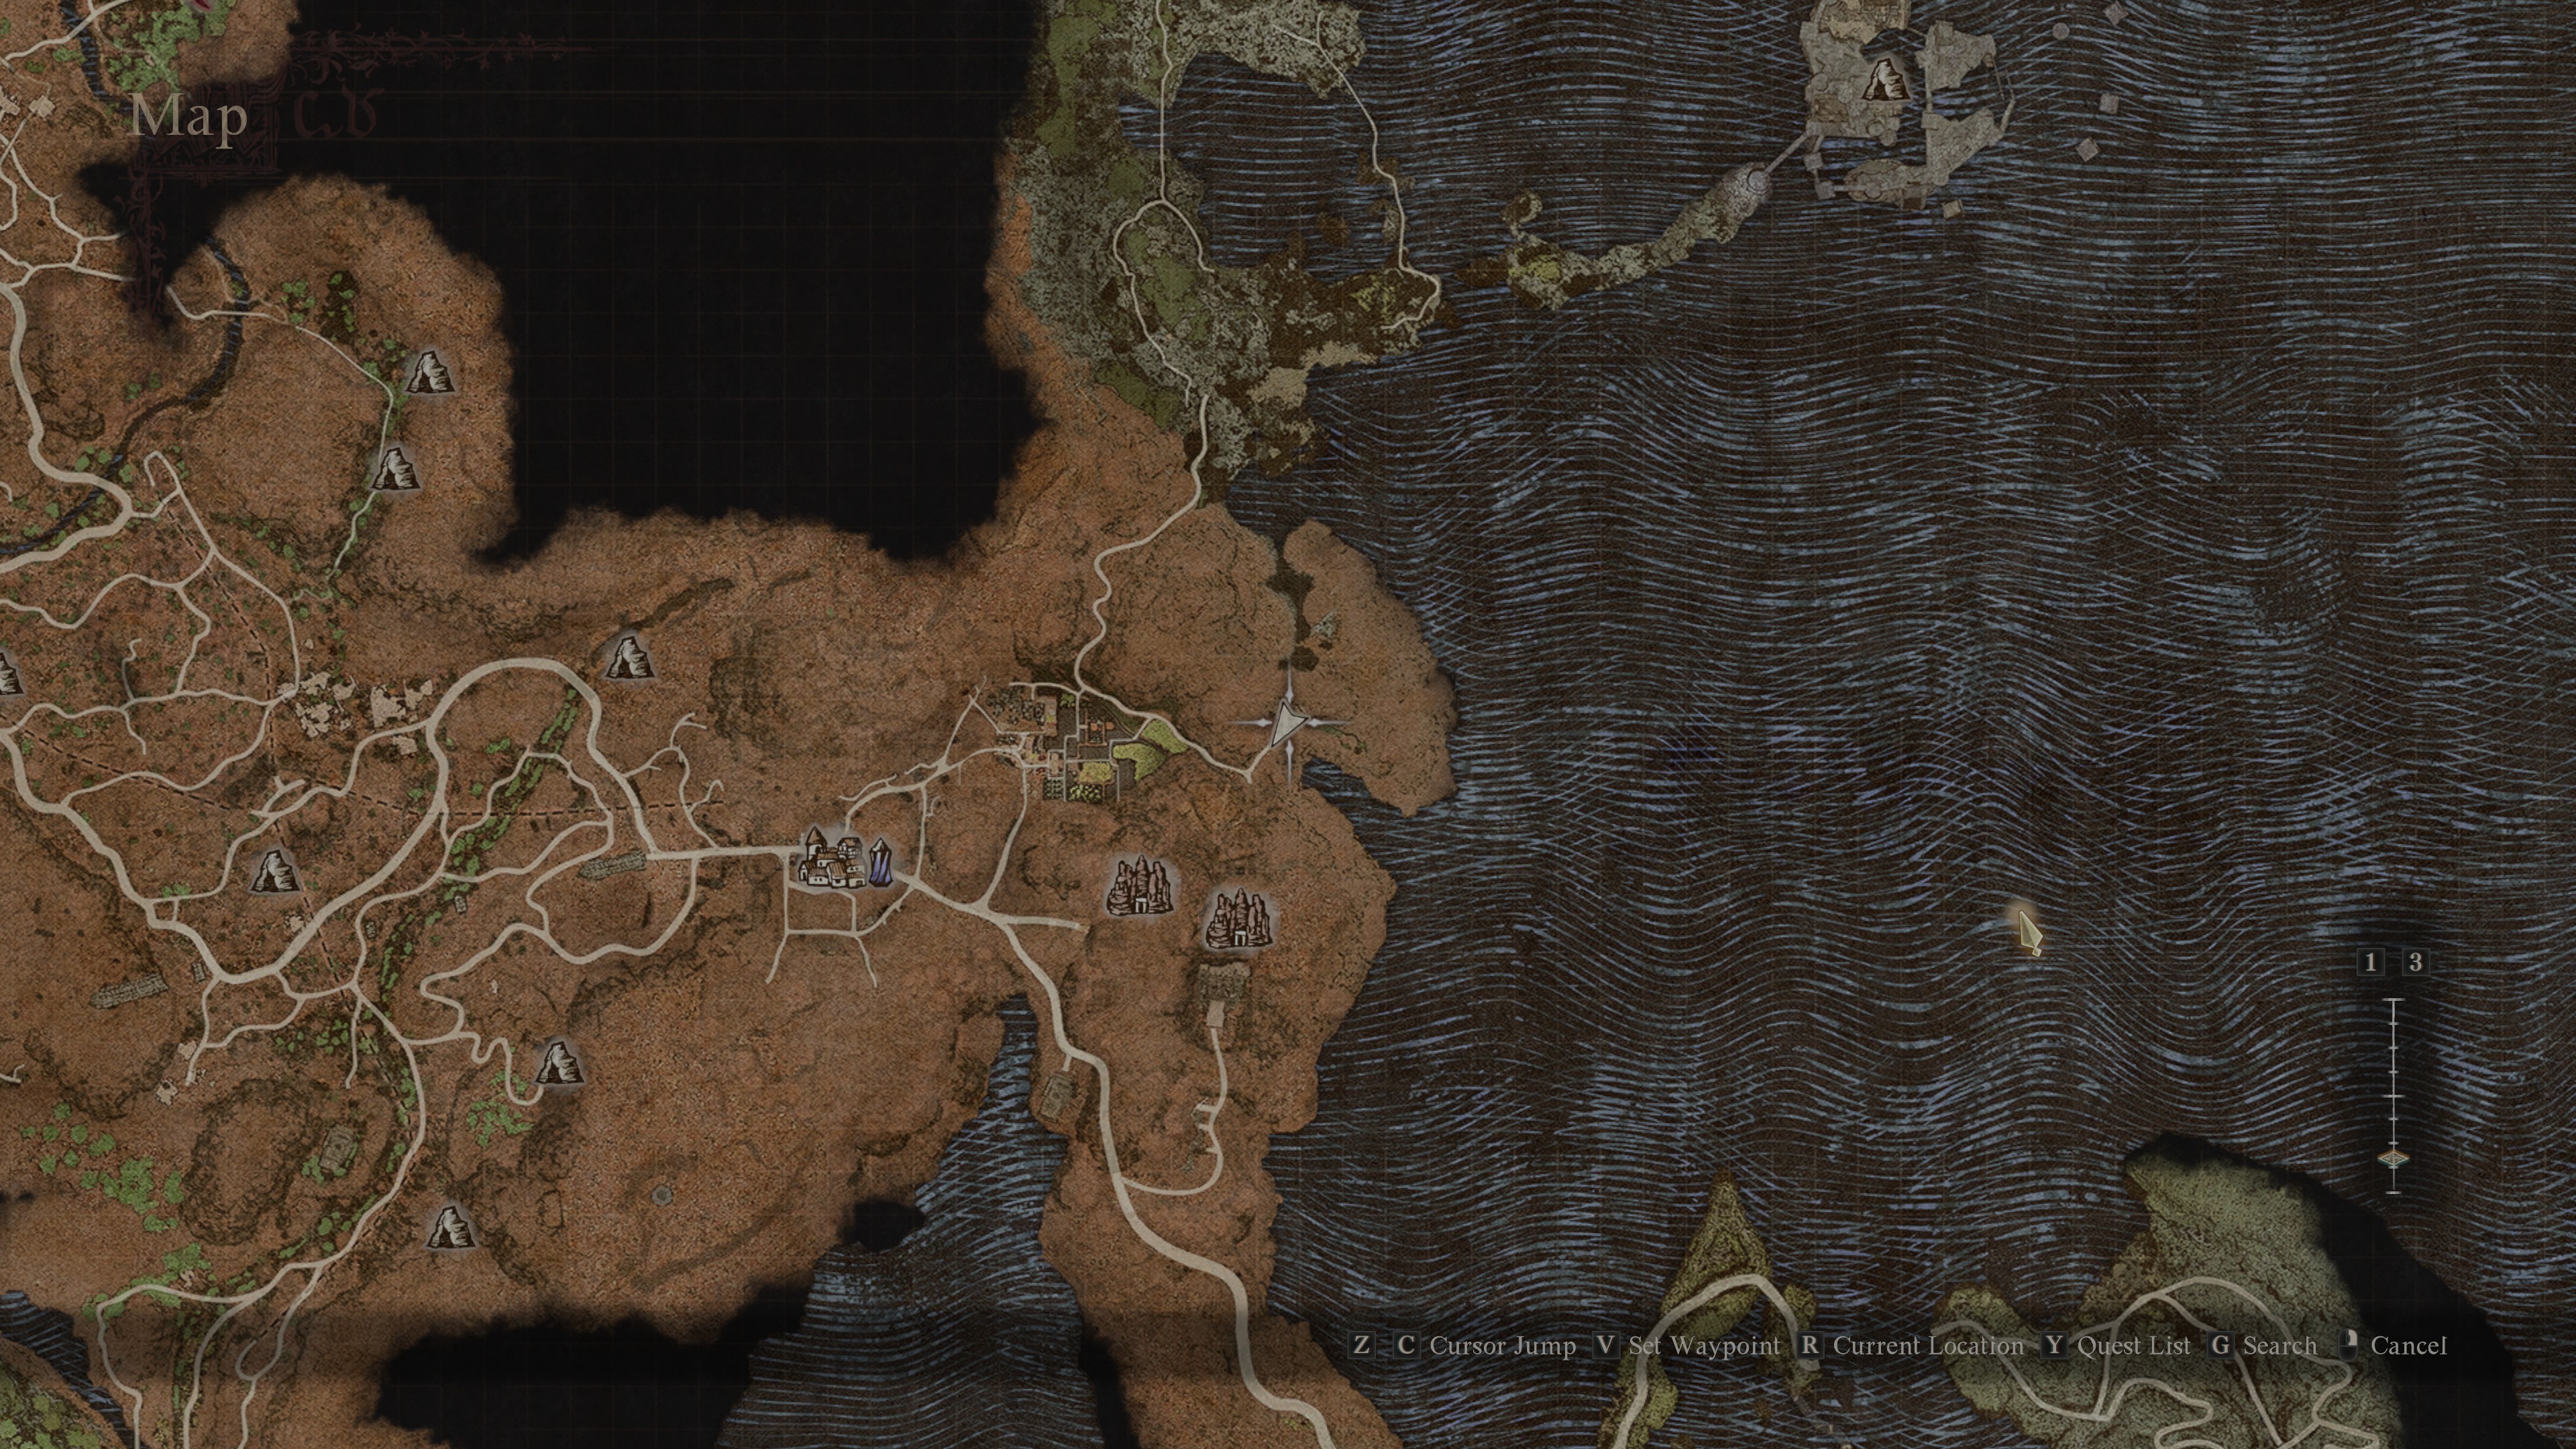
A spot will be marked on your map, just outside town. Follow Menella to the scene of the ruse and you'll be presented with two options to proceed; Menella has found a woman of remarkably similar make to the Empress, and she intends to use them as a decoy to try and fool the mastermind. Nadinia, however, insists that she acts as the bait instead. Choose to side with Nadinia, then speak with Menella to start the confrontation.
When the perpretator arrives, speak with them outside and escort them into the house. Pleased that the Empress is, indeed, present she'll ask you one final task - kill Nadinia. Vaguely attack near Nadinia without hitting her, and before long she'll stop you, satisfied. Menella will spring the trap, and all will be revealed. Nadinia is now safe from further harm, and you'll receive 4800 XP, 25,000 Gold and a Ring of Amplification for your trouble. Menella can now (finally) breath a sigh of relief.