
Pokemon Legends Arceus Wisp Locations for Eerie Apparitions in the Night to catch Spiritomb
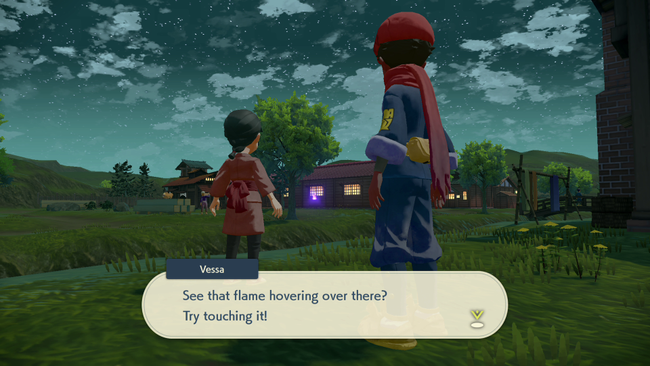
While plenty of Pokemon will give you a hard time catching them, if your goal is to complete Pokemon Legends: Arceus' Pokedex, then Spiritomb will undoubtedly be your greatest challenge. The reason why is simple - partway through the story an NPC named Vessa will task you with finding 107 "wisps" scattered across the game's zones, and it's only upon finding every single one of them that you'll be able to catch Spiritomb.
To make matters worse, while some of these wisps are fairly easy to find, many are tucked away in locations you'll have to actively search for - and for many of them, you simply won't be able to grab them until you've more or less already finished the game, with the help of Braviary's gliding. This makes it one of the latest quests despite when it unlocks, and one of the most difficult Pokemon to track down alongside the likes of Manaphy in The Sea's Legend and the various forms of Rotom.
This wisp-finding affair makes up 'Eerie Apparitions in the Night', one of the longest and most challenging of the Pokemon Legends Arceus Requests. In fact, it might be the biggest side quest in the game. Luckily we're here to make life easier, detailing the Wisp locations for every area in the game.
Tips for finding Wisps
While we have maps for the general location of every wisp in the game, simply knowing the area where one can be found isn't always enough. There are a few reasons for this, such as:
- While wisps will show up if you're right next to one, regardless of the time of day, they're only ever viewable from a distance during the night
- Some wisps, albeit not all of them, might be found inside of caves, inside structures (like Snowpoint Temple), or even underground
- As already mentioned, many of the game's wisps are placed in locations where you'll require mounts from later in the game to reach them, even in areas like the Obsidian Fieldlands.
With that being said, we'll try and point out wisps that might be particularly tricky to find, armed only with a marked map. We've marked the locations for Wisps for each of the game's maps with a Star symbol for each, below:
Jubilife Village Wisp Locations
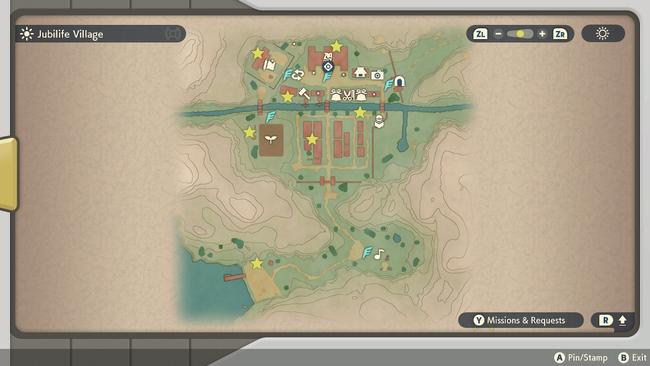
Jublifie's Wisp locations are all straightforward, and all of them can be found from the moment you pick up the request.
- At the riverside near the pasture, pointed out as part of the start of the quest
- Behind the Training Grounds
- Behind the Galaxy Expedition DQ
- Near the river, behind the building to the left of the crafting store.
- In between buildings on the left hand group of houses on the south of the village
- Hidden in the building just to the left of the pastures
- At a shack on the beach south of the village, where the game began
Obsidian Fieldlands Wisp Locations
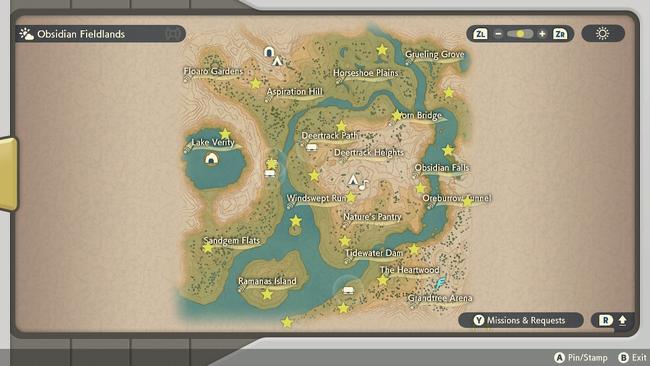
A few of the Obsidian Fieldlands' Wisps will require Sneasler to help you scale walls to reach them, more likely than not, and there are more than a few that will require you to have unlocked Basculegion at an absolute minimum.
Crimson Mirelands Wisp Locations
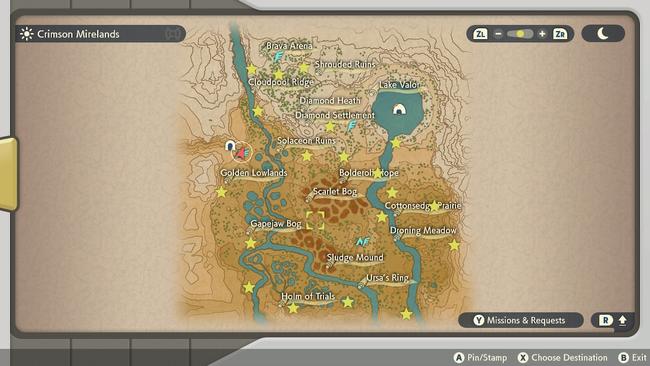
The Crimson Mirelands is yet another set of easy Wisps to find, with none standing out as particularly difficult. Be aware that you will need Basculegion to reach some of these found at the Holm of Trials.
Cobalt Coastlands Wisp Locations
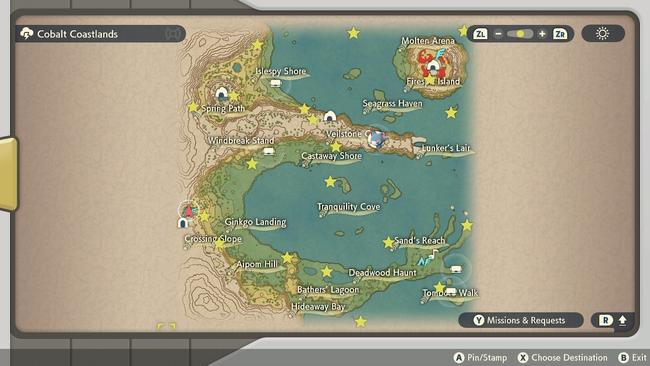
Once again, getting to all the Wisps for the Cobalt Coastlands is a relatively straightforward affair. I would mention requiring Basculegion to get to most of them, but you'll get him in this zone, so that's a bit of a moot point.
Coronet Highlands Wisp Locations
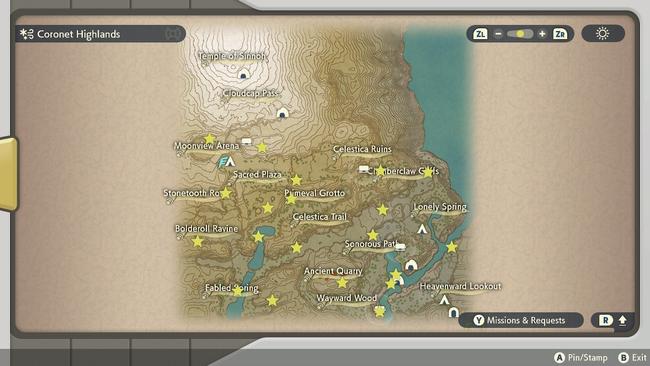
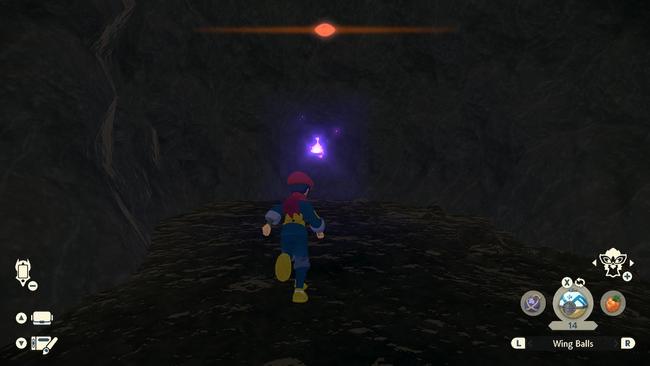
The Coronet Highlands is where things begin to get a little tricky - not only is there a Wisp hanging around in a tunnel that can be easy to miss (I made this very mistake, as you can see below!), but there's also a Wisp to be found within Wayward Cave.
Simply take the path across the water into the room where there's an Alpha Crobat, and you should find the Wisp in question with little issue.
Alabaster Icelands Wisp Locations
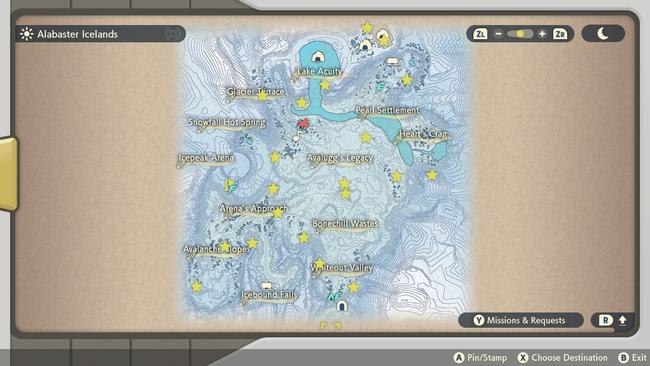
Much like with the Coronet Highlands, the Alabaster Icelands features a few Wisps that might be a little tricky to find.
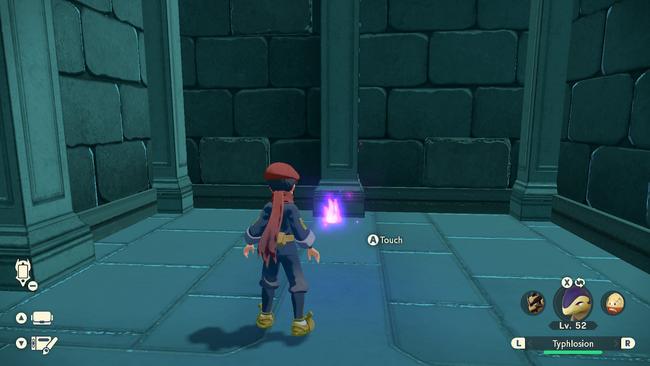
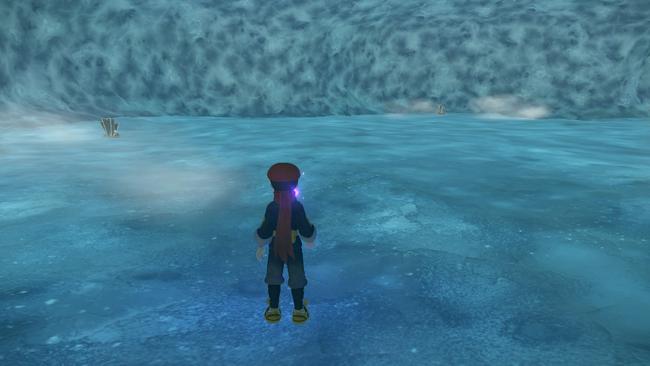
For one, there's a Wisp to be found in Snowpoint Temple - but beyond that, there's also one you'll find in one of the underground ice caves underneath Avalugg's Legacy. Both aren't too difficult to find when you know to look out for them, but do keep them in mind as you're doing your rounds.
How to catch Spiritomb
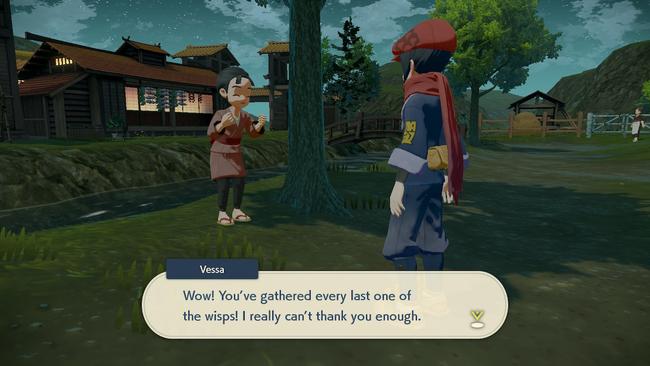
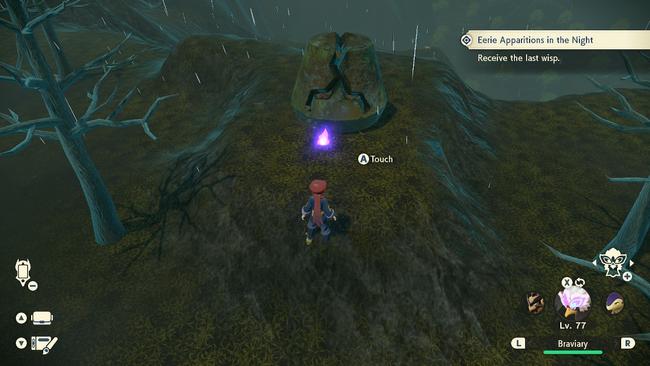
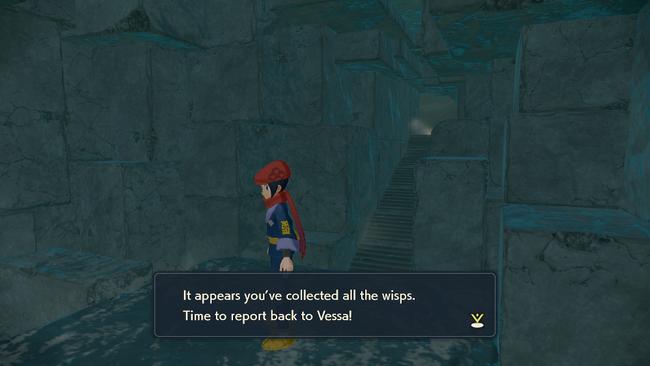
Once you've found all 107 of the Wisps, you're in the home stretch. Return to Vessa and she'll congratulate you on finding all of the Wisps, while also apologizing for lying - as there was actually 108 to find.
Meet her at the statue near the Shrouded Ruins, and after a small scene the final Wisp will appear before it. Grab it, investigate the statue, and Spirtomb will spawn. Catch it, and you'll be one giant step closer to finishing up your Pokedex. Congratulations!
Additional Rewards for gathering Wisps
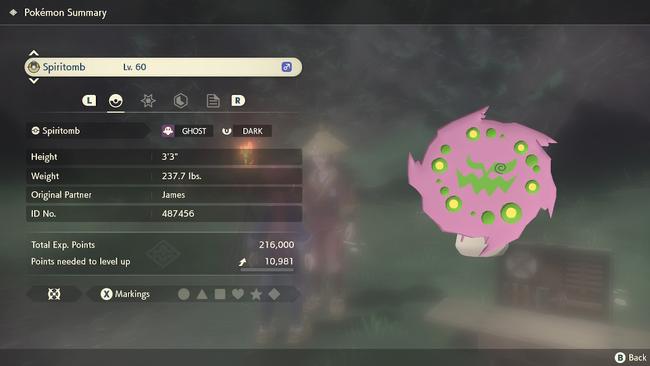
While Spiritomb's entry in your Pokedex is the ultimate reward for finding all of the wisps that Vessa tasks you with collecting, she'll also gift you various other useful items as you progress through the request.
- 5 Wisps: Oval Stone
- 10 Wisps: Rare Candy
- 20 Wisps: Seed of Mastery
- 30 Wisps: Dusk Stone (can evolve Murkrow into Honchcrow, and Misdreavus into Mismagius
- 40 Wisps: Exp. Candy L
- 50 Wisps: Linking Cord (can evolve Pokemon that would are traditionally Trade Evolutions)
- 60 Wisps: 5x Grit Pebbles
- 70 Wisps: Reaper Cloth (can evolve Dusclops into Dusknoir)
- 80 Wisps: 3x Seed of Mastery
- 90 Wisps: 2x Exp. Candy XL
- 100 Wisps: 3x Grit Rock(s)
As you can see, even beyond allowing you to catch Spiritomb - it's well worth the time spent searching for Vessa's Wisps. Good luck on your hunt!