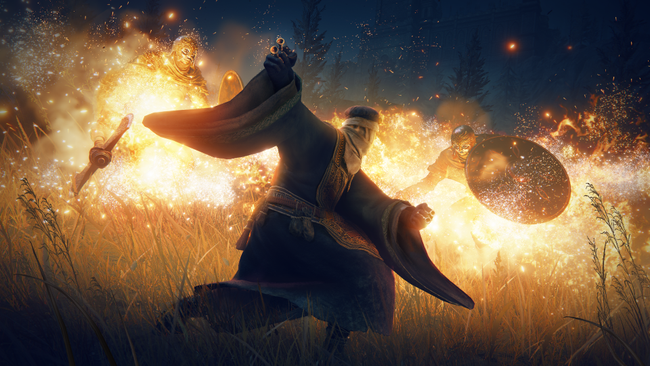
Elden Ring: Recommended boss order for Shadow of the Erdtree
Note: as this is a boss order guide, the names and locations of main story progression bosses will be listed — in other words, spoilers. It's recommended that you only scroll as far as you need to, in order to avoid spoiling yourself on major encounters.
Shadow of the Erdtree is massive, for a DLC at least. There are numerous dungeons, both legacy and optional, as well as a number of field bosses simply roaming around the map. It can get easy to get lost or hit a wall, so if you're feeling a little underpowered or overwhelmed, here's a list of our recommended order for boss killing. This list is sorted by region — if you can reach a specific region, odds are good you that you are ready for everything within that region. If not, you may need to backtrack and pick up some more Scadutree Fragments or alter your build a little.
Critical Path
If you are only interested in critical bosses (i.e. golden path or critical path), here's the list:
- Divine Beast, Dancing Lion (Belurat, Tower Settlement)
- Rellanna, Twin Moon Knight (technically skippable via the Fort of Reprimand spiritspring, but worth clearing all the same.)
- Messmer the Impaler (Shadow Keep Main Route)
- Romina, Saint of the Bud (Ancient Ruins of Rauh)
- Arena Encounter (Enir-Ilim)
- Final Encounter (Enir-Ilim)
Complete Path
Gravesite Plains
Upon entering the DLC area proper, you will see some massive structures off in the distance. While you will get there eventually, you should first scrounge around this area for Runes and Scadutree Fragments, as well as hidden dungeons.
- Blackgaol Knight is an early boss located in the Western Nameless Mausoleum, just to the northwest of the Gravesite Plain Site of Grace.
- Ghostflame Dragon is a recurring boss — there are several in the Realm of Shadow, and the first is located west of the Greatbridge, North Site of Grace. If it is too tough, you can always return later.
- Demi-Human Swordsman Onze is the boss of the Belurat Gaol dungeon, located in a tunnel near the lake where the Ghostflame Dragon is. This is your first real "optional" dungeon, but it has a lot of good items inside worth acquiring before you tackle the legacy dungeon, Belurat.
- Divine Beast, Dancing Lion is the final boss of the Belurat, Tower Settlement Legacy Dungeon, and is your first real challenge. It will shift between multiple elements (fire, frost, and lightning) and use wide-sweeping area attacks. Some can be jumped over, others have to be dodged, but Dancing Lion doesn't have a lot of health and shouldn't prove too much of a bother. Ideally, you would be around Scadutree Fragment +3 and Revered Spirit Ash +2 before tackling this boss.
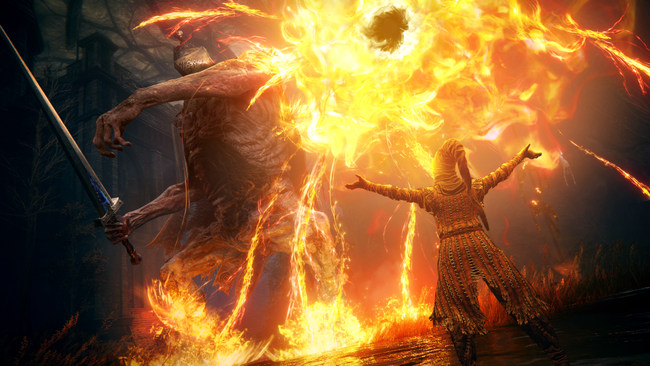
Ellac Greatbridge / Cerulean Coast
While the Ellac Greatbridge is technically part of the Gravesite Plains, we find it easier to seperate the encounters after the bridge into it's own section — this is where the game truly starts to open up, so exploration to find those Scadutree Fragments is key. It can be tempting to ride into Castle Ensis right away, but you can go exploring instead and discover more power-ups and new items before attempting the difficult legacy dungeon.
- Death Knight can be located in the Fog Rift Catacombs, an optional dungeon located far to the north of the Greatbridge. You will have to travel past a chasm filled with Messmer Knights and explosive barrels, and then travel into the fog-covered valley filled with Vulgar Militia. The dungeon is located at the end of all of that, and this is where you get the Death Knight Twin Axes as well as the Crimson Amber Medallion +3.
- Chief Bloodfiend is the boss of the Rivermouth Cave dungeon, a dungeon filled with Bloodfiends. This area is more a test of how quickly you can dispatch enemies before getting overwhelmed, so you should bring some ranged options if possible. This dungeon is accessed via the Ellac River Cave Site of Grace, which itself is accessed from the Pillar Path Cross Site of Grace (there is a cliff north of Pillar Path Cross where you can jump down a series of cliffs with Torrent.)
- Ghostflame Dragon makes another appearance at the Cerulean Coast, and is not really that different from the first one. You can find it sleeping in a basin just past the Cerulean Coast Site of Grace, accessed by travelling south along the Ellac River.
- Demi-Human Queen Marrigga is an optional boss that's tucked away in a corner of the Cerulean Coast, to the west of the Cerulean Coast Site of Grace inside a giant chasm. Her primary reward is a Dex/Int sword, but there are a few other things on the path leading up to her.
- Dancer of Ranah is a pretty difficult boss for this section of the game unless you are running high poise, but she is beatable with patience. She can be found in the mausoleum located on the island off the coast (to access, find a giant gnarled tree to the west of the of Cerulean Coast Site of Grace. Near that tree is a tunnel leading into the ground, which ultimately leads to the island.)
- Putrescent Knight is the final boss of the Cerulean Coast area, accessed via the Stone Coffin Fissure, which itself is located pretty far to the southeast of Cerulean Coast, requiring quite a bit of travel through dangerous lands. Stone Coffin Fissure is an optional dungeon, but it is extremely cool and has more then a handful of useful items, including Scadutree Fragments and Faith incantations. Say hi to St. Trina while you're here!
- Rellanna, Twin Moon Knight is the final boss of Castle Ensis, your second Legacy Dungeon, and can be quite a challenge. Realistically, you would be around Scadutree Level +6 and Reverent Spirit Ash +5 before tackling this boss, but you can beat her with lower stats. When she does her Twin Moon smash, make sure to jump over each shockwave!
Scadu Altus
Scadu Altus is the primary region of Shadow of the Erdtree, and if there ever was a branching series of paths in the DLC, this is where you would find it. The entire rest of the DLC is accessed from this region, so if you find yourself struggling or up against a wall, you can always try a different path. Shadow Keep is the legacy dungeon for this region, but it is actually split into two halves, so be mindful of which side you're accessing.
- Black Knight Rolent is a miniboss located in the Fort of Reprimand, which can be accessed one of two ways. If you defeated Rellanna, you can ride southeast from Castle Ensis's exit into Scadu Altus towards Fort of Reprimand, past the Moorth Highway. If you haven't cleared Castle Ensis yet, you can skip the dungeon by travelling to the Ellac Greatbridge, riding southeast, past the poison swamp, and accessing the Spiritspring to take you to the Fort of Reprimand.
- Ghostflame Dragon appears yet again, but this time it's fighting off waves of Messmer Soldiers. They're located south of the Moorth Ruins, on the road to the Fort of Reprimand.
- Black Knight Garrew can be fought in the Fog Rift Fort, a small fort overseeing the chasm that you rode through to access Fog Rift Catacombs. You can sneak into the fort proper by dropping down from the Scadu Altus, West Site of Grace.
- Fire Knight Queelign will invade you if you approach the Church of the Crusade, and drops the Prayer Room Key, a key item for the upcoming legacy dungeon. The Church of the Crusade is found near the Scadu Altus, West Site of Grace.
- Ralva, Great Red Bear can be found roaming in a lake to the east of the Furnace Golem near the Highroad Cross Site of Grace.
- Red Bear is an optional boss found is the Northern Nameless Mausoleum, which itself is found at the Rauh Base region. You can access this region by travelling north from Scadu Altus, specifically the Moorth Ruins area.
- Death Knight makes another appearance, this time at the Scorpion River Catacombs, which is accessed far to the northwest in the Rauh Base region. This one drops a Longhaft Axe as well as the Cerulean Amber Medallion +3.
- Divine Beast, Dancing Lion makes another appearance, this time to the northwest of the Temple Town Ruins in the Rauh Base region.
From here, you will want to return to the Moorth Ruins — there is a tunnel that can be taken that leads to Bonny Village, which will open up the rest of the DLC.
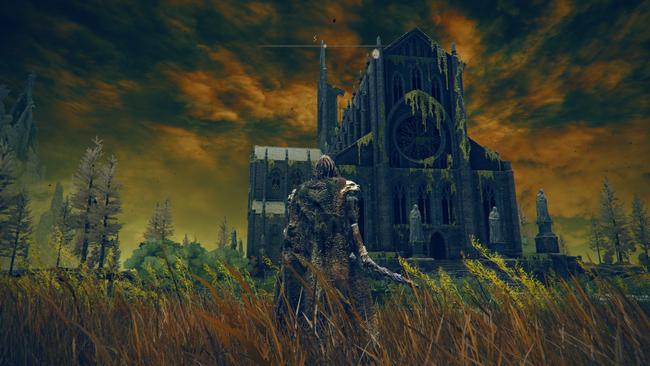
- Curseblade Labirith is found in the Bonny Gaol, located to the south of Bonny Village and drops some optional Spirit Ashes for your collection.
- By accessing the tunnel road to the northwest of the Highroad Site of Grace, you will reach the Shadow Keep's Sunken District. Here, you will need to explore until you can drain the water. From the Church District Entrance Site of Grace, navigate across the platforms/roofs until you can drop down into the area proper. Eventually you will see a large circular room with Fire Knights patrolling. One of the left-hand paths will take you to a parapet with a lever that drains the zone. You can also use that Prayer Room Key from before here.
- During your exploration of the now-drained Sunken District, you will fight two or three Ulcerated Tree Spirits that will emerge from the ground.
- After navigating the Sunken District, you will enter Shadow Keep proper — this is the "Scaduview" route.
- Commander Gaius awaits at the end of this route of Shadow Keep, and leads into the Scaduview area.
- Two Tree Sentinels await you along the path from the room near Gaius' arena.
- Now that you have access to the two Finger Ruins in the DLC, you have the ability to complete the Manus Metyr questline. Head to Cathedral Manus Metyr (south of the Highroad Site of Grace) and speak with Ymir to begin the quest. He will send you to two sets of Finger Ruins, and upon visiting both, will hint at a third. Use a Site of Grace and Ymir will warp to the graveyard. Examine his throne to gain access to the third Finger Ruins. You will be invaded by a Night Swordswoman, and then just past her will be the Metyr, Mother of Fingers boss fight.
- Upon defeating Metyr, return to the Cathedral. You will be invaded again by a Night Swordswoman, but upon defeating her, you will start the boss fight against Ymir, Mother of Fingers.
With all of that done, return to Highroad Cross and make your way towards the front of Shadow Keep.
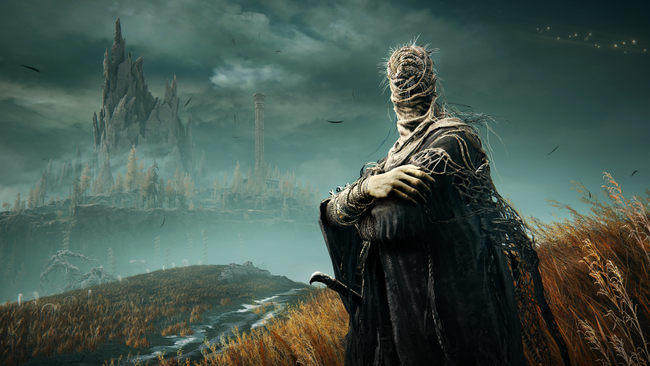
- Approximately halfway through Shadow Keep's Main Route, you will come across a large bridge that extends northwest out of Shadow Keep. Skip it for now, but keep it in mind.
- You will also come across a large parapet with burning pyres and Vulgar Militia hiding and waiting to jump you. Again, keep this area in mind for later, but progress along the main route.
- Messmer the Impaler is the boss of Shadow Keep, and he is a two-stage boss that is fairly difficult. This fight is designed to be a check of your Scaduview Fragments (and skill), because from this point forward it's end-game level difficulty. Ideally, you're looking for Scaduview Fragment +10 or greater, with Ashes being +9 or greater.
- Return to the burning pyres parapet. Near the dead end half, there is a ladder leading down towards a waterfall. Behind the waterfall is a path that leads to a Stone Coffin. Take it to the Castle Watering Hole, and follow the path downstream (there are two optional Site of Graces in the river.) You will eventually reach the Darklight Catacombs, and the boss of the dungeon is Jorri, Elder Inquisitor.
- Past Jorii is the next area, Abyssal Woods. Sneak past (or parry/kill) the Untouchables as you make your way west and south until you come towards a mansion, known as Manse Hall. Within the mansion is the boss of the zone, Midra, Lord of the Frenzied Flame.
- Return to Shadow Keep, and make your way towards the giant bridge you passed. At the end of the bridge is a mini-boss, Salza, Fire Knight Sage.
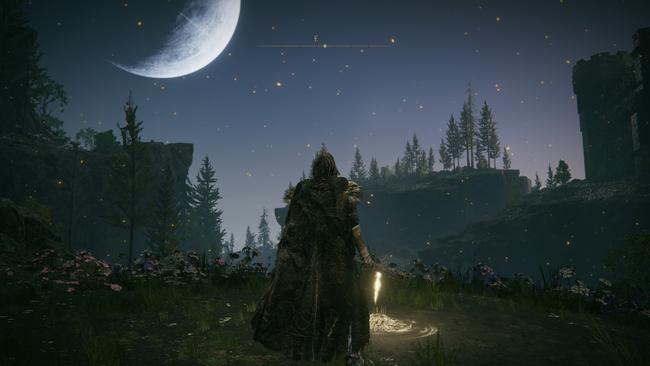
Ancient Ruins of Rauh / Jagged Peak / Charo's Hidden Grave
These three areas are the last real stops before reaching the final area, Enir-Ilim, and are approximately equal in difficulty, with Jagged Peak having an optional "super" boss on par with the final boss of the DLC.
- Past Salza, Fire Knight Sage is the Ancient Ruins of Rauh. Within the area are multiple mini-bosses, the most notable of which is Devonia, Crucible Knight. She can be avoided entirely, but you will spot her a mile away in the middle of a lake.
- The boss of this zone is Romina, Saint of the Bud, and she is essentially Malenia Lite. Ideally, you're looking to be around Scaduview Fragment +13 or higher for this encounter. Once you clear Romina, you will have access to every zone in the game, which means you will have access to every Scaduview Fragment as well, so we will no longer list desired levels.
- After unlocking the final zone, Enir-Ilim, return to the Pillar Path Waypoint Site of Grace in Gravesite Plain. You should hear or see a guy crying on the road — following said road will lead to the Dragon's Pit dungeon, where the Ancient Dragon-Man boss awaits.
- Past the arena is a new area, Jagged Peak. As you progress through Jagged Peak, you will fight two Jagged Peak Drakes, and one Ancient Dragon.
- To the south of the first Jagged Peak Drake fight is a path towards Charo's Hidden Grave, another optional area sitting above the Cerulean Coast.
- Within a large arena is a Death Rite Bird boss, that fights the same as it does in the base game.
- In the northern part of Charo's Hidden Grave is the Lamenter's Gaol, with the Lamenter as the boss of that dungeon.
- Return to Jagged Peak and finish making the ascent. The final boss, the optional one that's quite tough, is Bayle.
Enir-Ilim
The final zone of the game can be accessed from the Church of the Bud in Ancient Ruins Rauh. Just a little past where you teleport in (and the first Site of Grace) is an elevator that connects to Belurat, Tower Settlement. The final few bosses of this DLC are a massive spoiler, so if you do not wish to be spoiled, this is your warning.
- In the Cleansing Chamber Anteroom you will fight your former allies: Dryleaf Dane, Hornsent, Freyja and Needle Knight Leda. If you aided Ainsbach in Shadow Keep, he joins your side as a summonable ally.
- Just after the arena fight will be the final fight of the game: Radahn, Promised Consort.
