
Monster Hunter Wilds Beginner's Guide – Quick Tips and Tricks for the Early Hours and More
Monster Hunter Wilds from Capcom is now available worldwide as the newest generation of Monster Hunter. If you're new to the series, this beginner's guide will help you get the most out of the early hours in Monster Hunter Wilds. If you've played loads of older games, I've also included some tips for you since Capcom has changed some features in prior games in Wilds. There will be no spoilers in this guide.
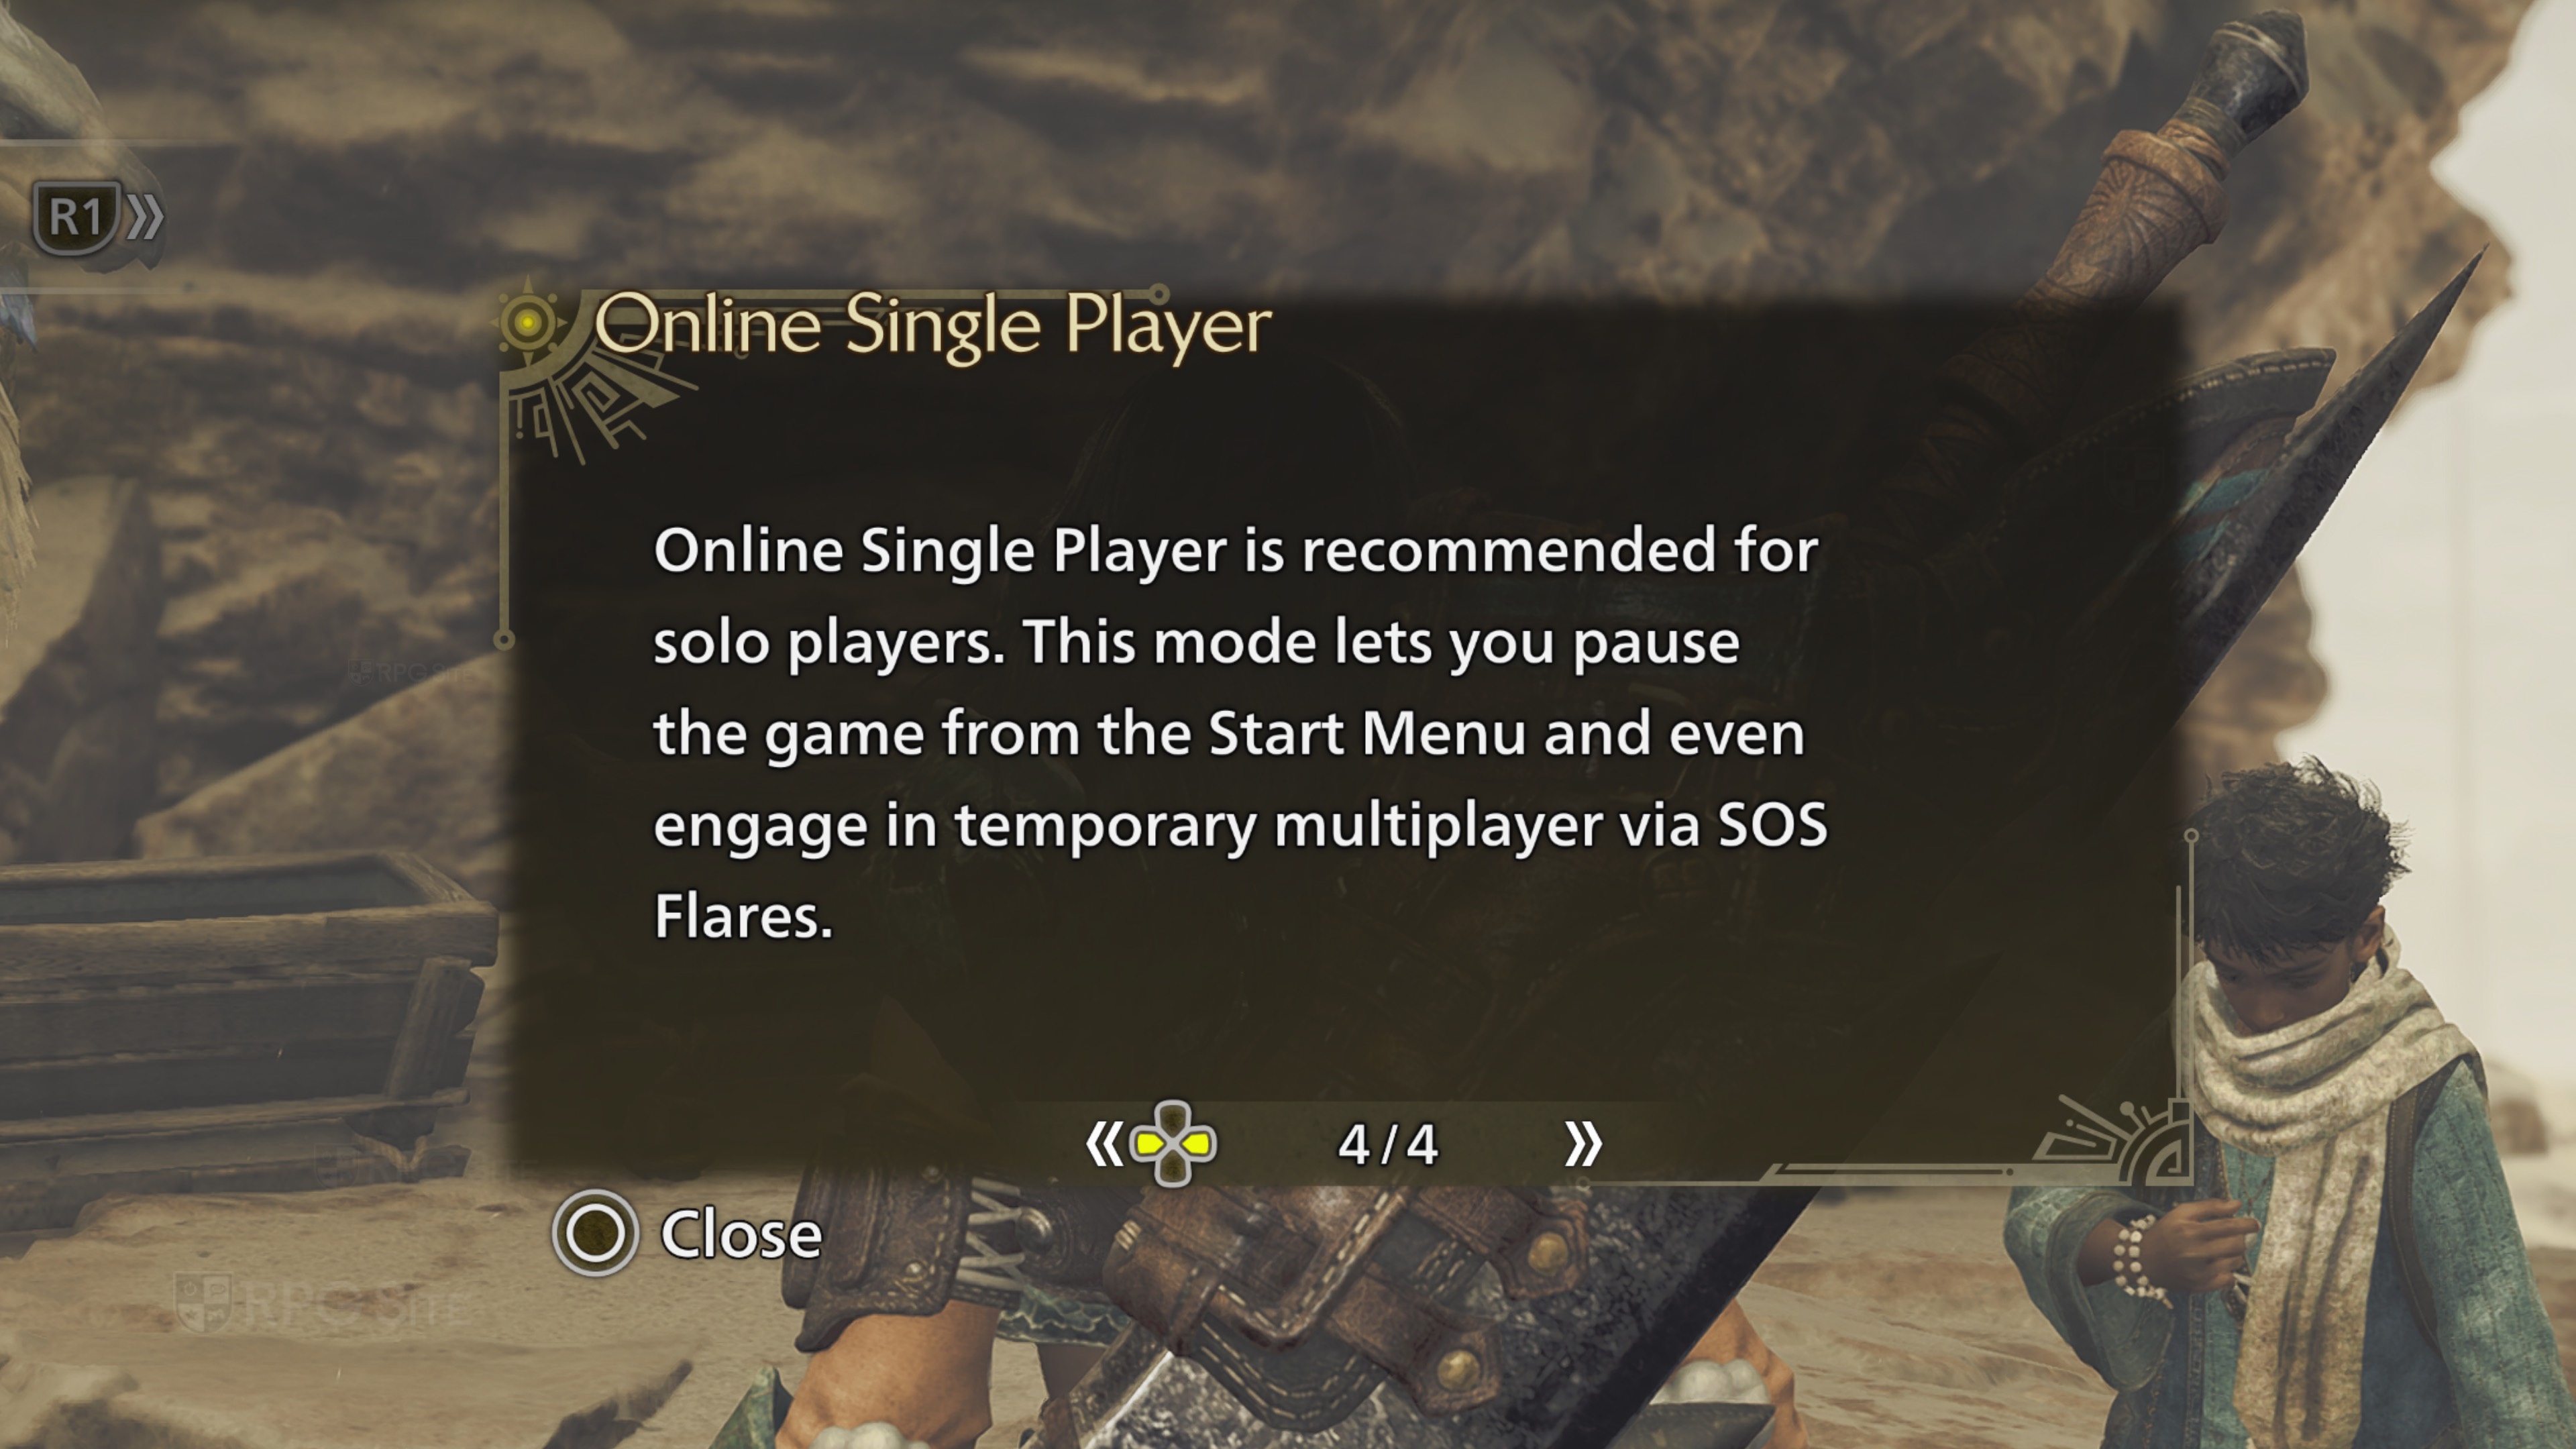
What mode to choose when starting Monster Hunter Wilds: Online Singleplayer or Lobby?
When you try to play Monster Hunter Wilds (and assuming servers are online), you will be prompted to load into your save through Recommended Lobby, join a Private Lobby, search for a Lobby, or use Online Single Player. If you want to play on your own, but want to leave the door open for some help in quests, select Online Single Player. This mode will leave you online, let you pause (Yes, you can do that here), and summon NPC hunters or real players through SOS. This is the mode to select if you want to experience most of what Monster Hunter Wilds has to offer on your own.
If you want to play with randoms or your friends, use the Recommended Lobby, create a Private Lobby, or search for a friend's Lobby using the search. It is worth noting that Lobby IDs are case sensitive, but are cross platform depending on the settings used to make them. Read my guide on playing with friends here.
Monster Hunter Wilds settings to change on PC and console
While these aren't essential, some of them will dramatically improve your experience depending on how you play on your platform of choice. First, I recommend going into the Display Options and adjusting Brightness. The default settings might make the game too washed out on your display. I noticed this varies quite a bit depending on what screen I was playing on. This menu is also where you can adjust the frame rate cap, but you cannot adjust the game's performance settings while you are in your save. You can only do that from the title screen.
For some reason, the music or BGM seems muted in Monster Hunter Wilds using the default volume settings. I ended up increasing BGM to 100 and leaving the other sliders between 75 and 80. This will vary based on your preference. Master Volume should be adjusted as per your preference as well.
The other settings I recommend looking into are camera speed (I use 10 and 15 sensitivity), dash controls (I use both L3 and R1), Camera Distance: Zoom (I used 10), and motion sensor (gyro). You can enable gyro from the fourth page in the Camera Options.
The final setting I recommend adjusting based on your preference is the Button Configurations under Controls. I set this to Type 2. This setting isn't really something I saw most people even discuss, but it can improve your hunting experience a lot based on how you might have played prior games using the d-pad or how you use the radial menu.
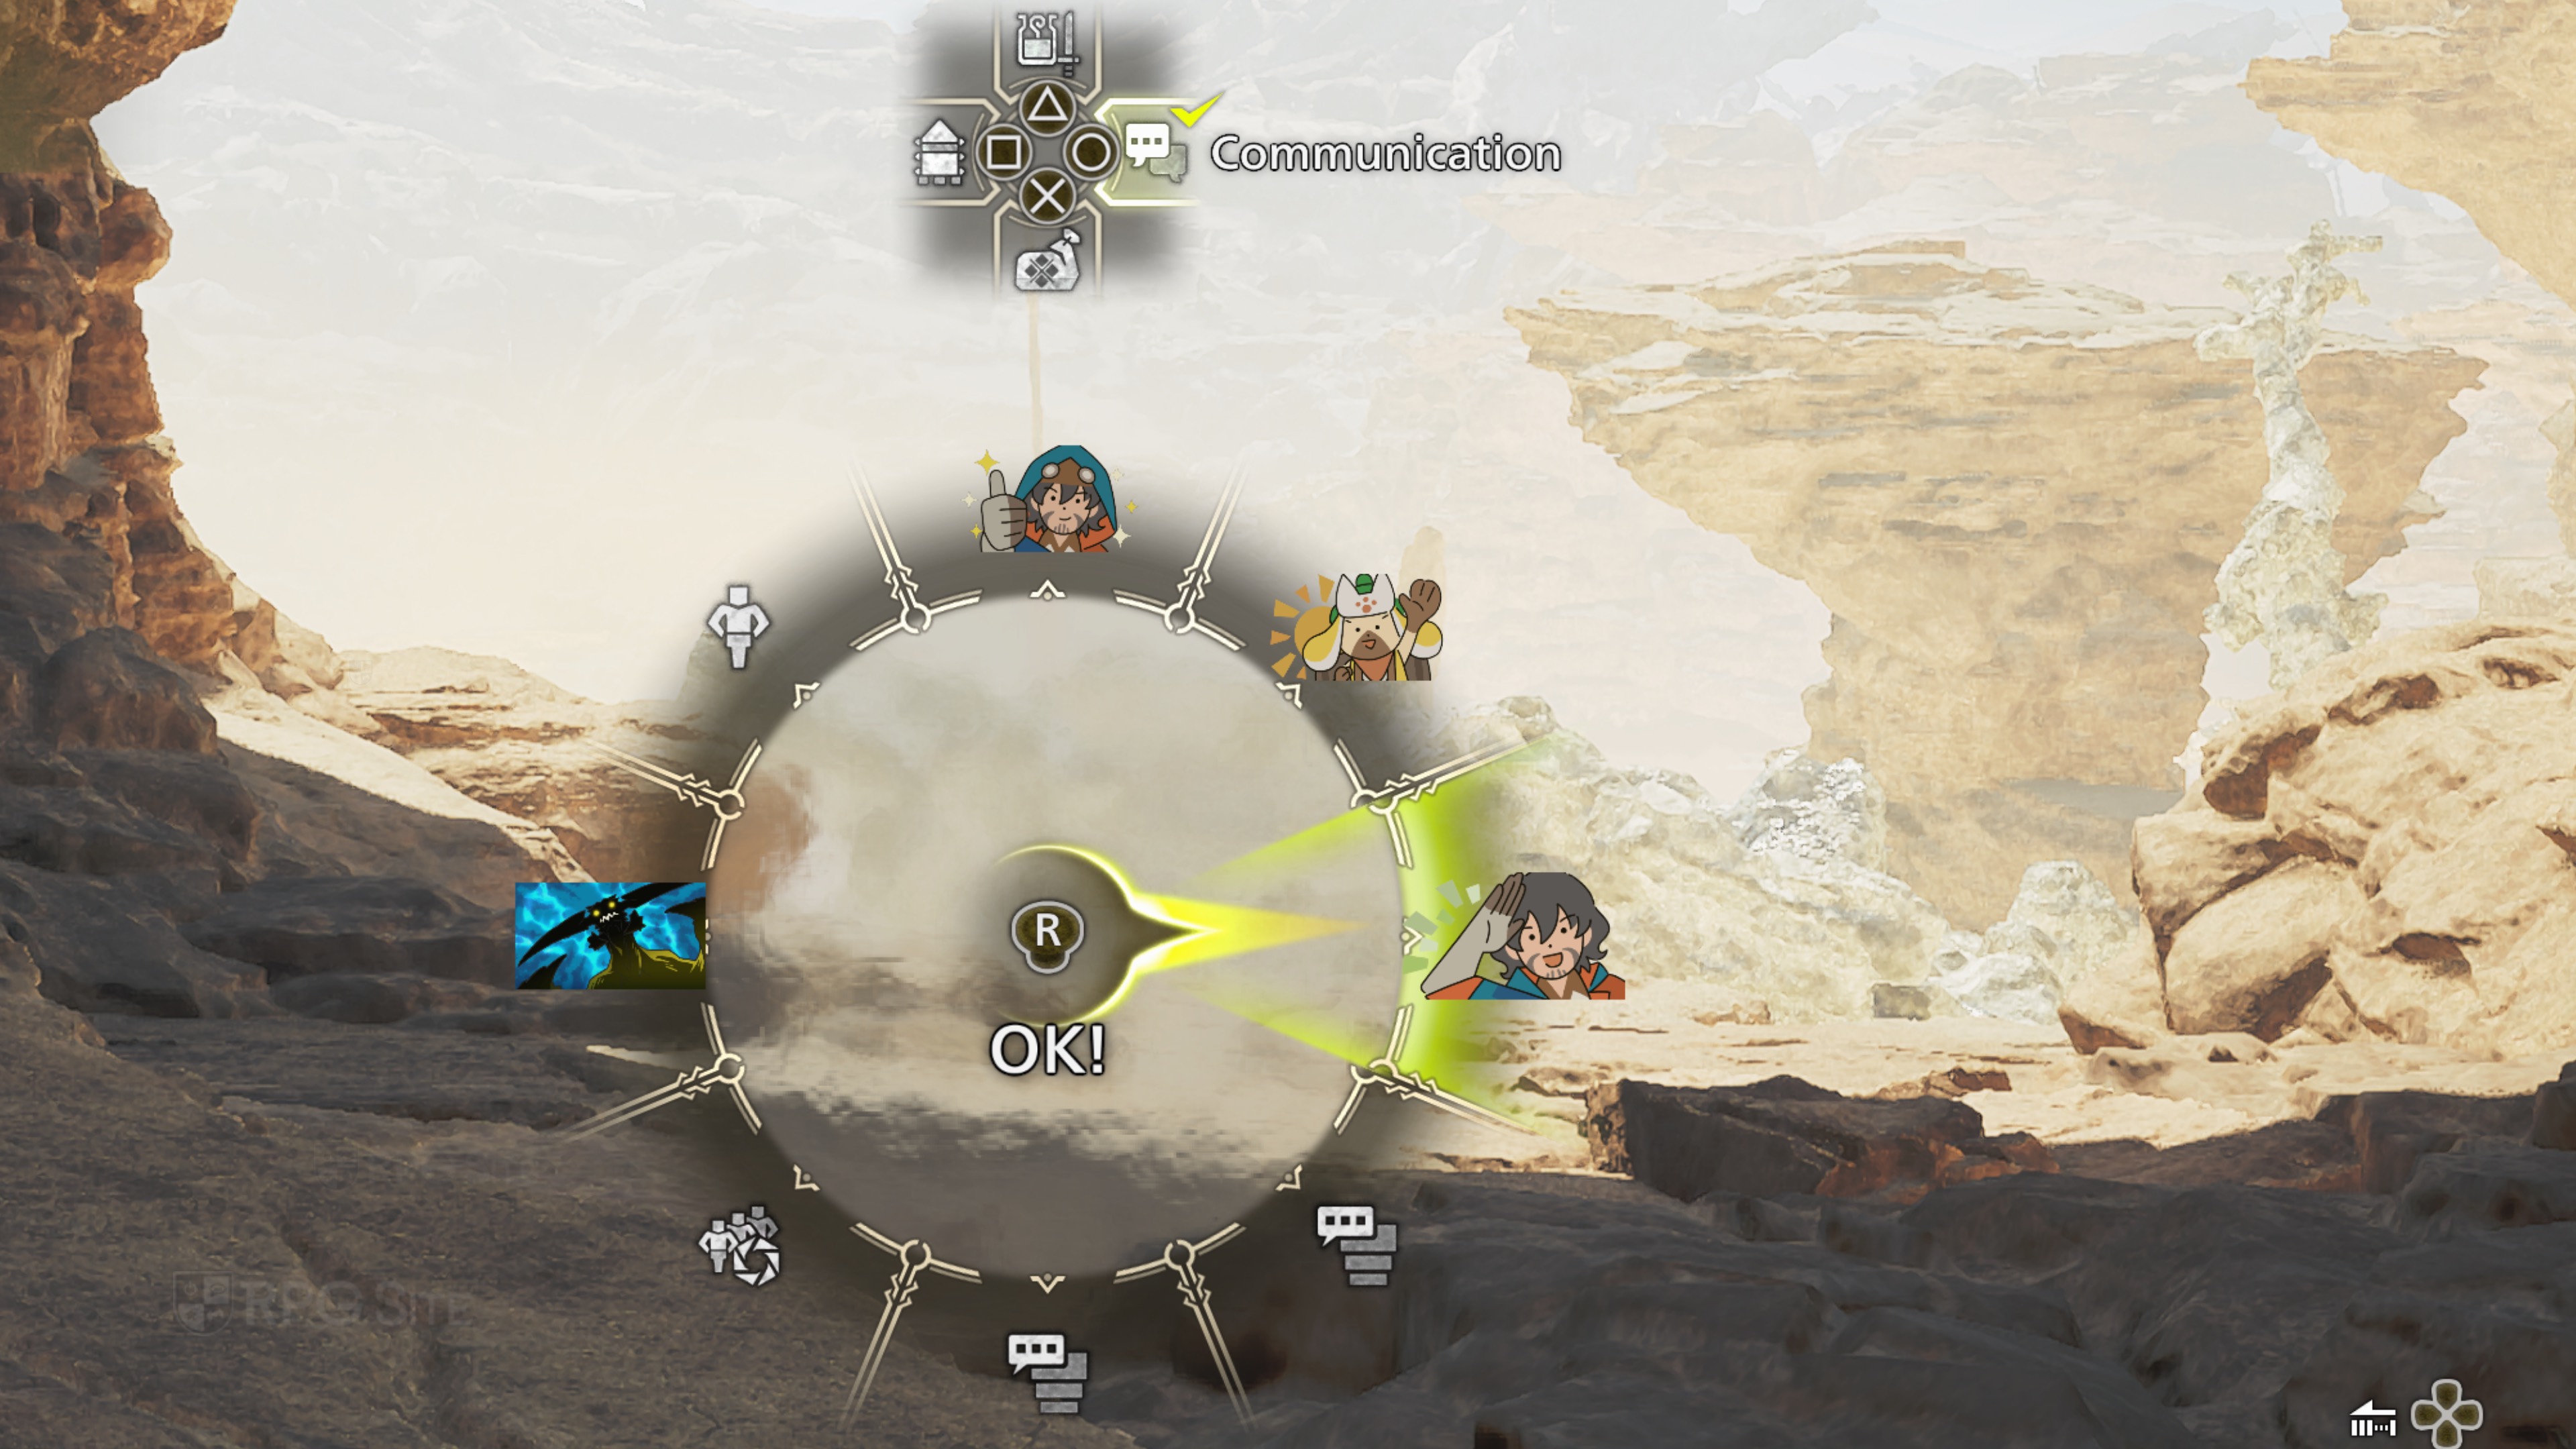
Create loadouts and use the radial menu in Monster Hunter Wilds
While some longtime players of the series might not enjoy or want to use the radial menu, it is a superb addition to the series as far as I'm concerned. Use this to map specific items like traps, healing, recovery, flash bombs, or even multiplayer messages or stickers.
As for loadouts, while you might not have enough of the items you want during the main story in low rank, look into creating a loadout for your items. You can do this at any Tent (including Makeshift ones or at camps) by selecting transfer items, item pouch, and then pressing the left analog stick. This is where you can register your current item pouch contents as a loadout. You can also restock items from this menu. These are some of the features the game doesn't tell you about, but they help a lot.
Don't grind during the main story in Monster Hunter Wilds
Monster Hunter Wilds' main story takes place entirely in low rank. Once you hit the credits and get into high rank, the real game begins. I know this sort of statement is a meme, but it feels more true than ever before with Monster Hunter Wilds. Enjoy the story as much as you can solo or with helpers via SOS (covered below), but I don't recommend grinding out for gear unless you're struggling with a specific quest and can't finish it even with the help of an SOS flare bringing others onboard. For the purposes of the main story, upgrade or craft armor for the maximum raw defense and do the same for weapons for attack.
If you want to craft everything in Monster Hunter Wilds, you can still come back to the low rank monsters and hunts later on and save yourself time. Given how the story is paced in Monster Hunter Wilds, I don't see any value in spending time grinding for specific gear early on. You will have ample time (and reasons) to do that later on.
Use the SOS Flare system in Monster Hunter Wilds
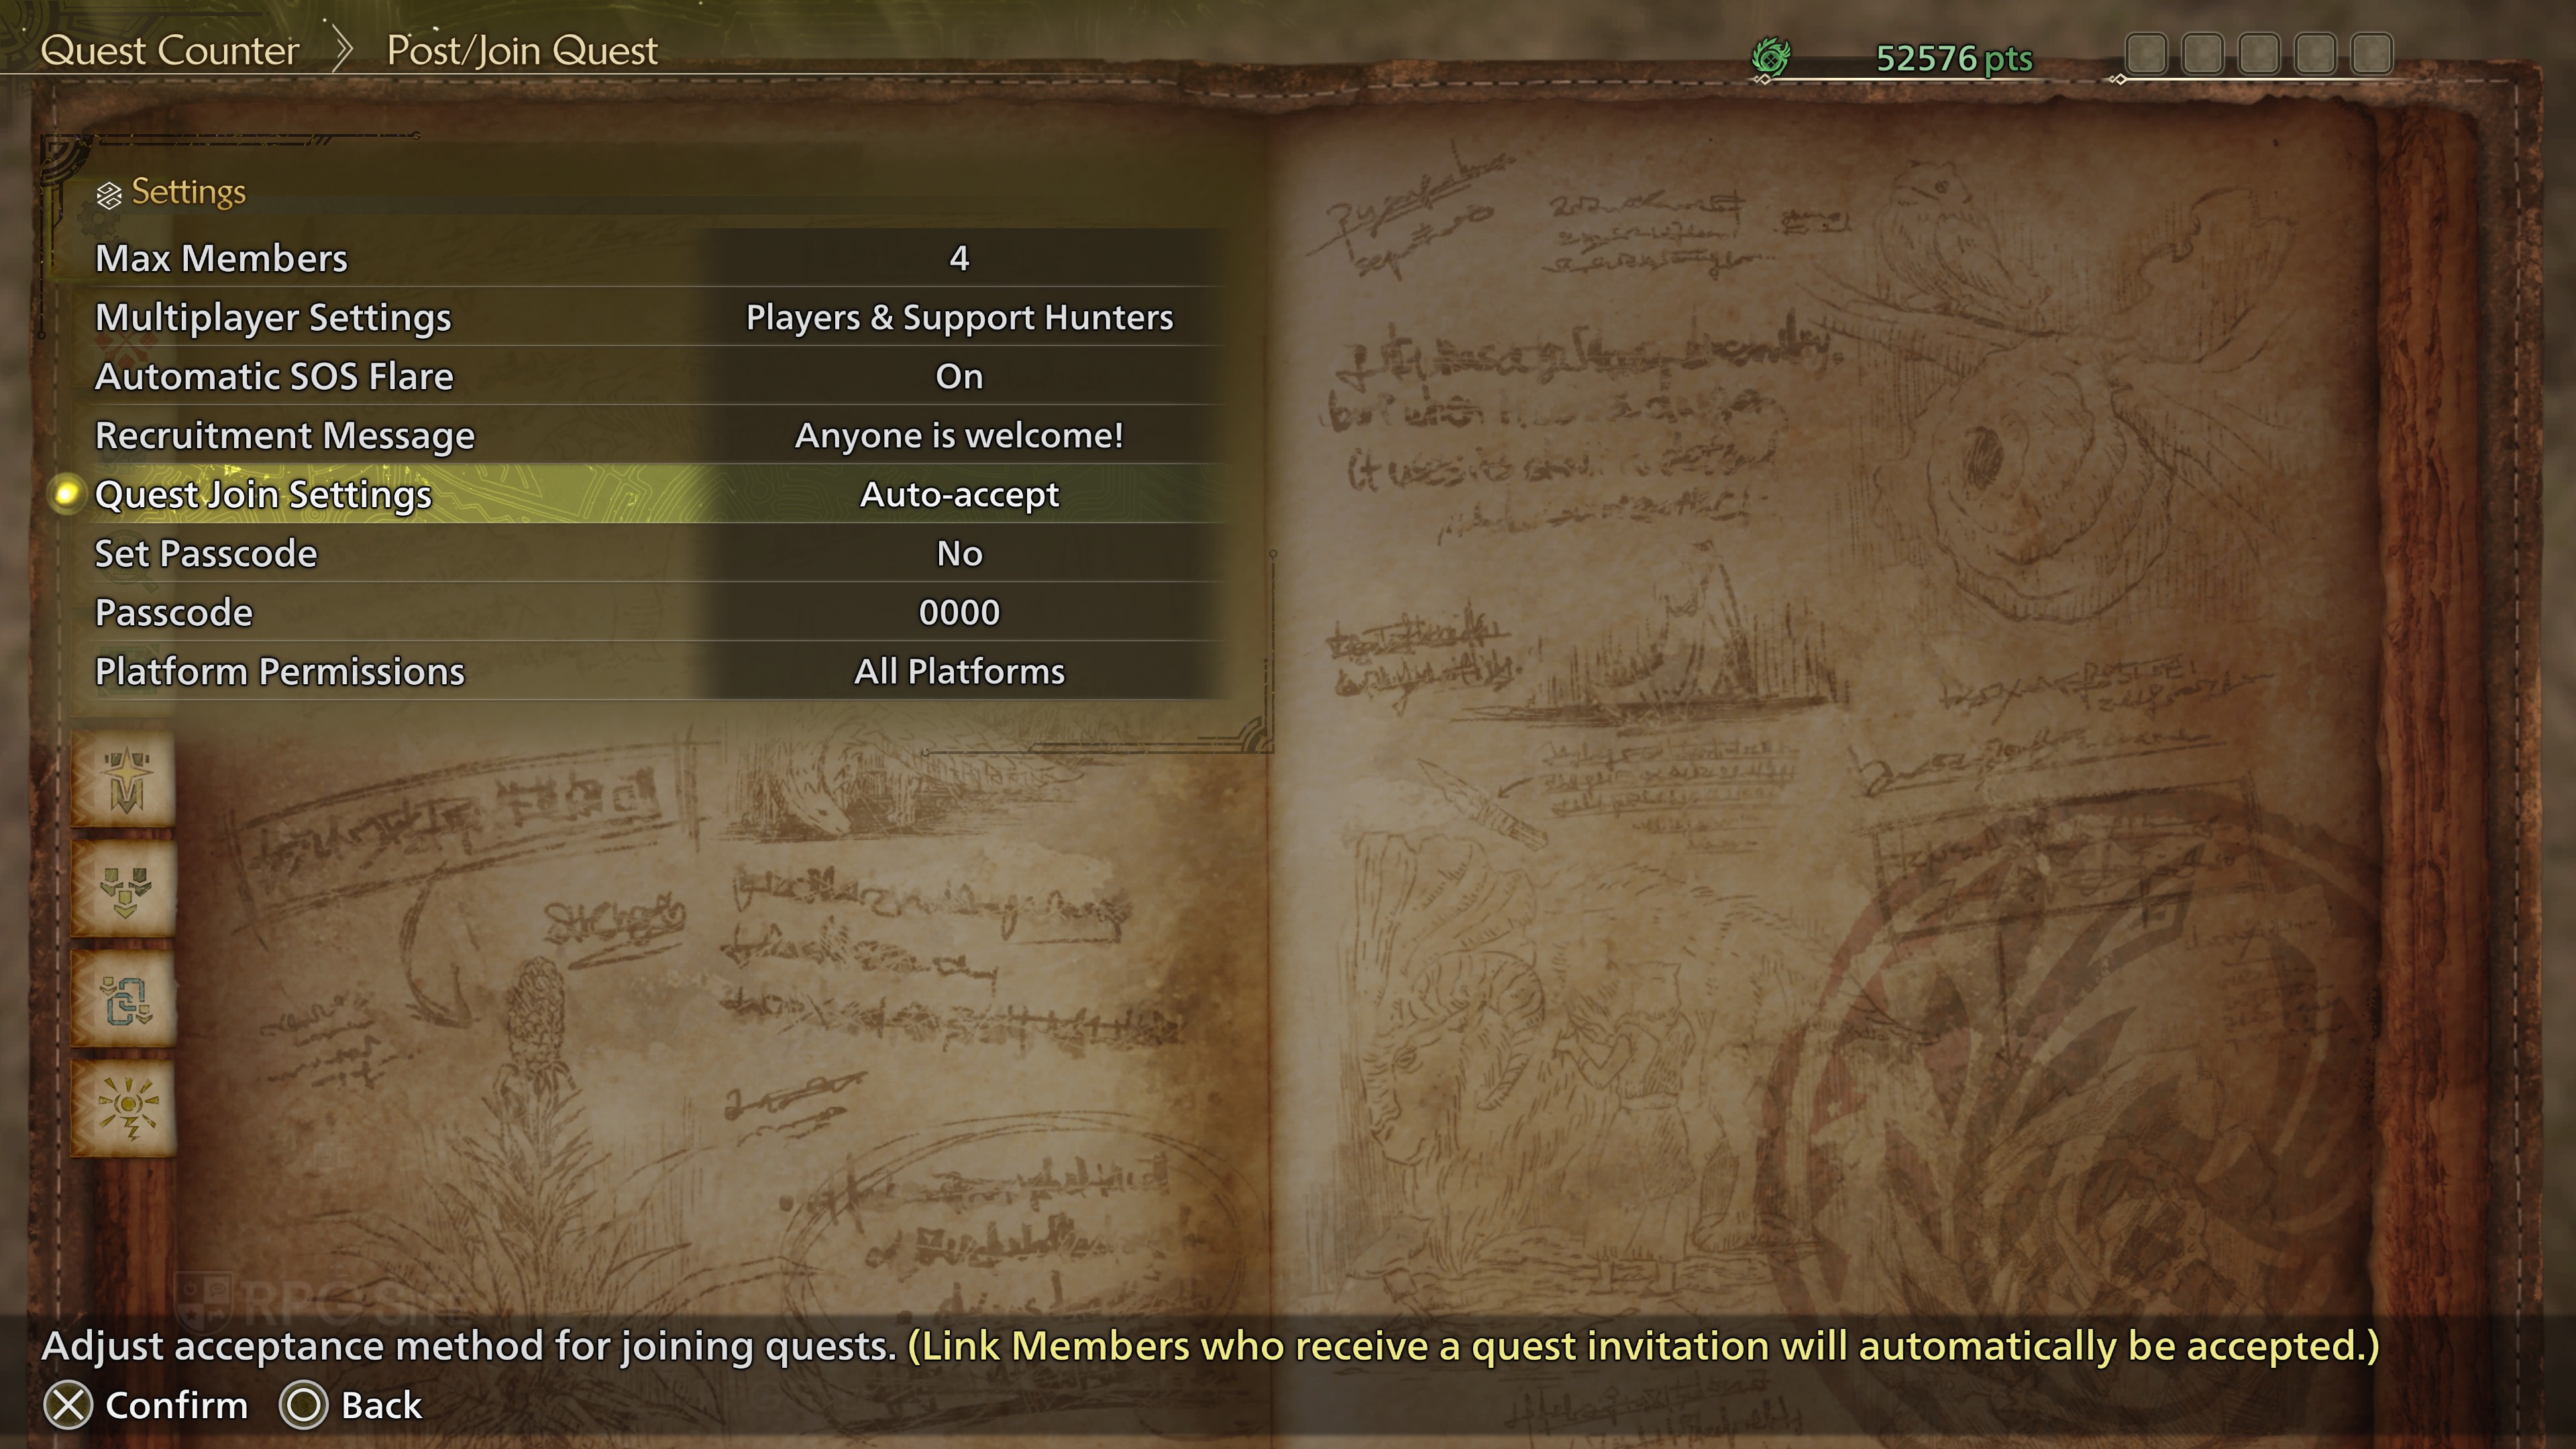
Monster Hunter Wilds, like Monster Hunter World, uses an SOS Flare system for multiplayer in addition to its lobby, squad, and other systems. If you want to have others join you for every hunt, make sure to go into the settings after talking to Alma (who handles the Quest Counter) and then decide whether you want the SOS Flare to be automatically fired when a quest begins, how many members can join you, whether you want players and support hunters (NPCs), and even whether you want crossplay or not.
If you set it to have players and support hunters, the latter will join you on your quest until real players join in. This is a great option if you want to finish the story or any quest quickly as NPC hunters are quite powerful and useful in hunts. If you don't have an online subscription, consider setting this to just support hunters so NPCs join you when you begin a quest.
Easy armor and weapons in Monster Hunter Wilds
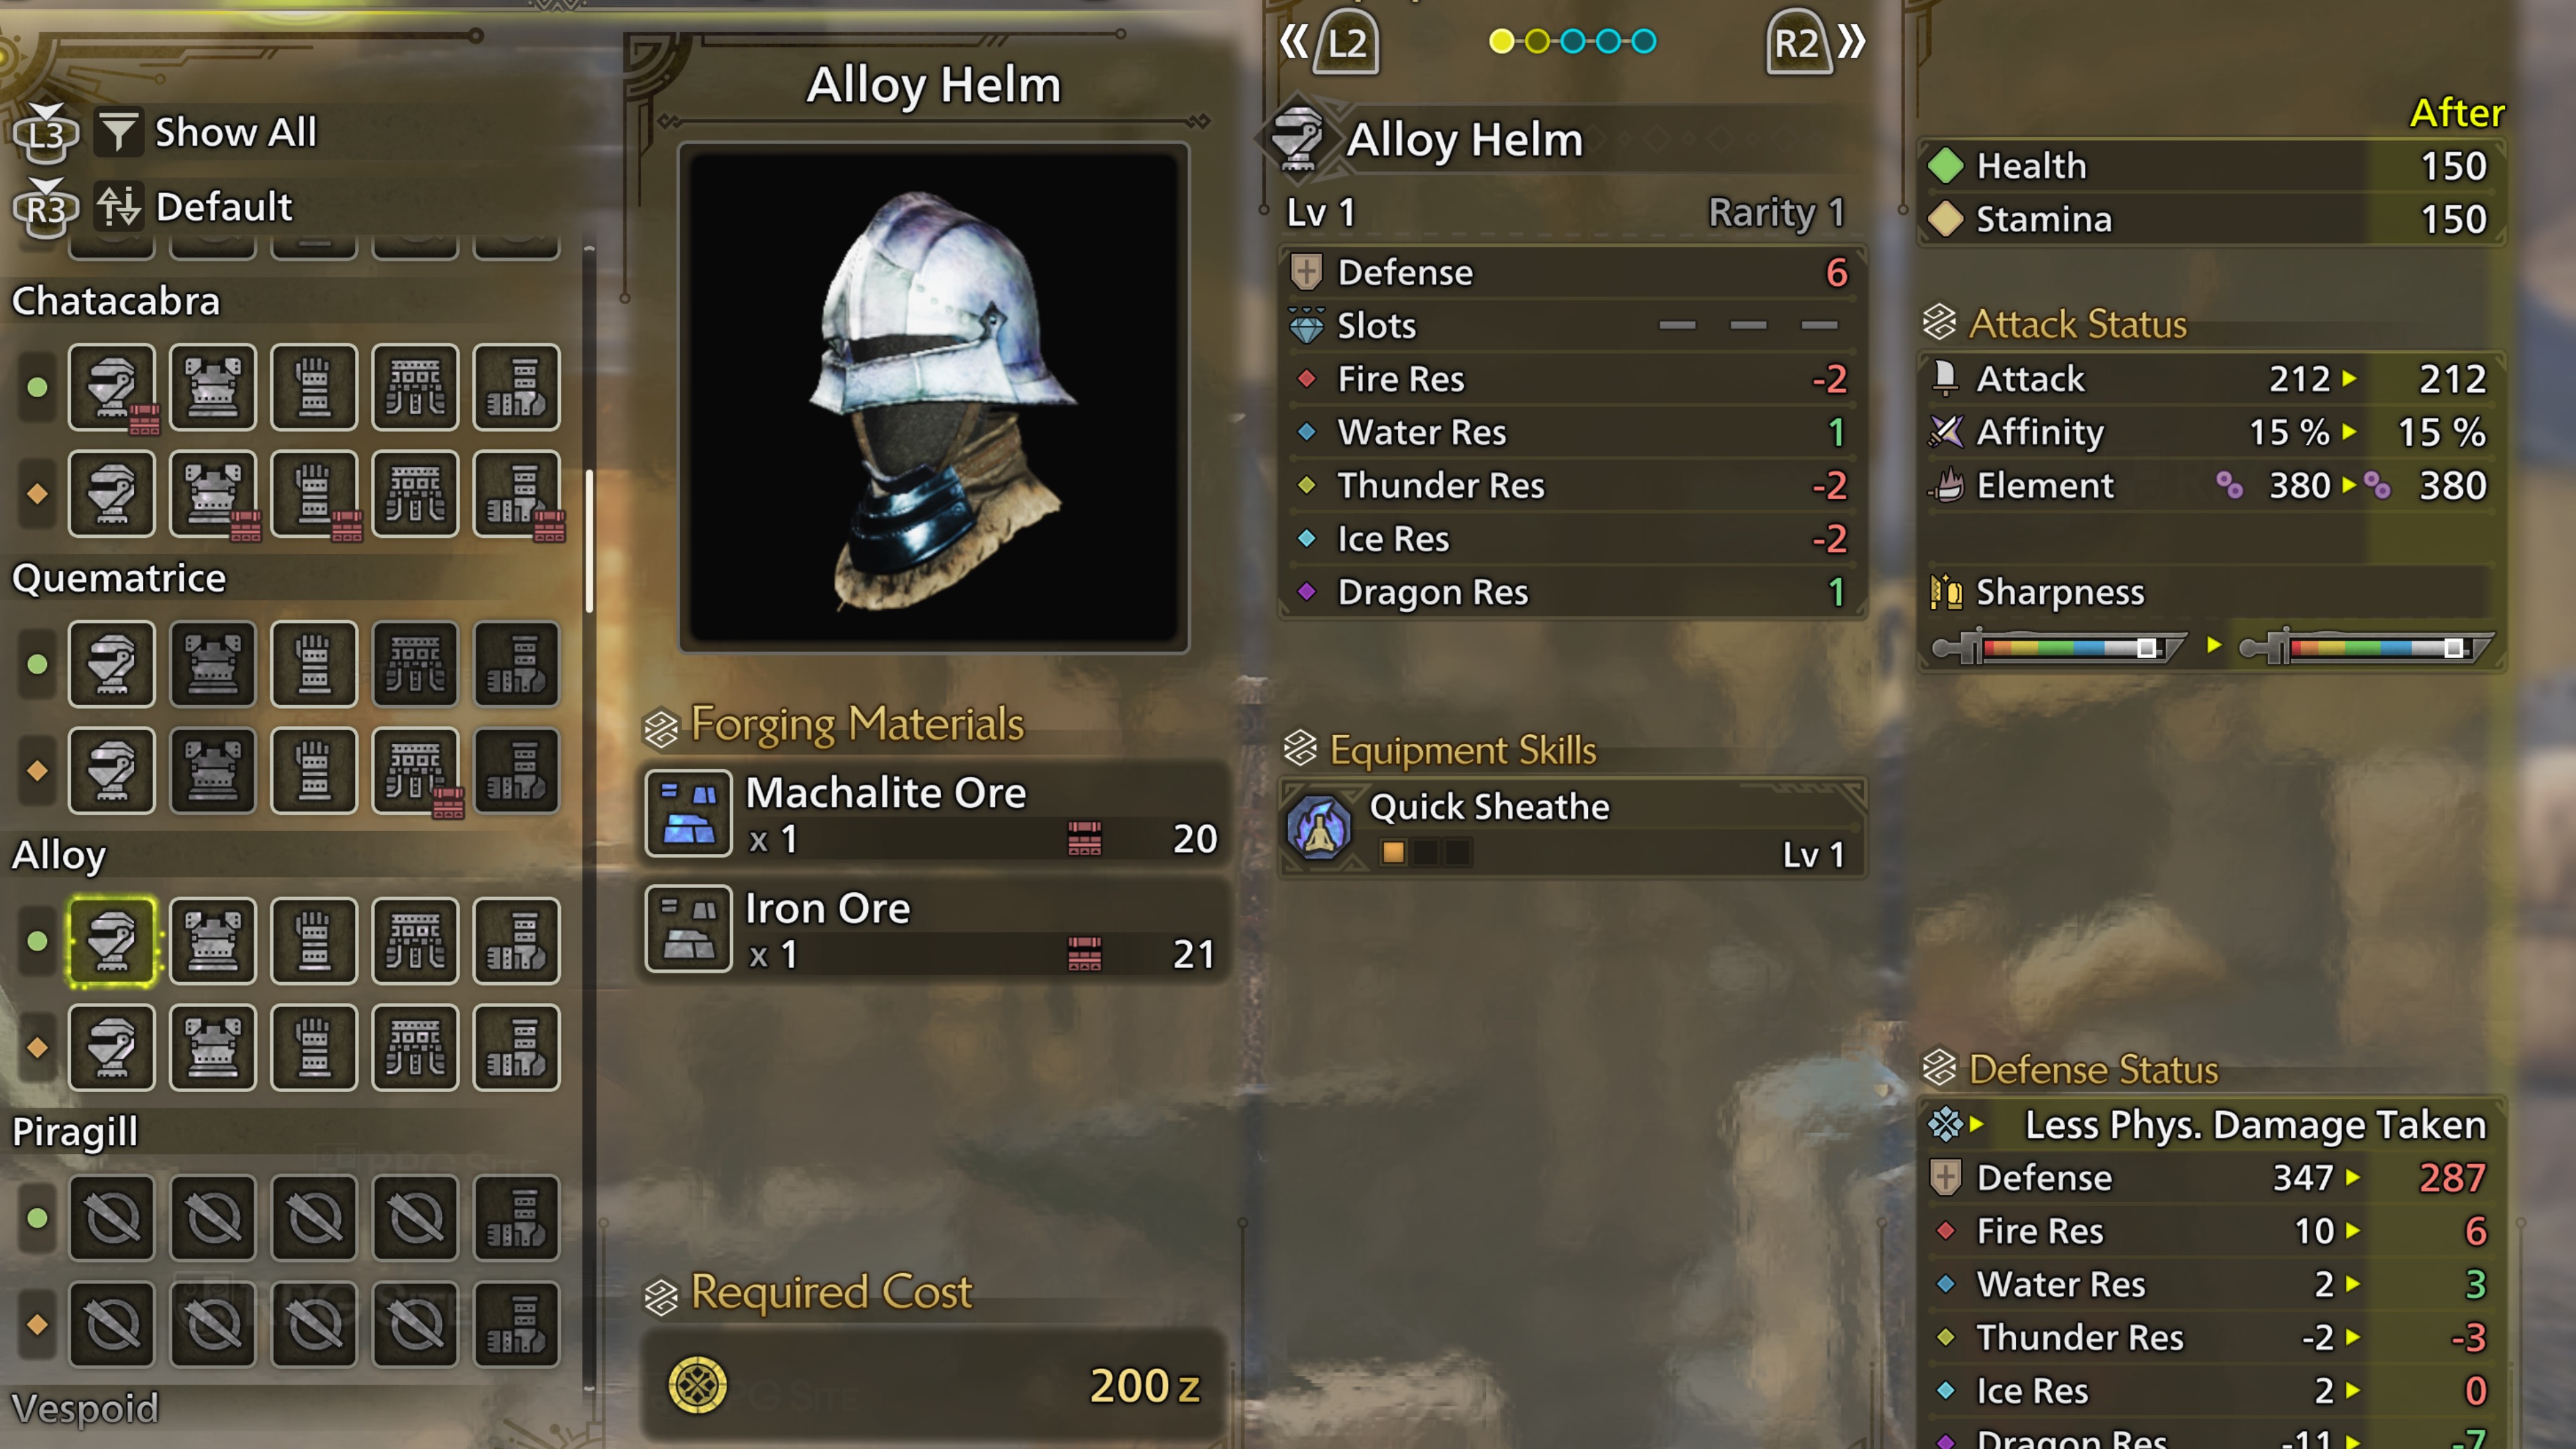
The easiest way to forge decent starting armor and weapons for the story is just exploring the map and gathering ore and bones. There are both Ore and Bone trees included in Monster Hunter Wilds for crafting, and you can usually get them early on through just basic gathering without even hunting large monsters. This is something many hunters do when playing a Monster Hunter game's expansion as well, but I'll save that for when we get to the potential Monster Hunter Wilds expansion.
As an example, the Expedition Tree for Great Sword goes all the way to the highest rarity in game, and only needs large monster parts much later on. There are also Ore and Bone Trees for the Great Sword. There are also Bone and Alloy (Ore) armor sets available in Low Rank, with High Rank versions available if you want to use this same tip once you get to High Rank for a decent early set.
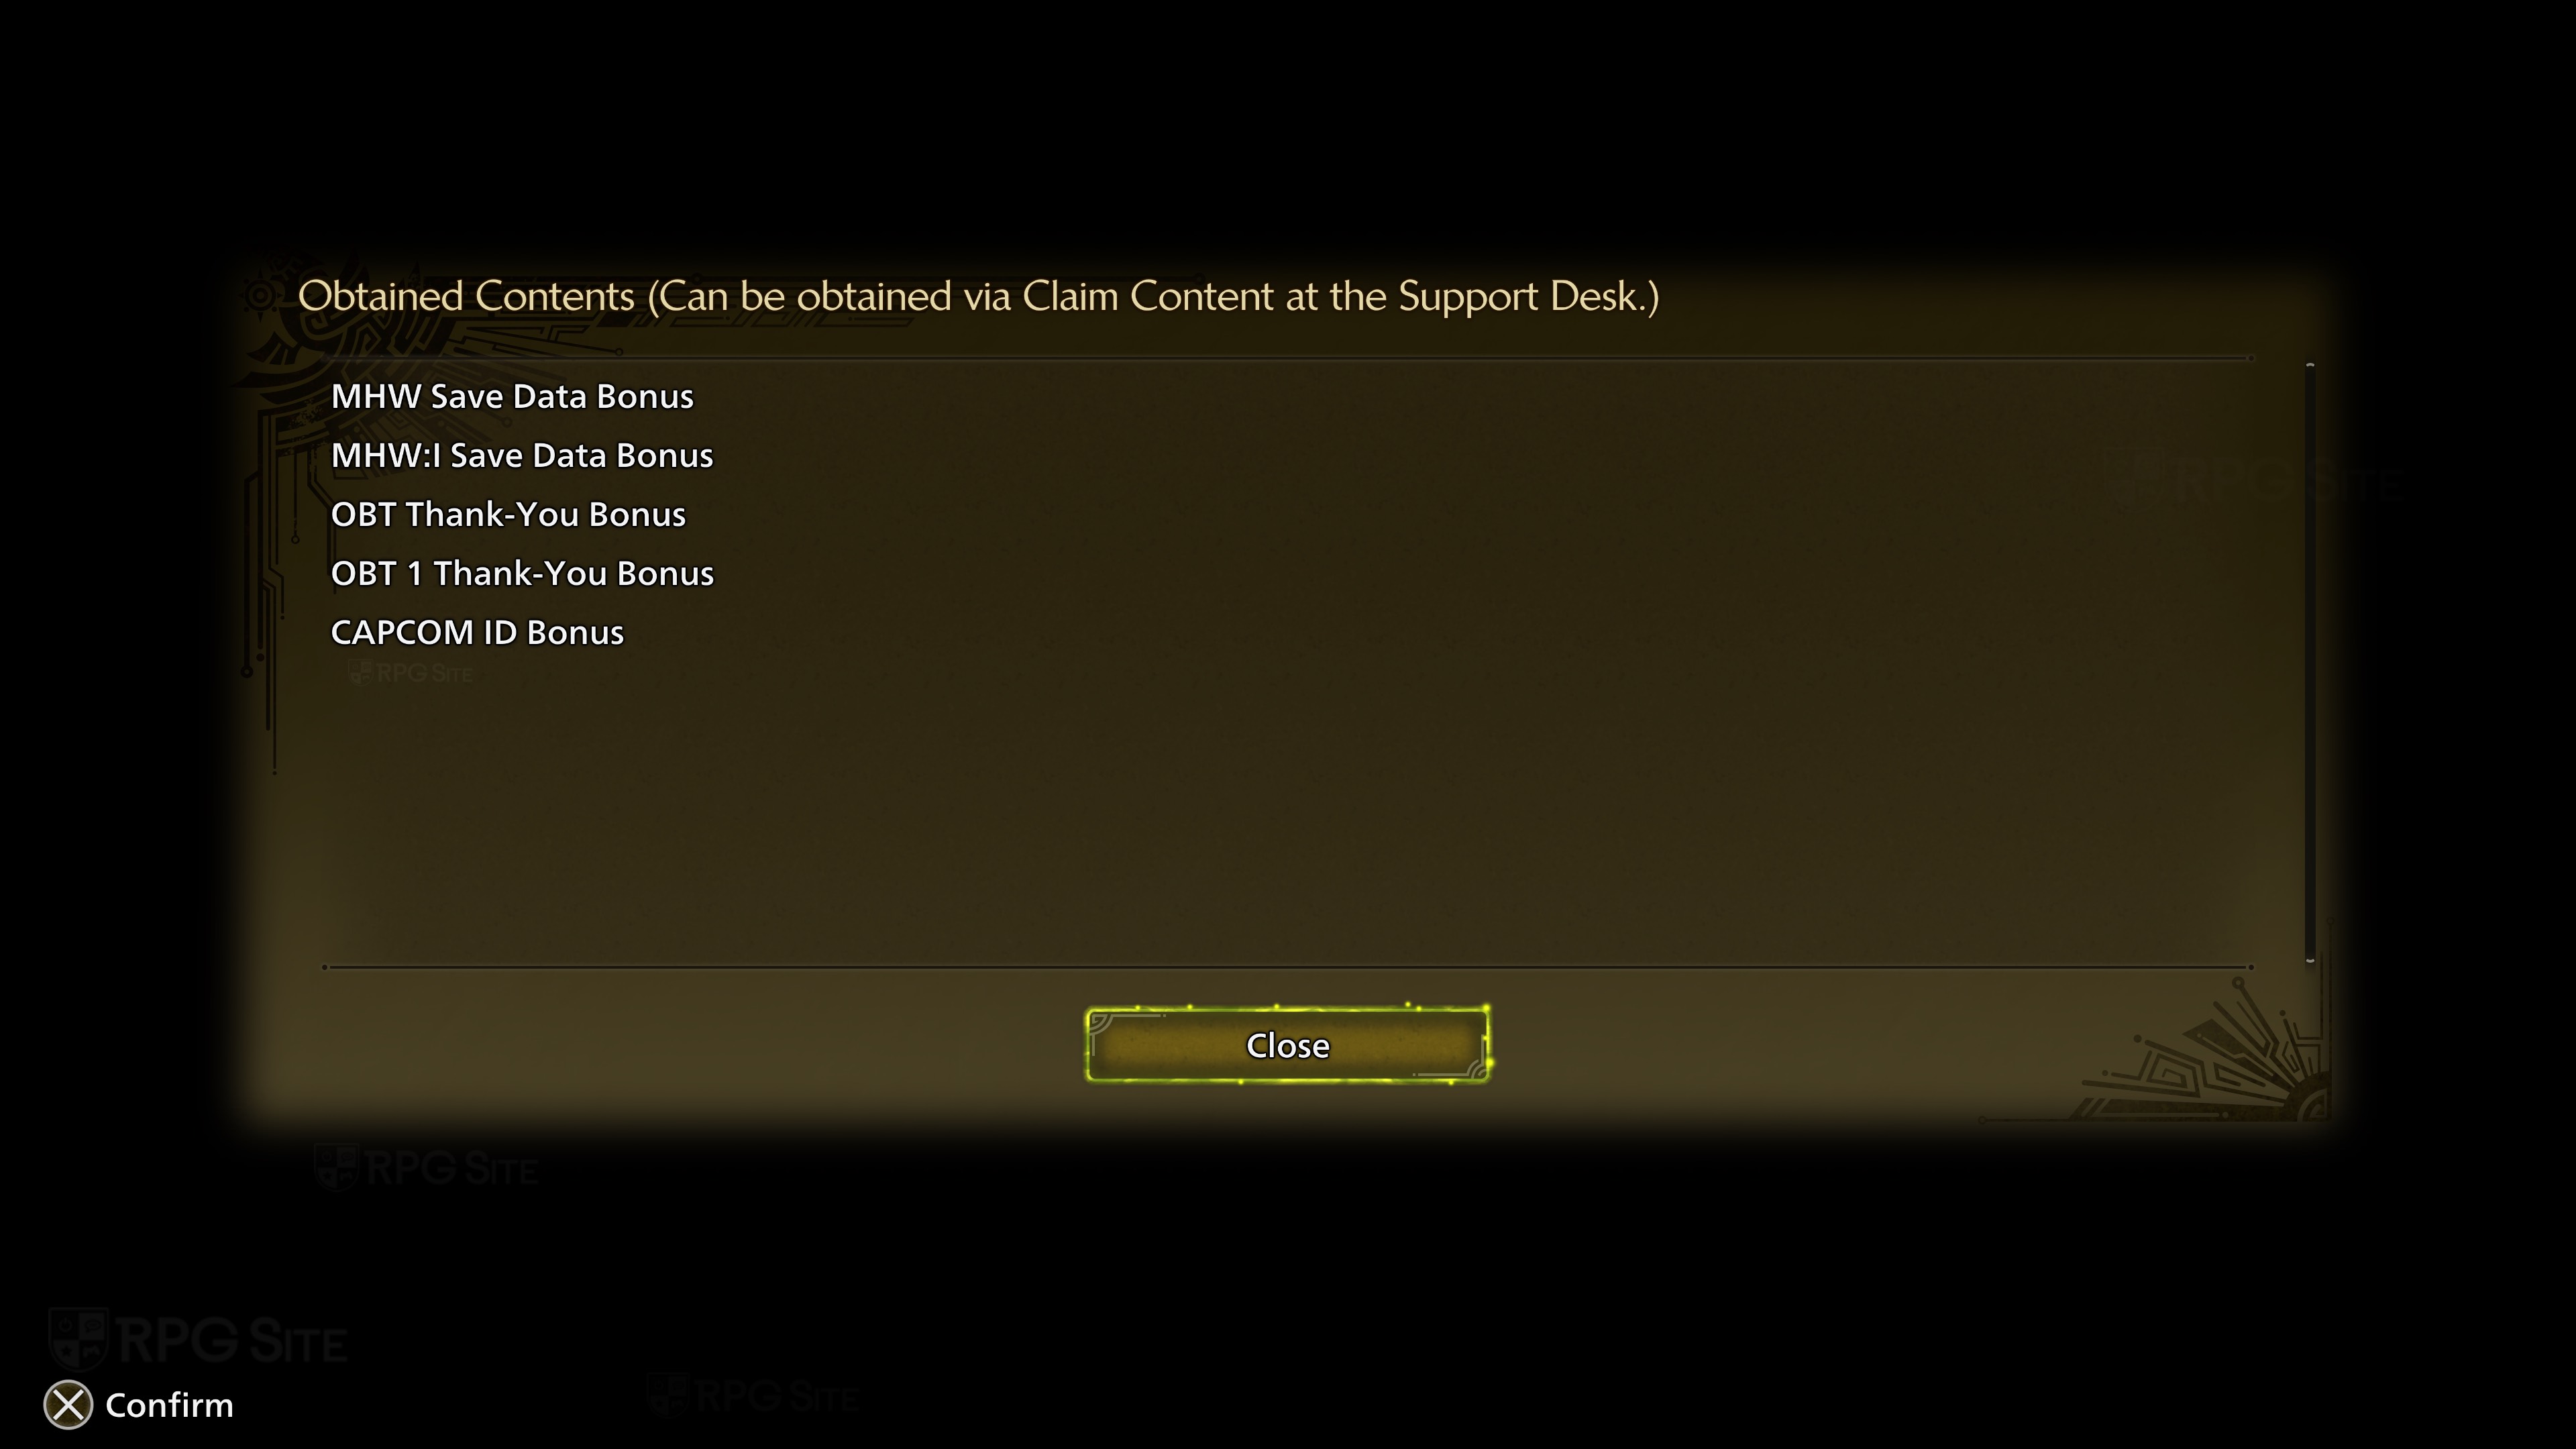
Claim all the save data bonuses you can in Monster Hunter Wilds
Monster Hunter Wilds gives you an in-game reward for having played the open beta test, linking your Capcom ID, and having Monster Hunter World and Iceborne save data. These give you useful items that help out early on. They won't matter much later on, but are great to have early on.
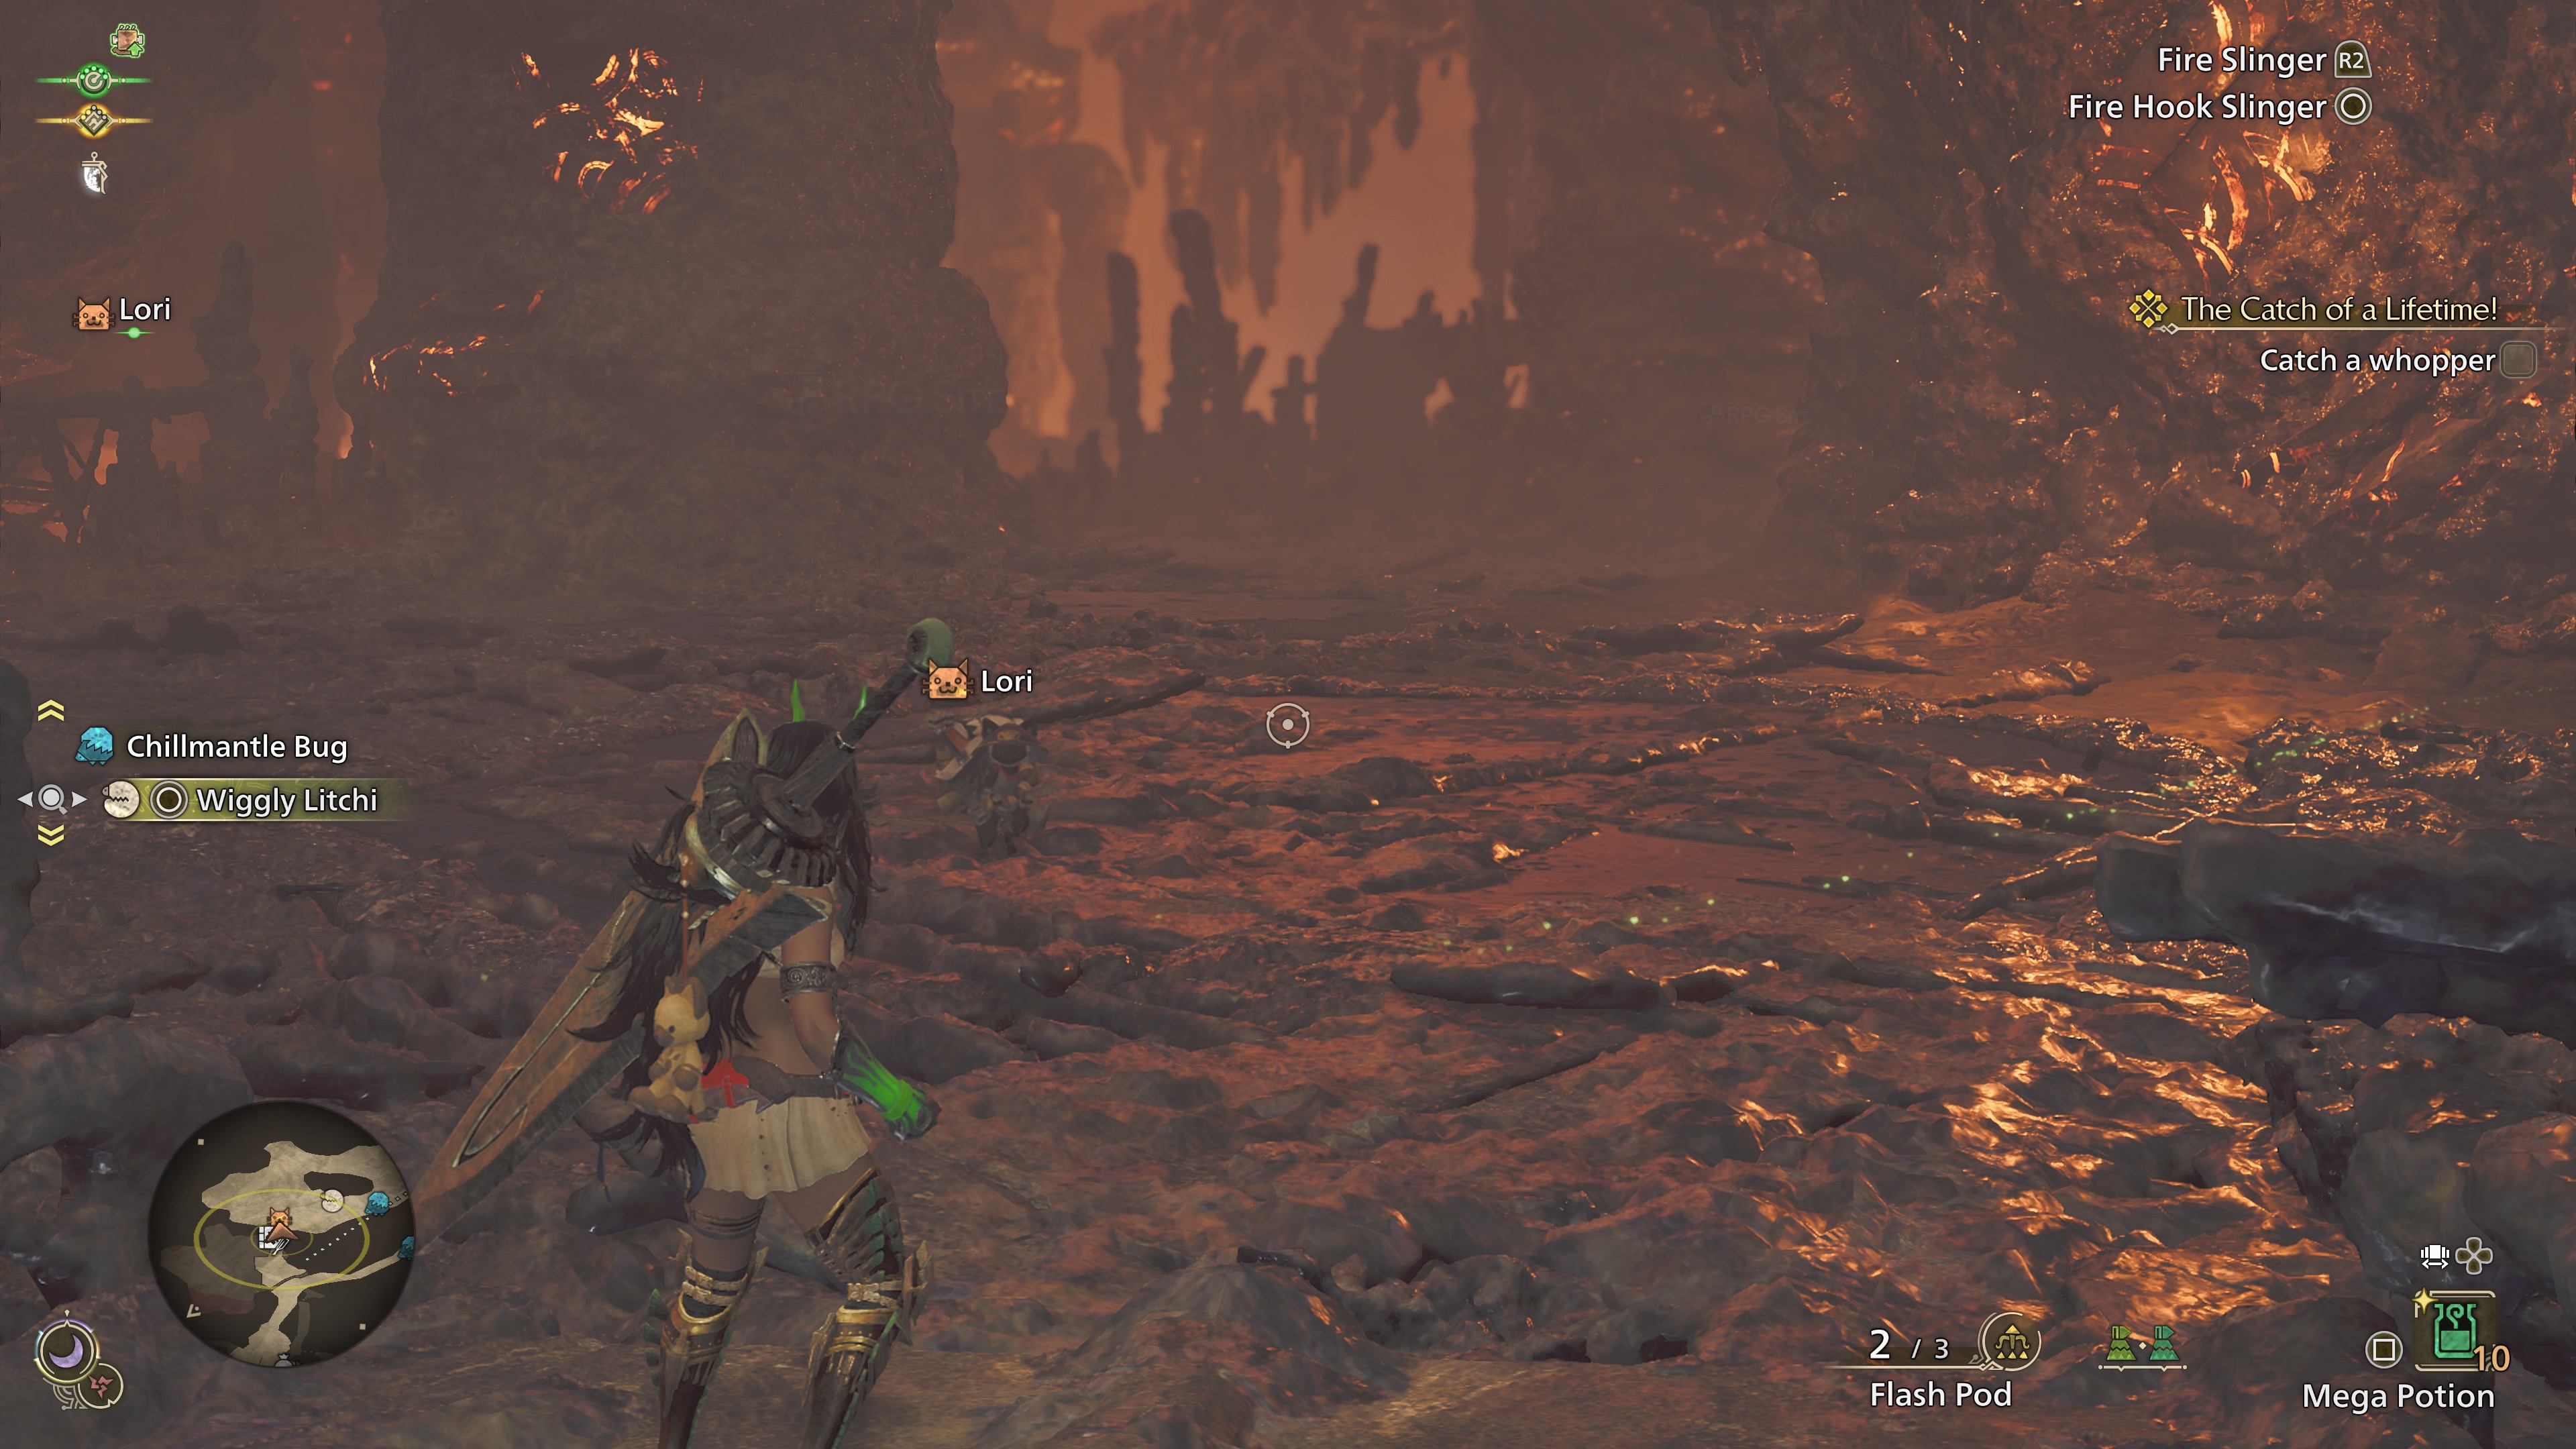
The slinger is more useful than you think in Monster Hunter Wilds
If you've played Monster Hunter Wilds, you likely know that the slinger can be used to gather items while on your Seikret or when you're not physically near the gathering point. What you might not know is that you can hold L2 to aim the slinger and then use the d-pad to scroll through the items near you that show up as a list near the left side of the actual game screen. This means you can gather things like a Chillmantle Bug or slinger ammo as long as they are within your slinger's range and without you having to manually aim. This is fantastic during hunts.
The best Monster Hunter Wilds weapon is the one you like using
When you're starting out playing a Monster Hunter game, there are countless lists and tiers online with a focus on the maximum damage output or things like that. Don't worry about that early on. Pick the weapon you think looks the coolest or whatever you feel like using and try hunting with it. Monster Hunter is not a one and done game. You will eventually click with it and might even end up building sets for multiple weapons. I started out with Dual Blades many years ago on 3DS and don't even look at that right now given how much I love using Great Sword, Hammer, and Hunting Horn.
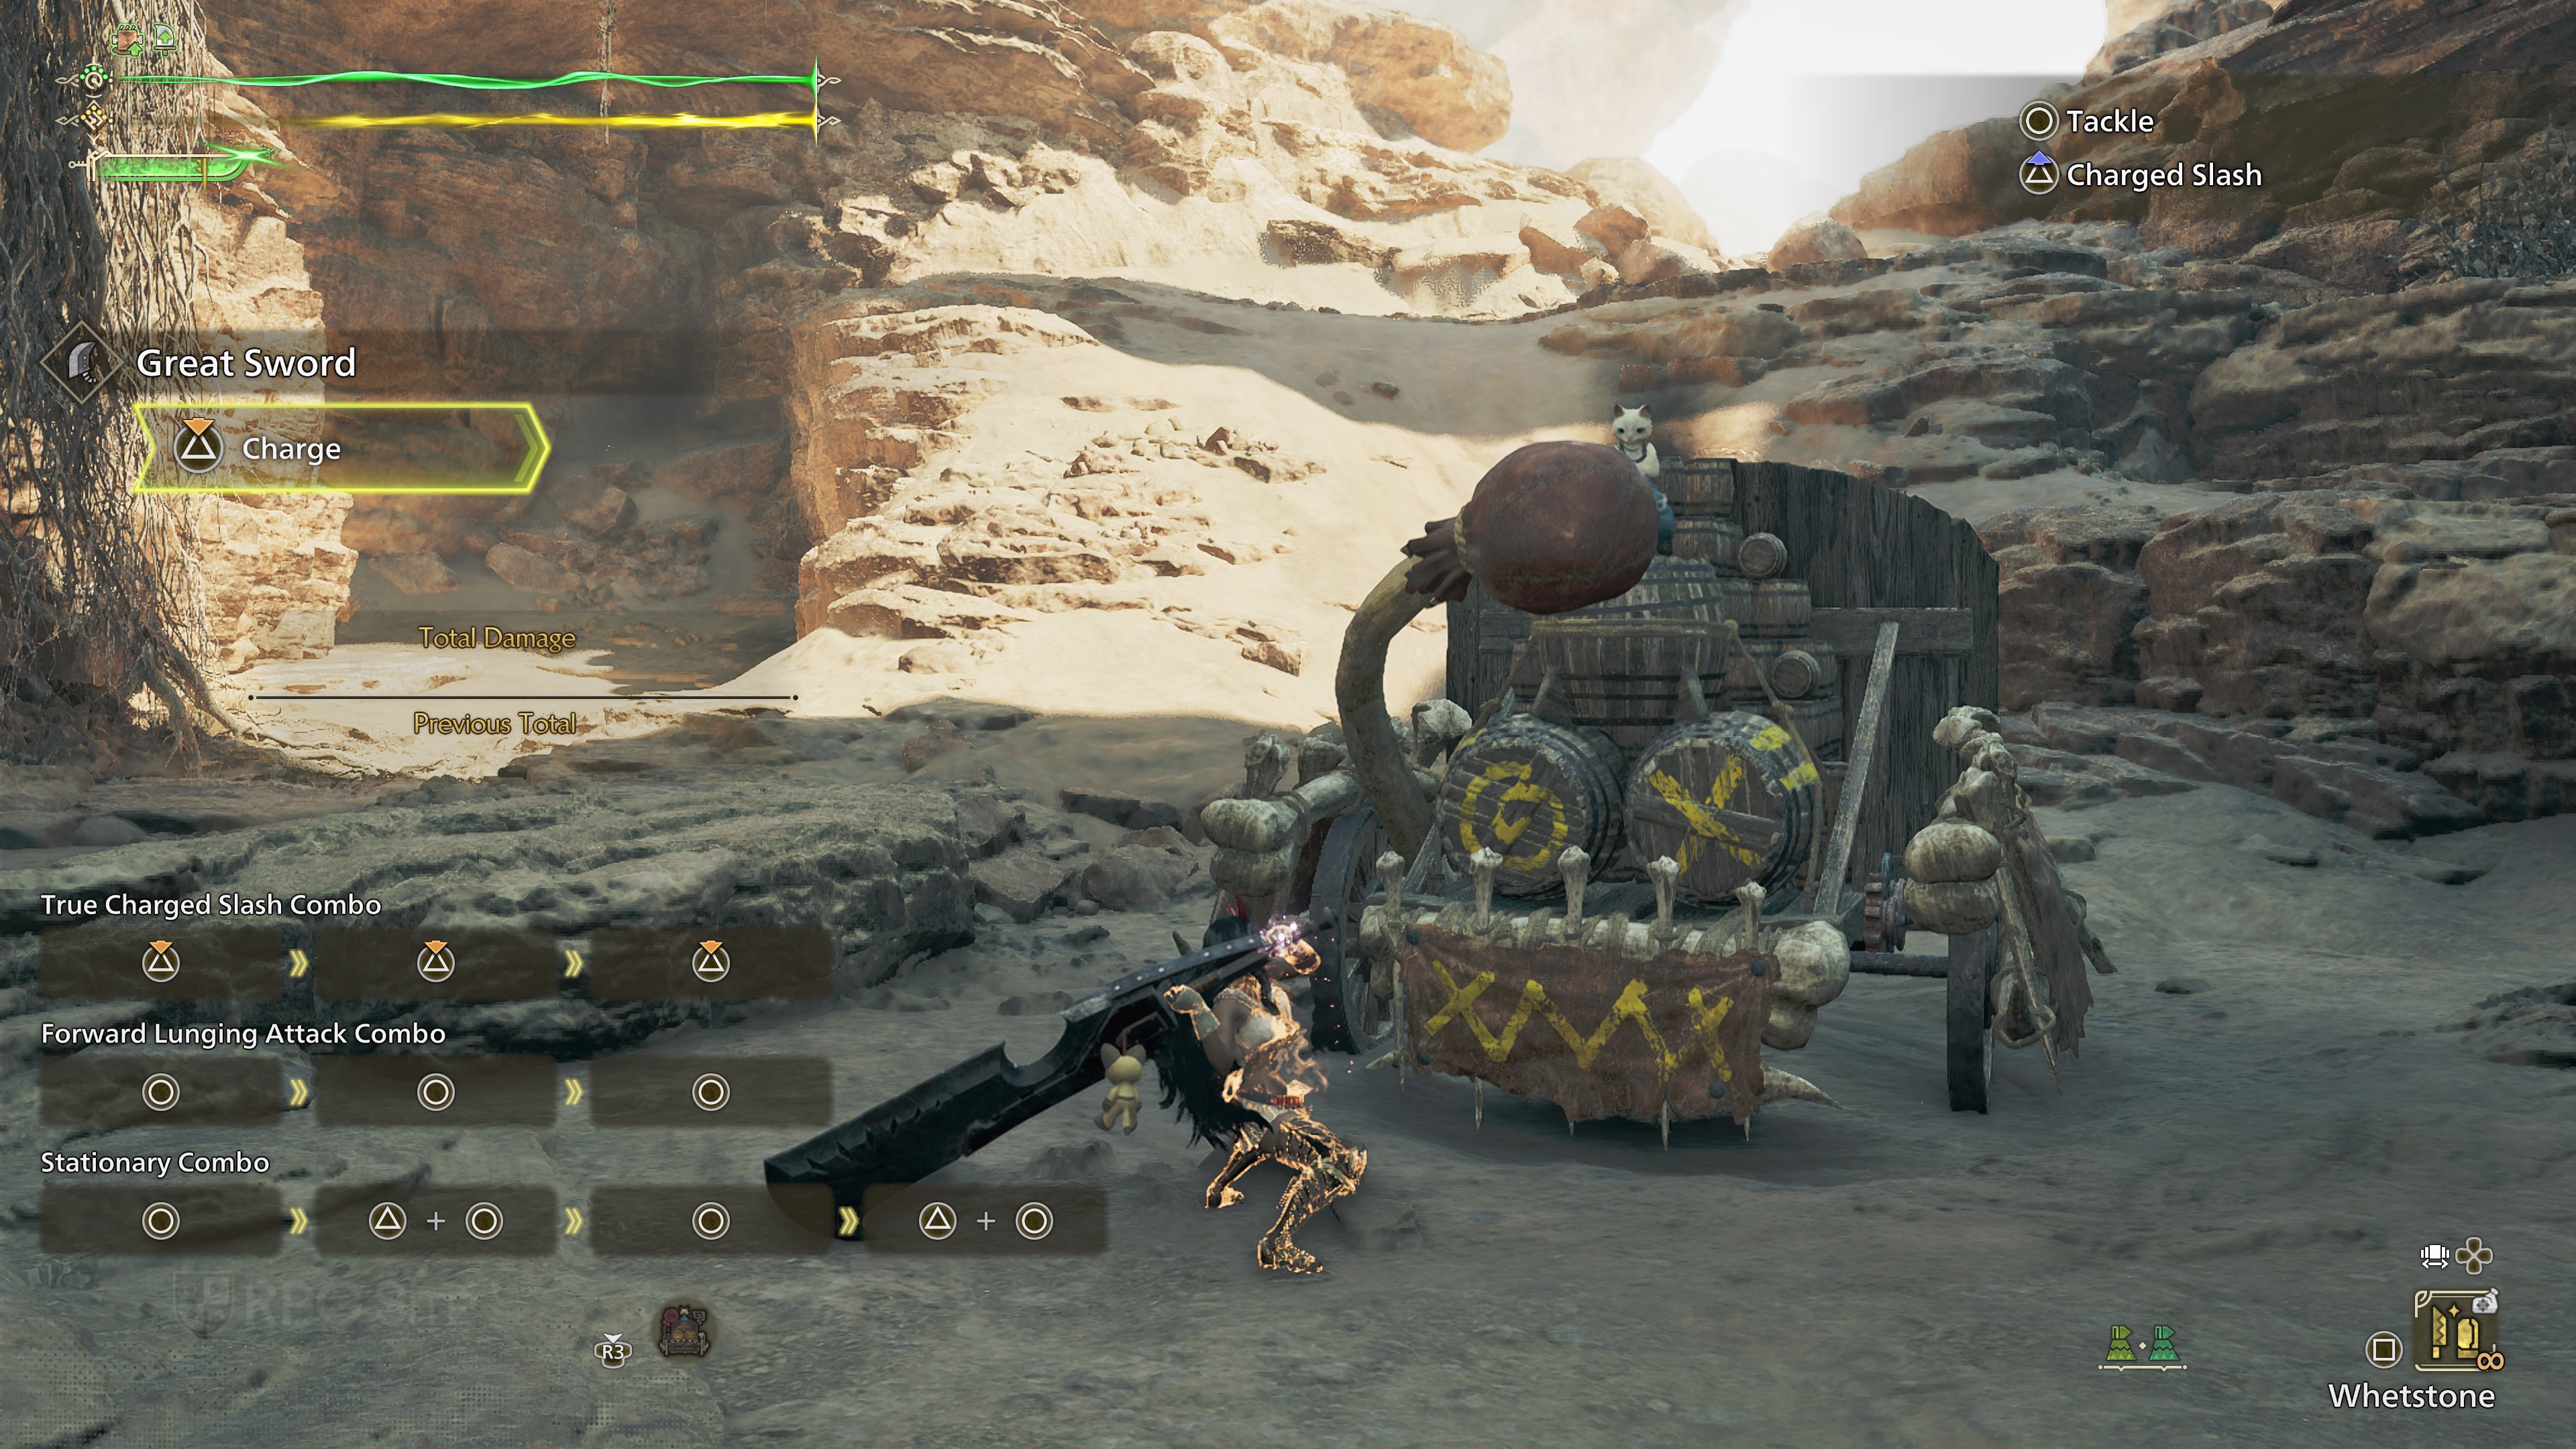
Spend time in the training area
Monster Hunter Wilds' first base camp lets you access a training area. This lets you view your damage output, combos, and more as you try out attacking a dummy monster in the training area. You can also talk to Luke, the Training Area Meownager, who can change settings or give you tips.
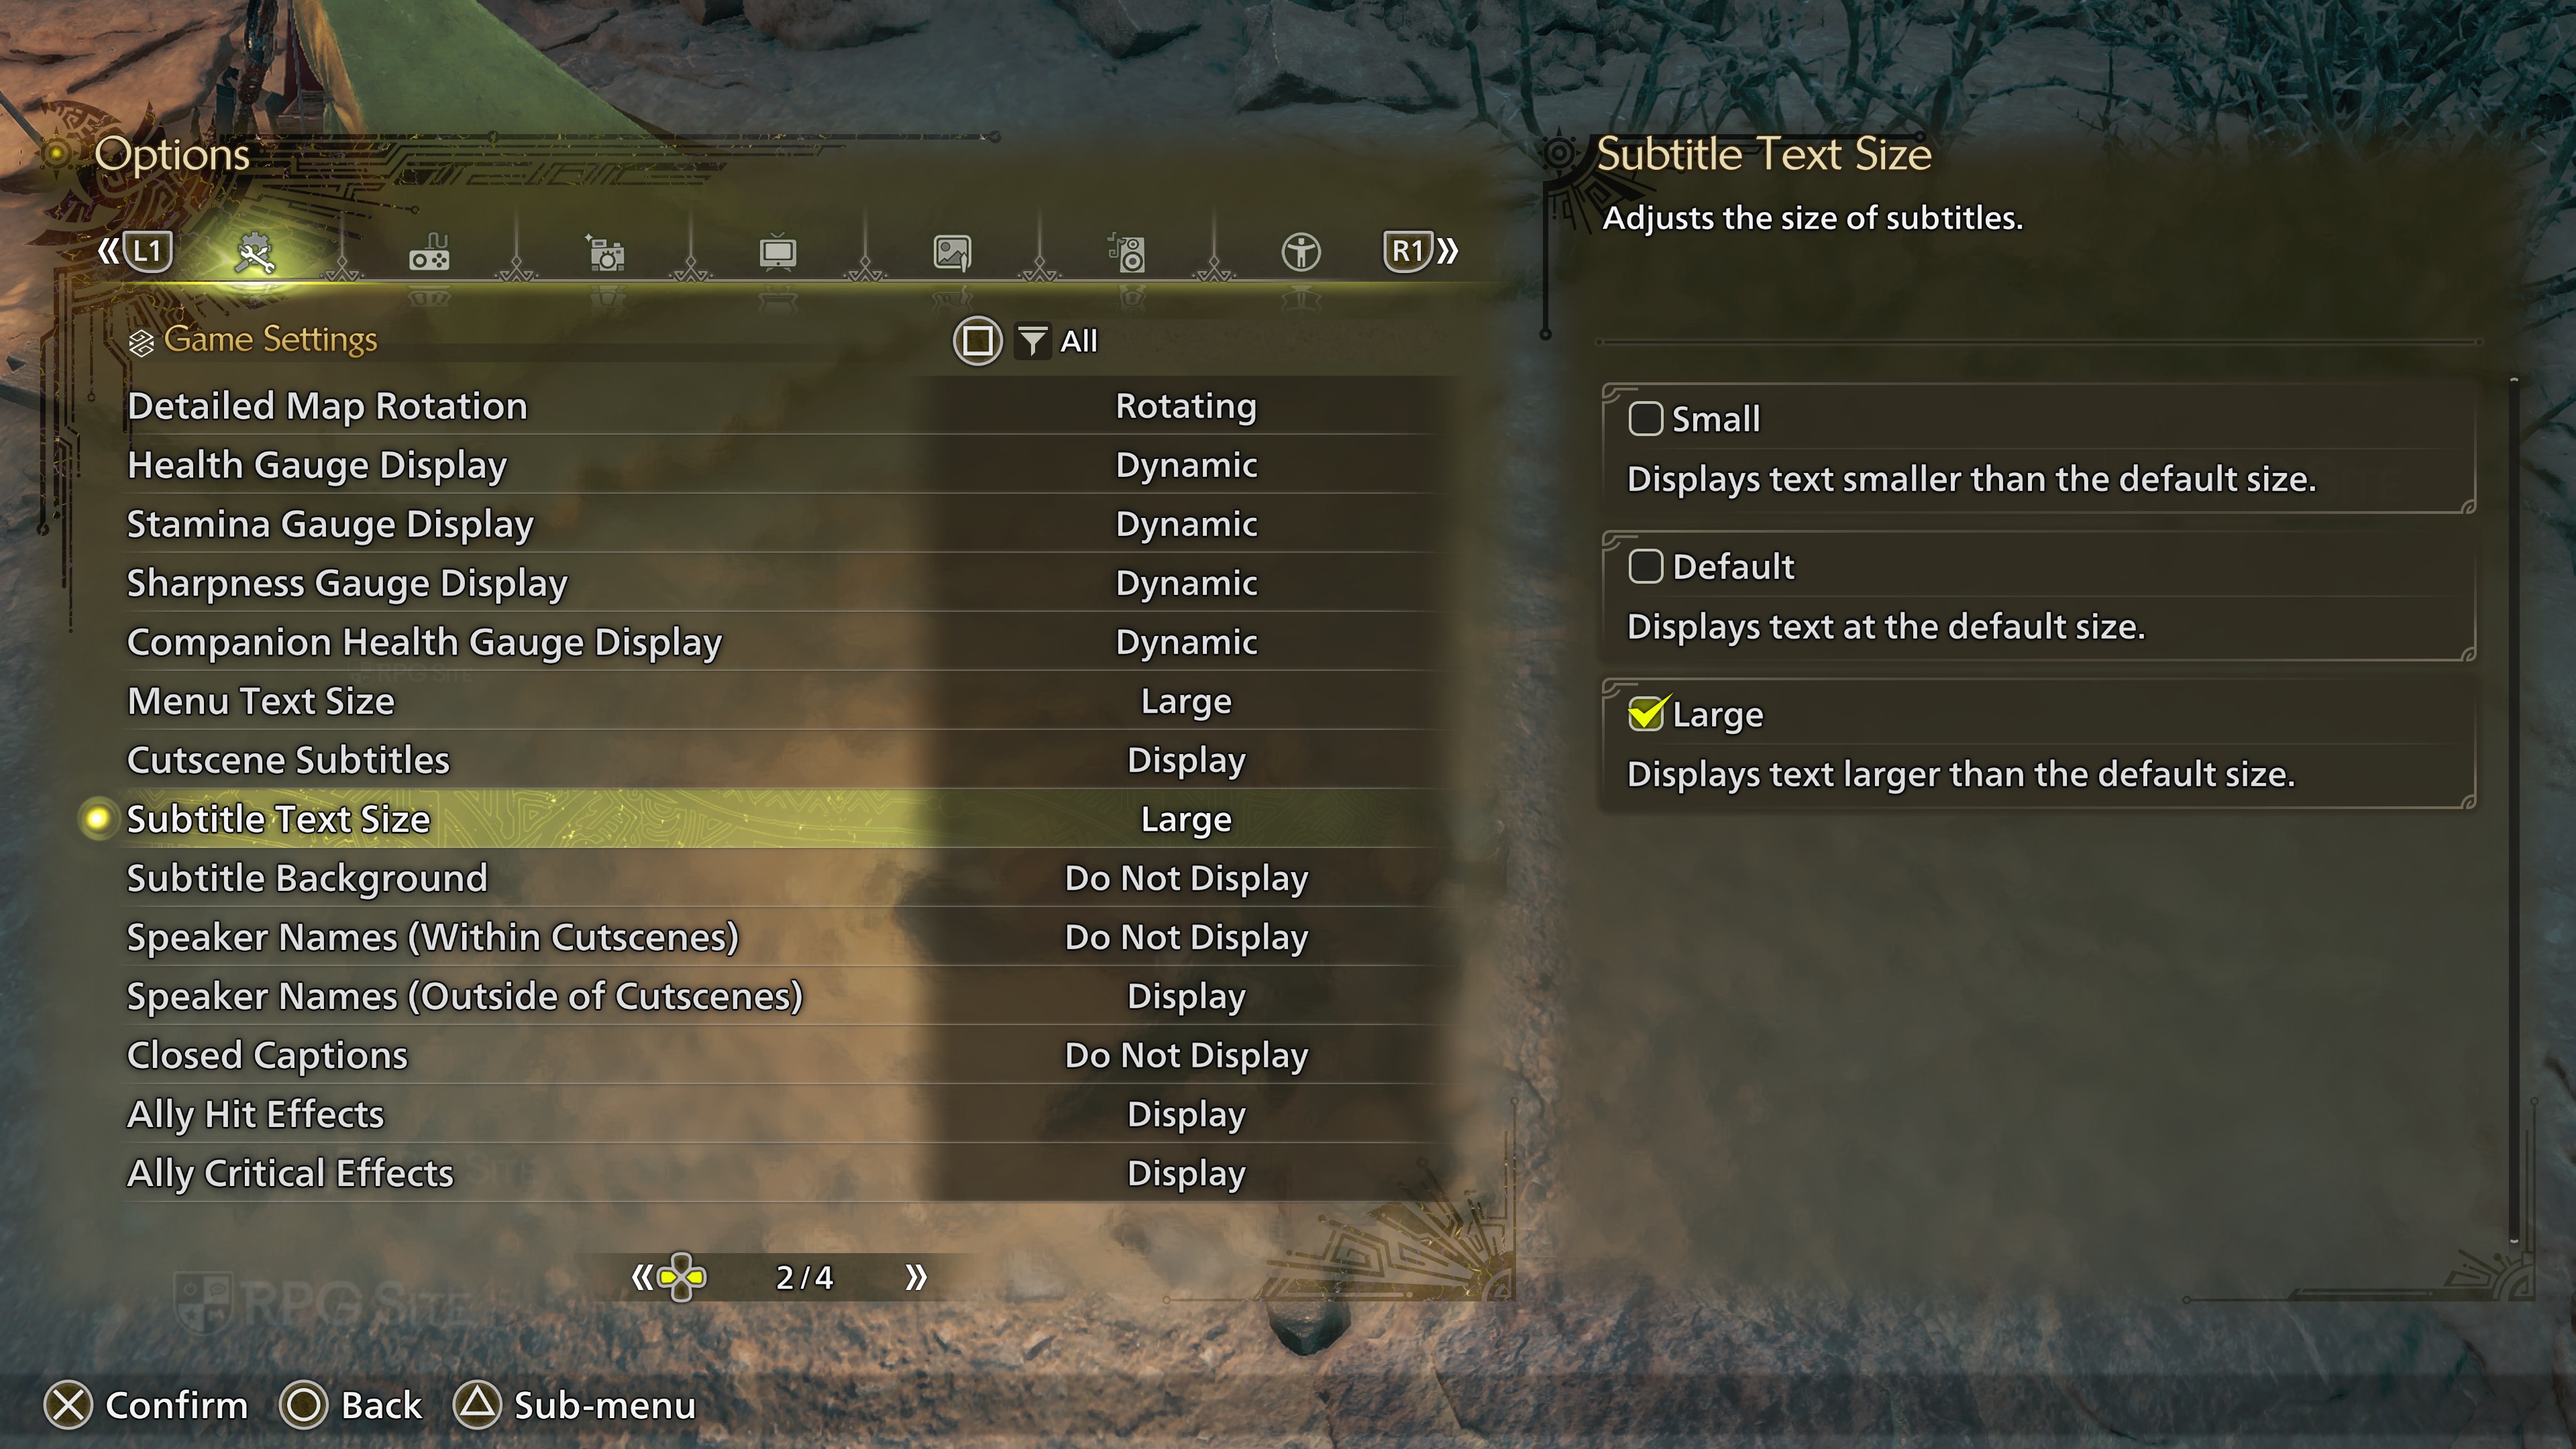
Monster Hunter Wilds UI customization tips
Capcom has gotten better about accessibility in recent years. You see this when you first boot up the game and are asked about things like motion sickness. Go into the Game Settings portion of the options and have a look through all four pages for text size, minimap scaling, rotation, hit effects being displayed, and more to tweak your experience to your liking.
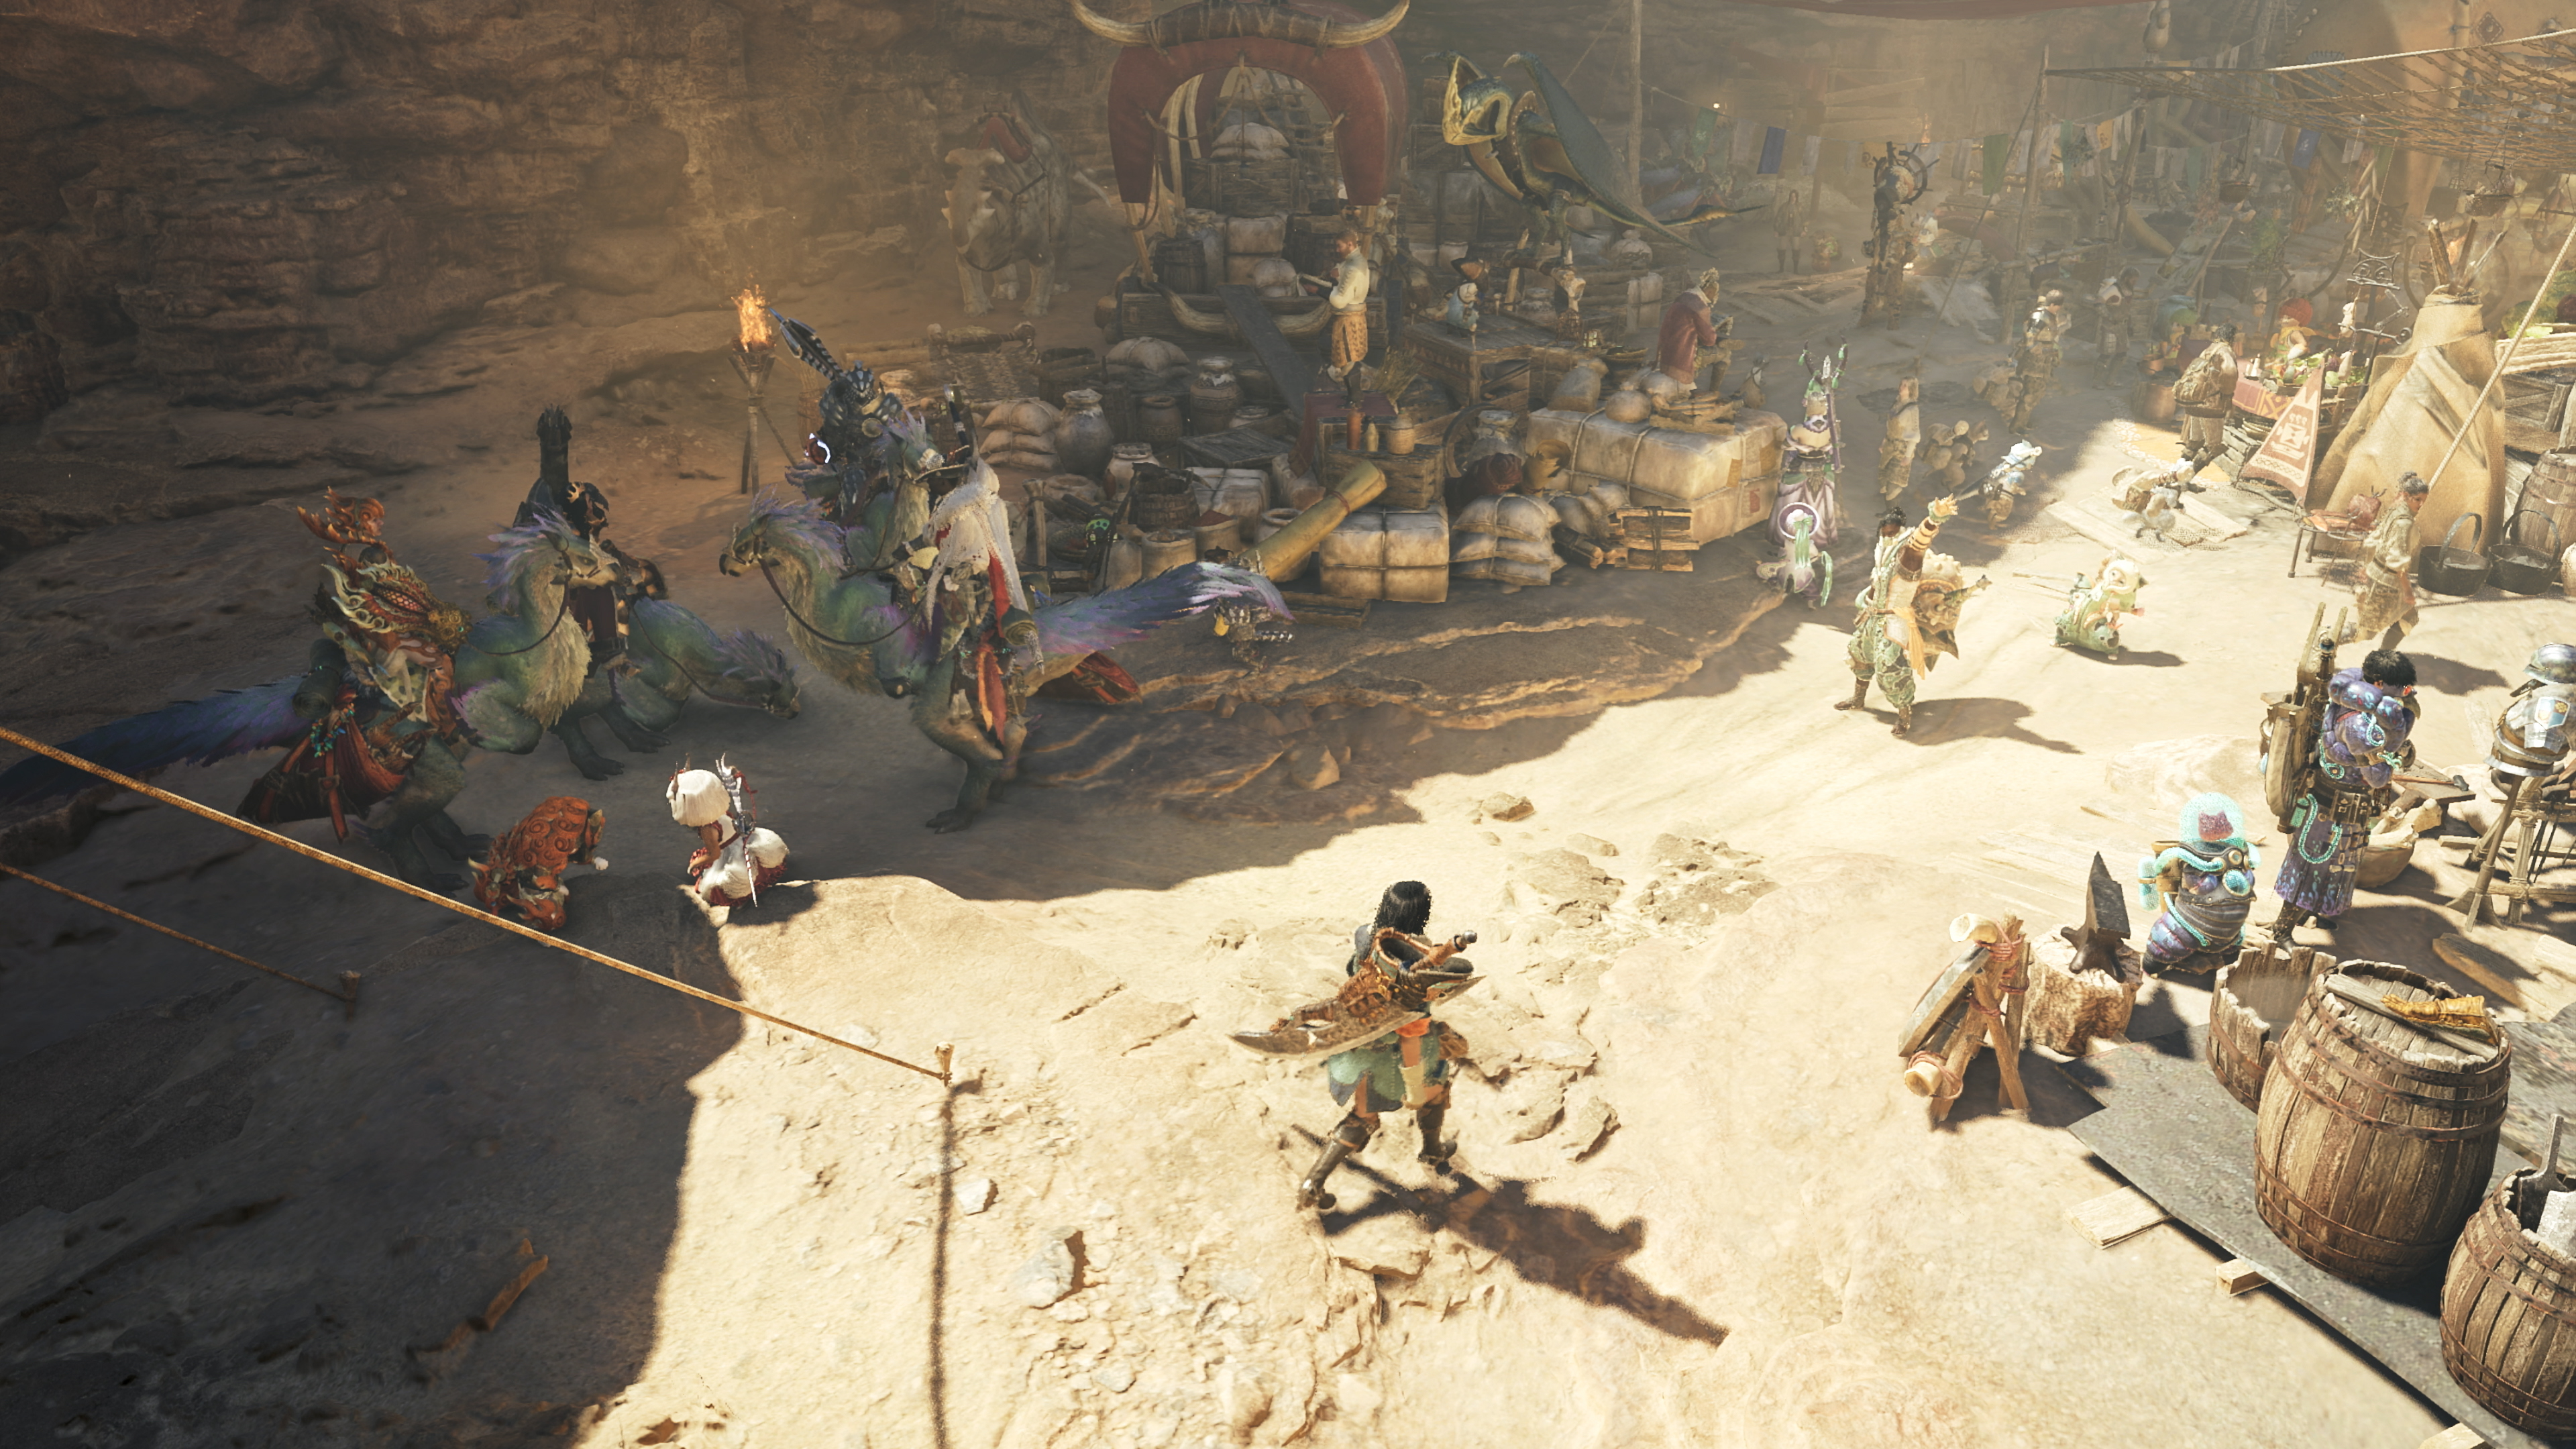
Always talk to NPCs marked with a yellow symbol
NPCs will give you new side missions, items, optional quests, and more so make sure to talk to any you see with a yellow quest symbol or a yellow exclamation mark above their head or on their icon on the map.
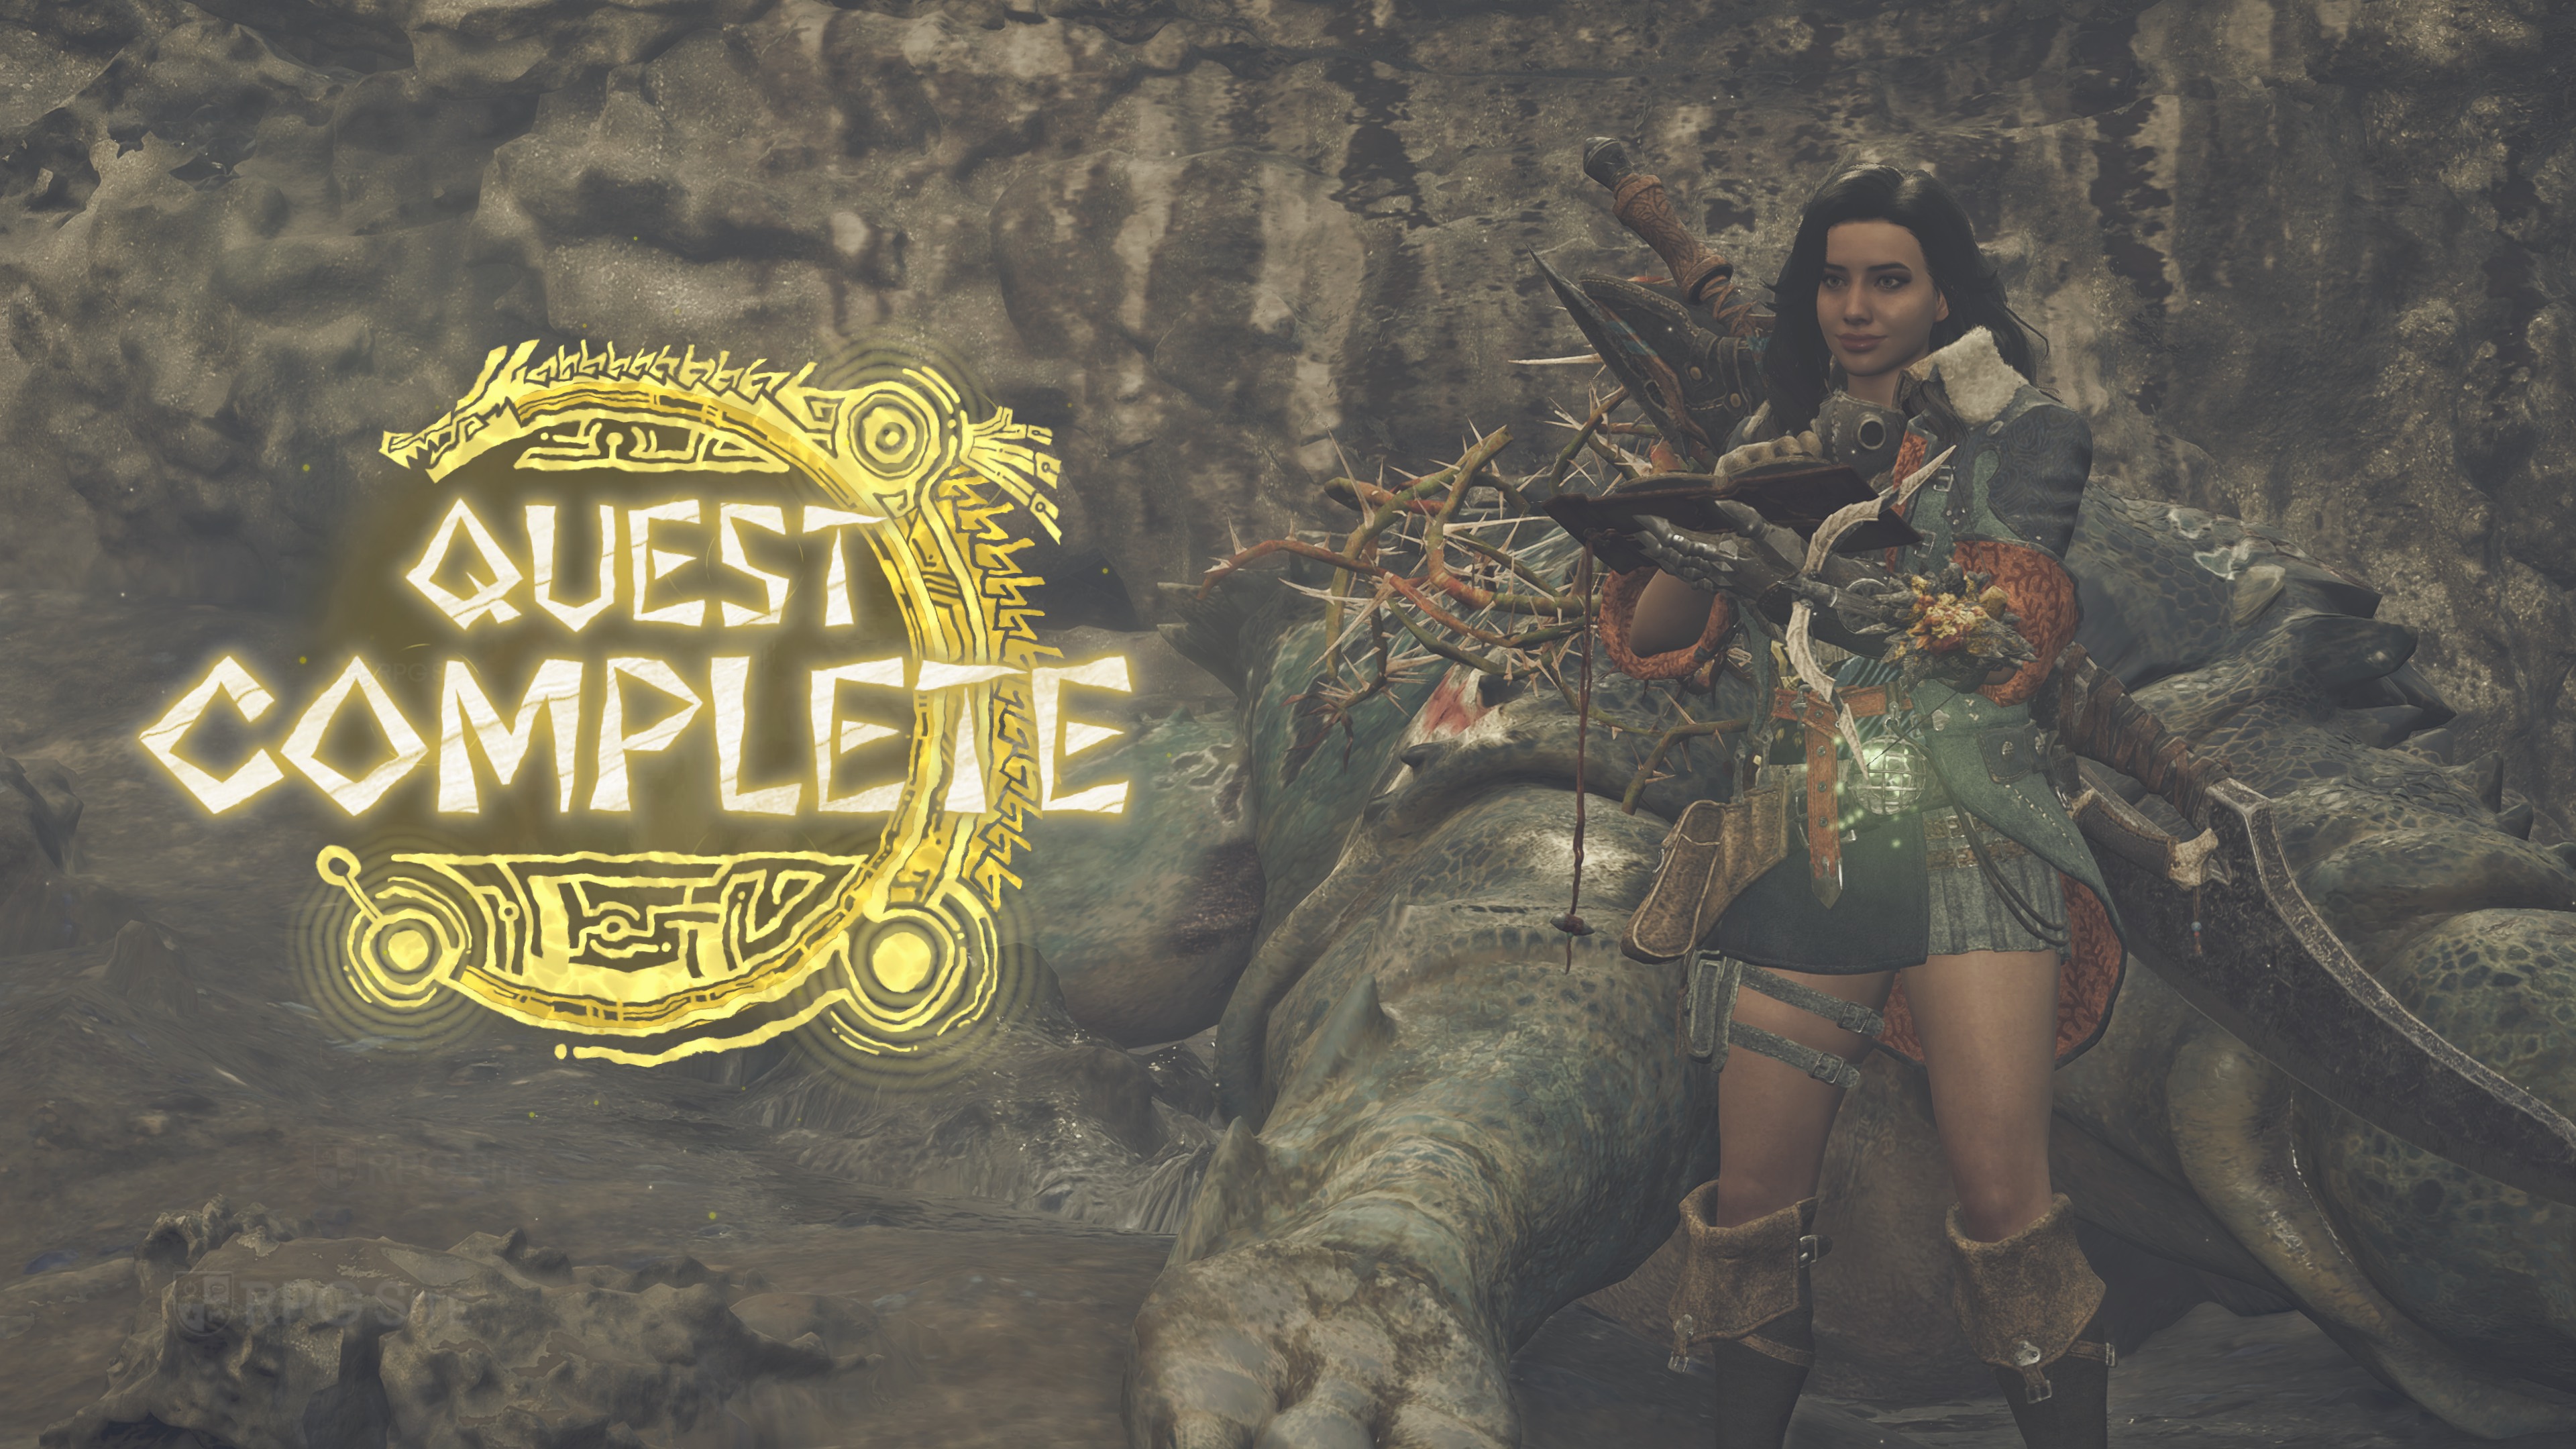
You can skip the quest complete animation in Monster Hunter Wilds
When you complete a quest, the game pans around the monster you've hunted slowly. You can skip this by pressing (not holding because that ends the quest early) the touchpad if you play on PS5 or the View Button on an Xbox controller.
Hopefully these tips helped you out if you're new to Monster Hunter or are just returning to it with Monster Hunter Wilds after a while.
Monster Hunter Wilds is now available worldwide on PlayStation 5, Xbox Series X|S, and PC (Steam). Check out all our Monster Hunter Wilds guides here.