
Avowed: All Totem Fragment Locations
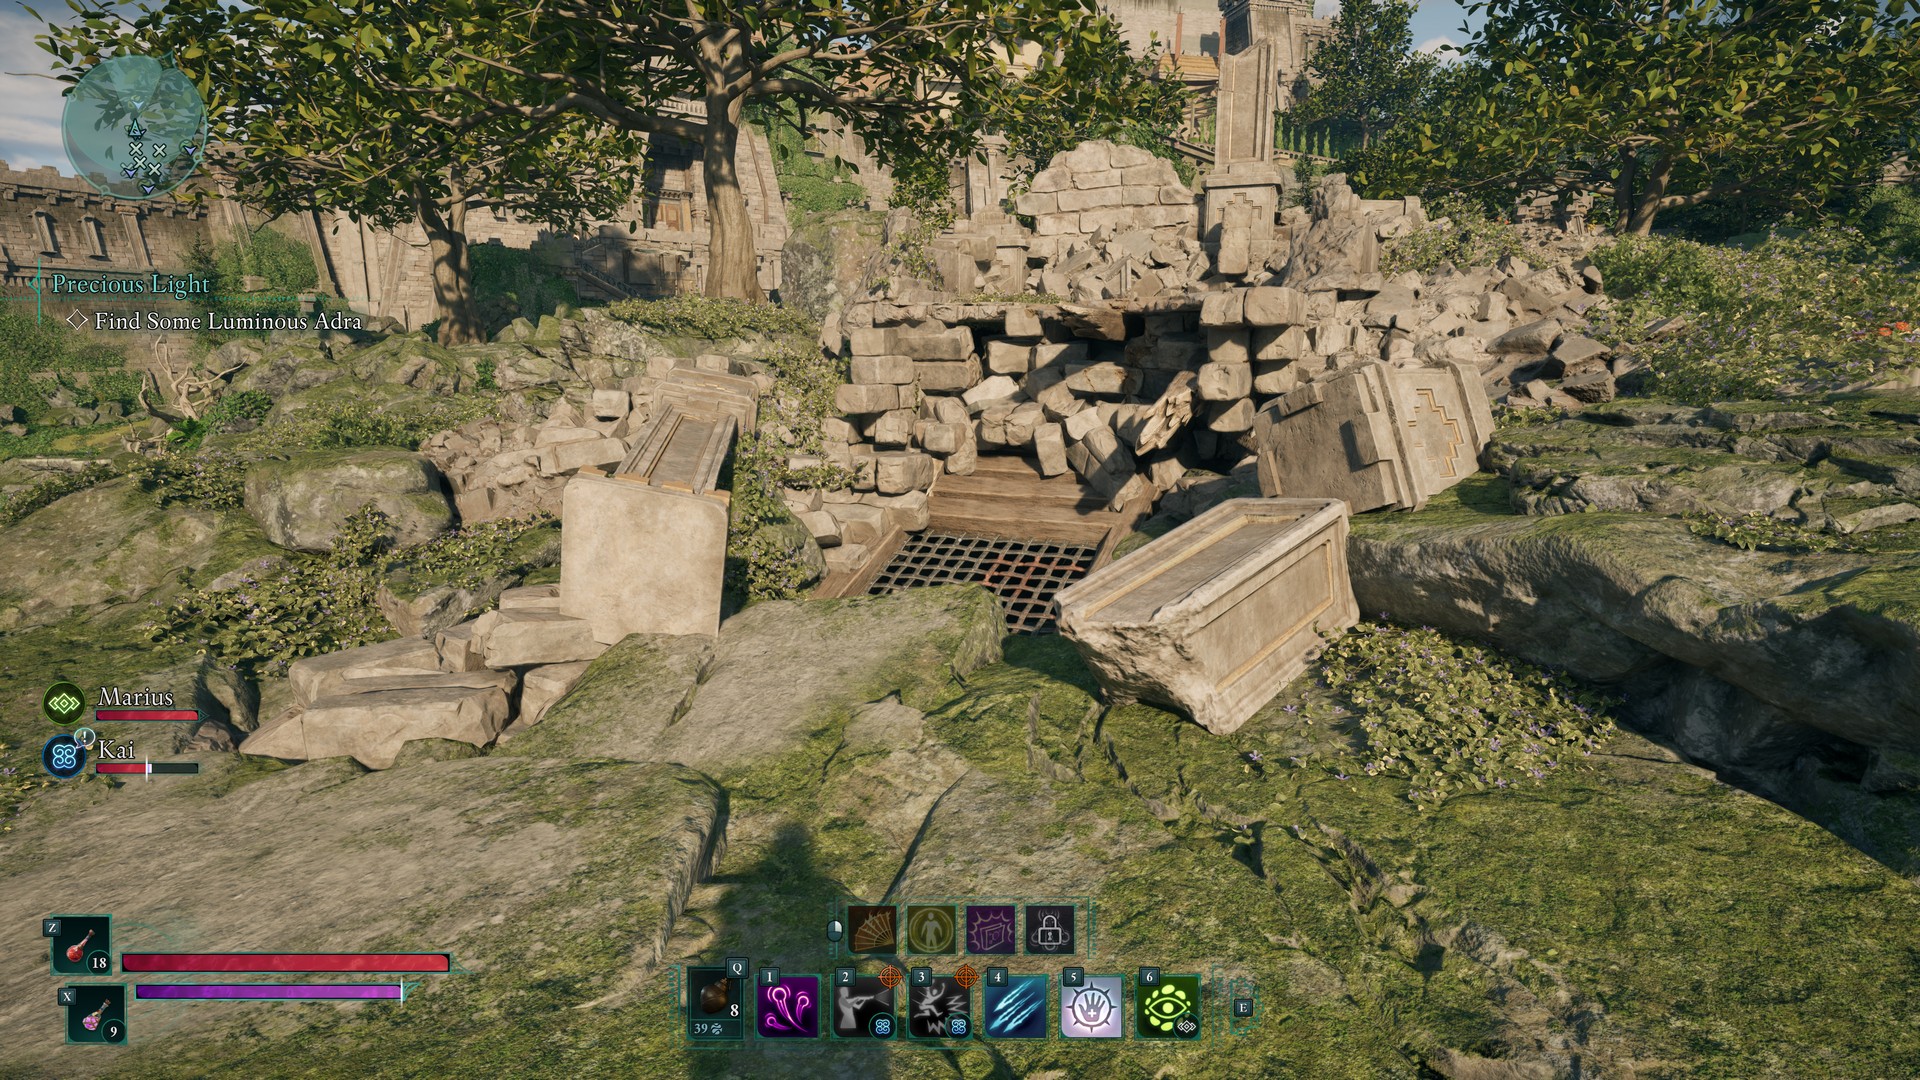
Early on in Avowed, you’ll likely come across a Totem Fragment in the Dawnshore region, kicking off a quest to reassemble the totem. There is the first of four totems to put together, one for each of the four major regions in the game. Each totem consists of a Totem Core and six Fragments. In addition, there is a Fragments journal item for each totem, which will give hints for the remaining pieces of any given totem. A totem cannot start being reassembled until you’ve found the core of that totem itself.
Listed below are all the details for where to find every totem for each region. This includes where to buy the Fragments journal item, where to find each core or fragment, and the bonuses that each totem will give once fully reassembled.
Note: In order to see the full list of items to find in your Journal, you must purchase the accompanying ‘Fragments’ quest item for hints. These are all very cheap and should be one of the first things you do before assembling each totem.
Check out our other Avowed location guides:
Avowed - All Totem Fragment Locations
- Dawnshore - Totem of Rightful Rulership: Scales Of the Oathbinder
- Emerald Stair - Totem of Defiance: Schemer’s Offering
- Shatterscarp - Totem of Revelations: Eyes of the Obscured
- Galawain’s Tusks - Totem of Perseverance: Huntmaster’s Spoils
Dawnshore - Totem of Rightful Rulership: Scales Of the Oathbinder
Fragments of the Scales
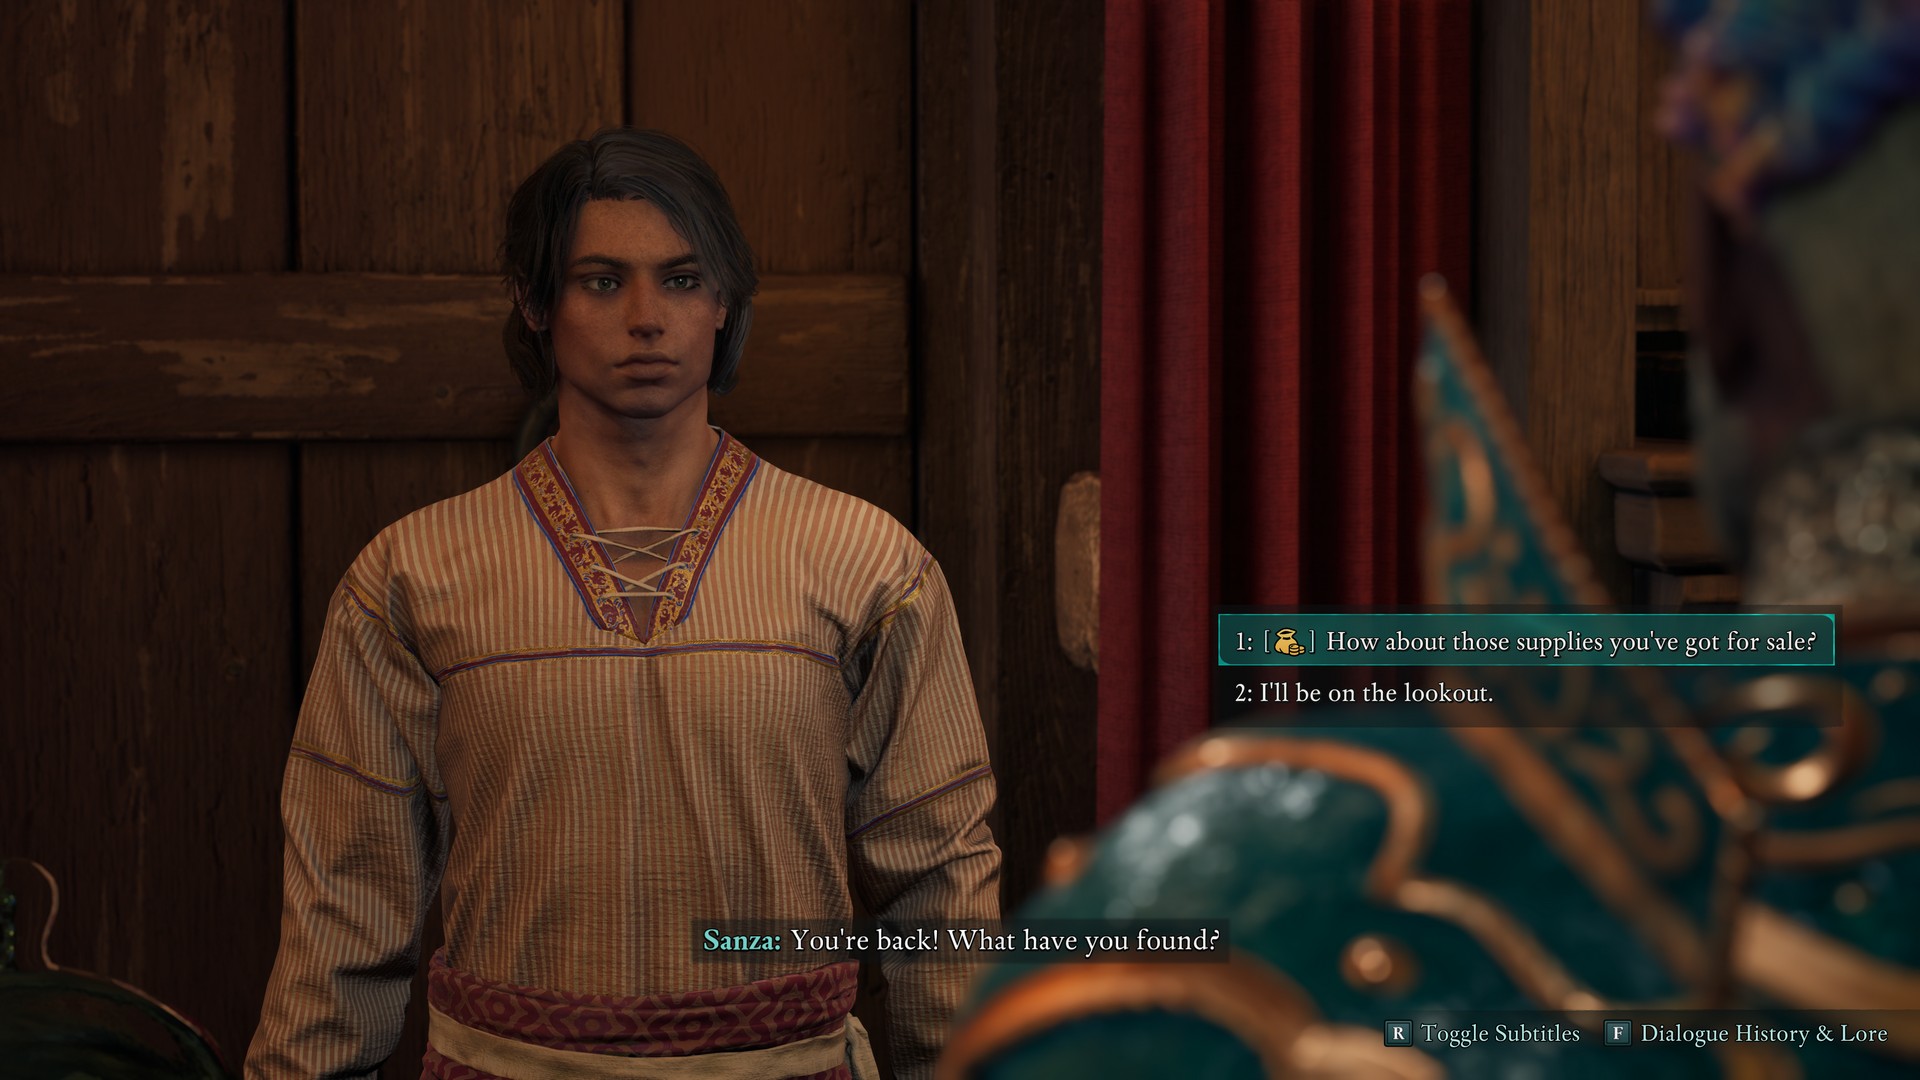
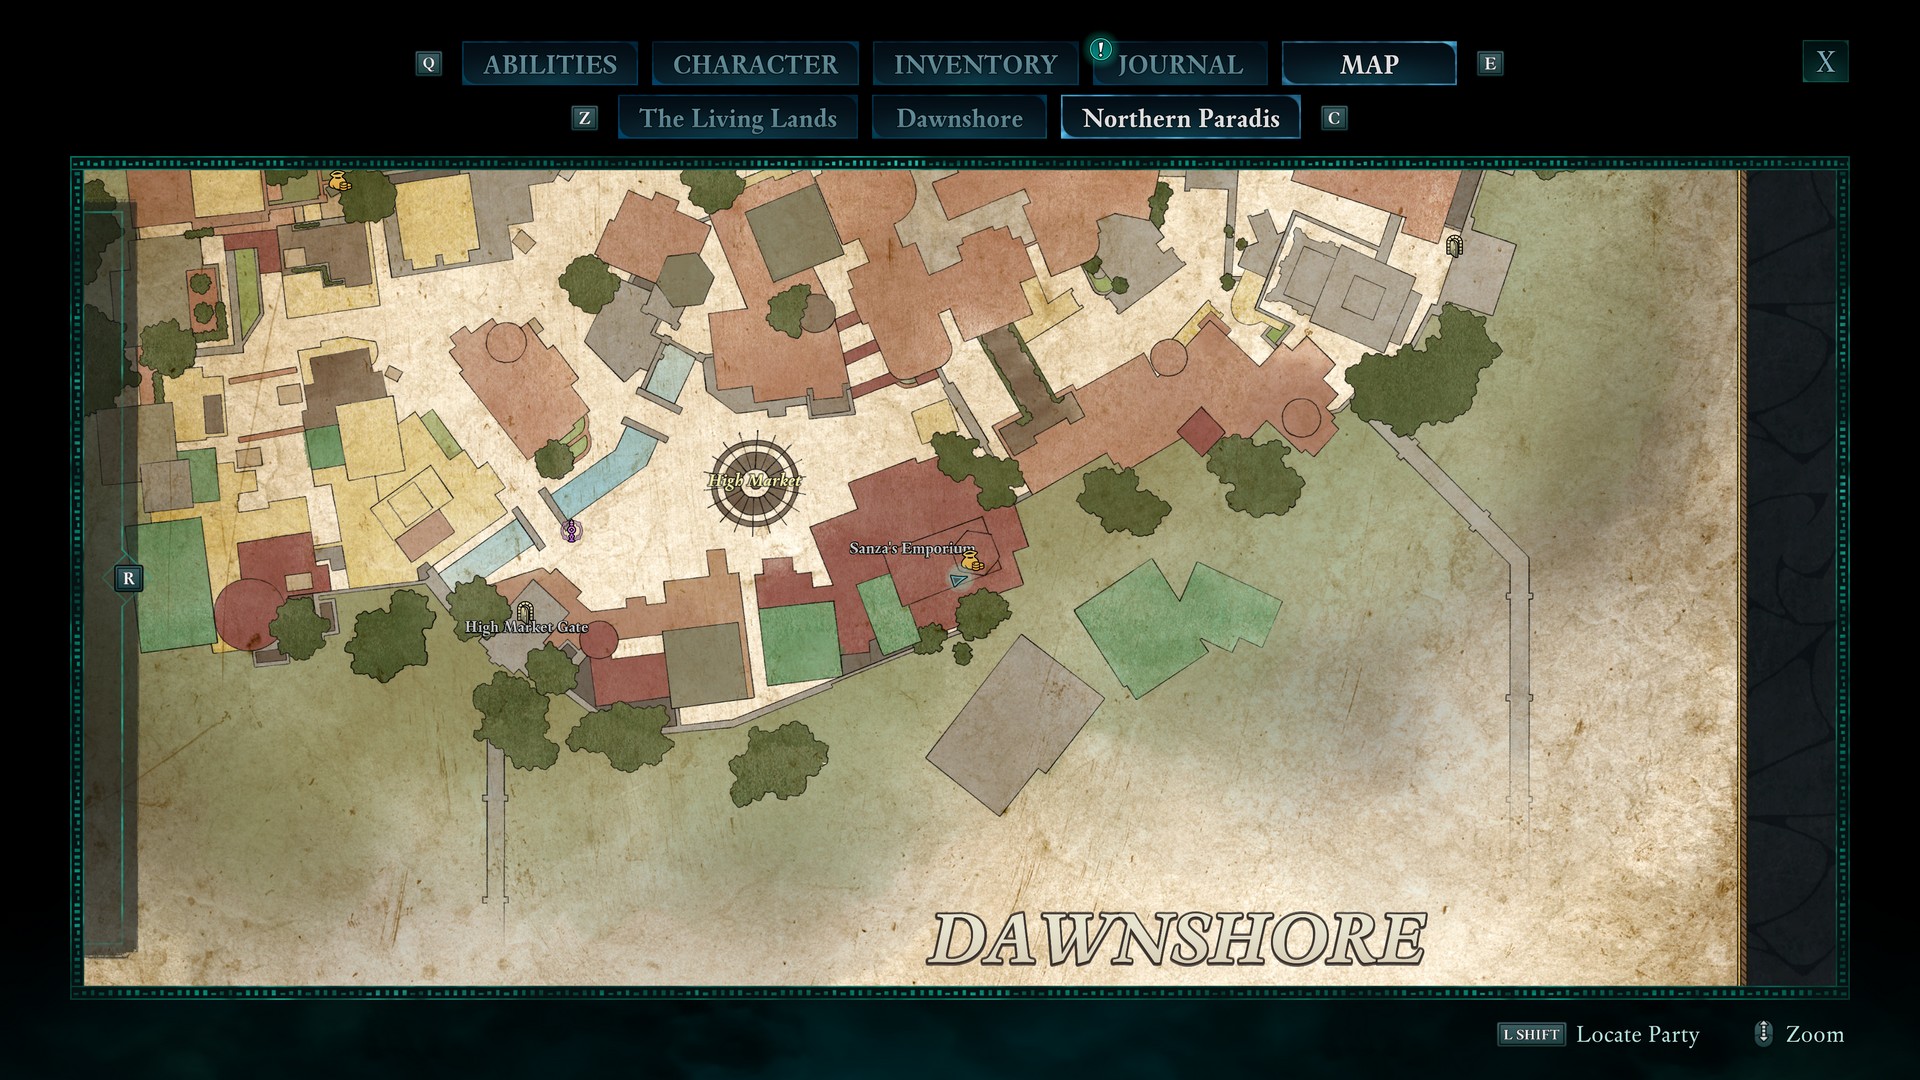
Buy from Sanza’s Makeshift Emporium in Northern Paradis for 500g.
Scales of the Oathbinder
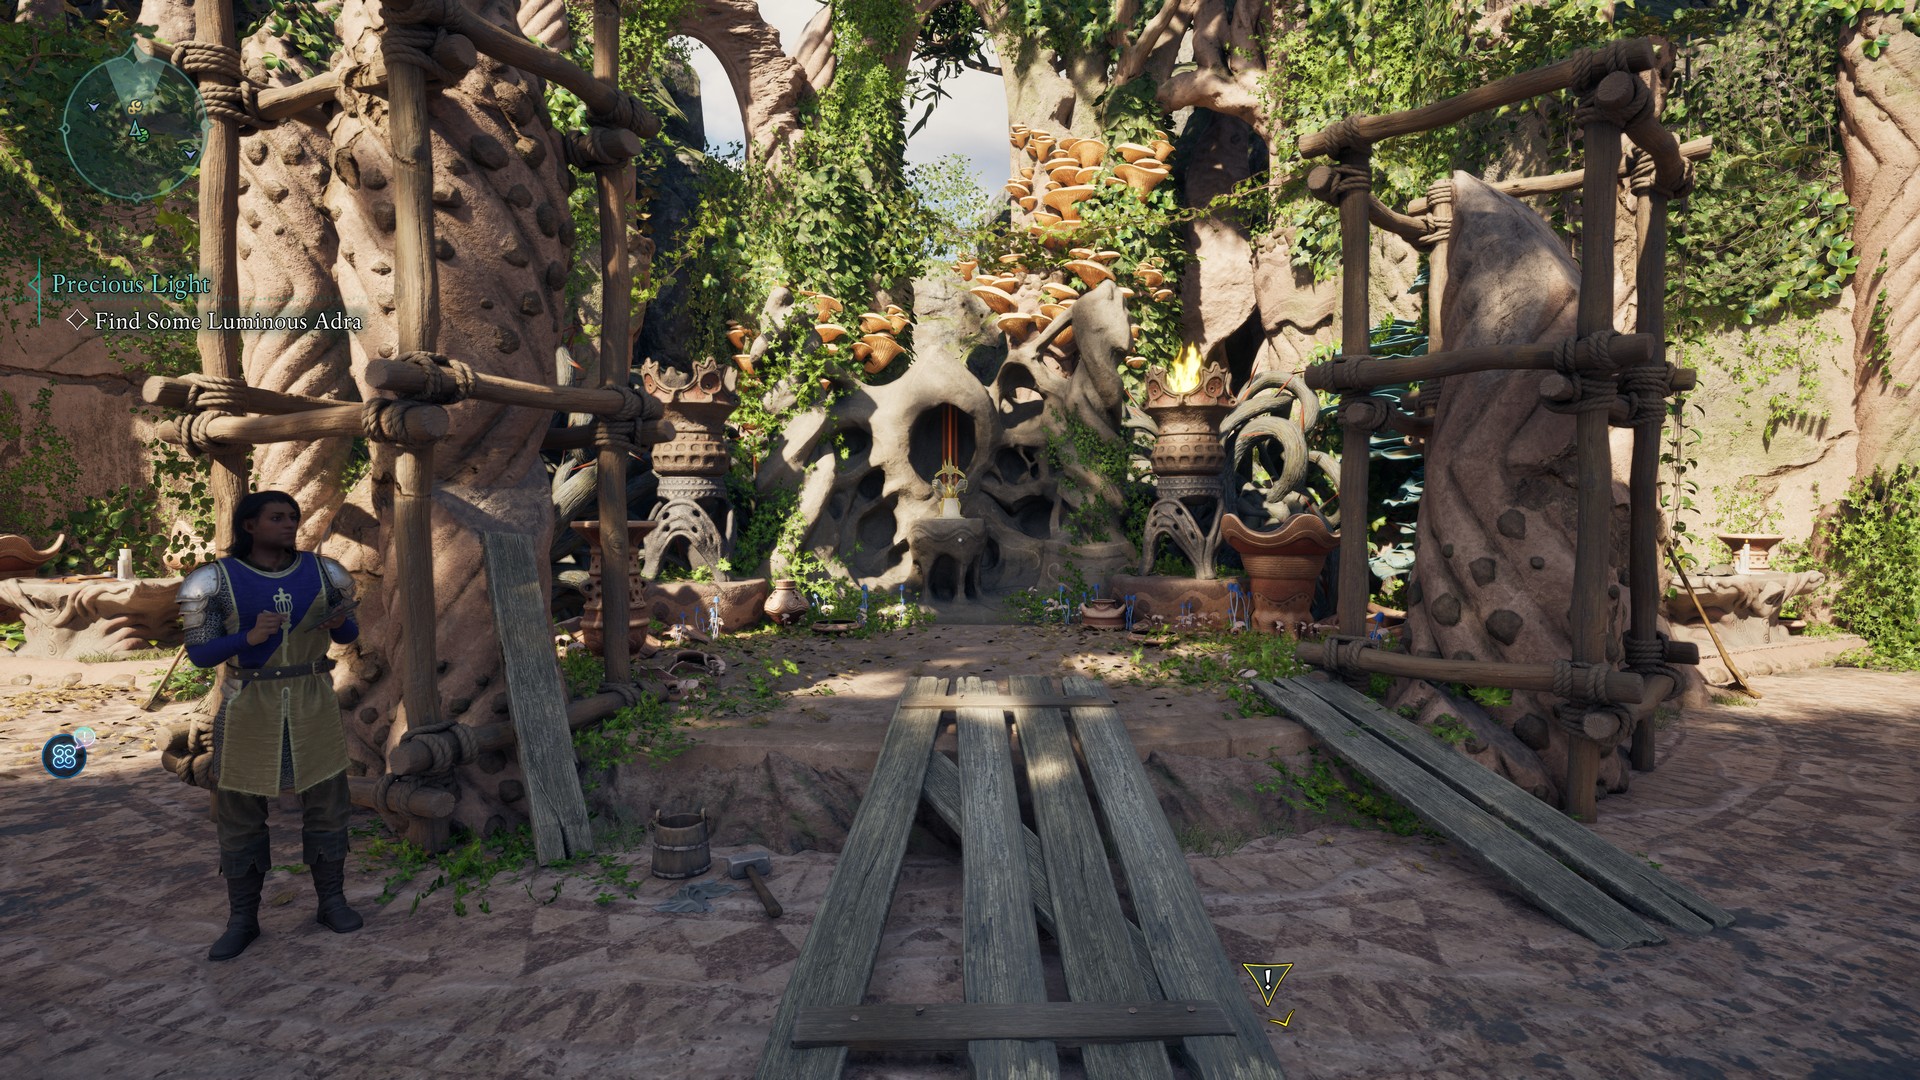
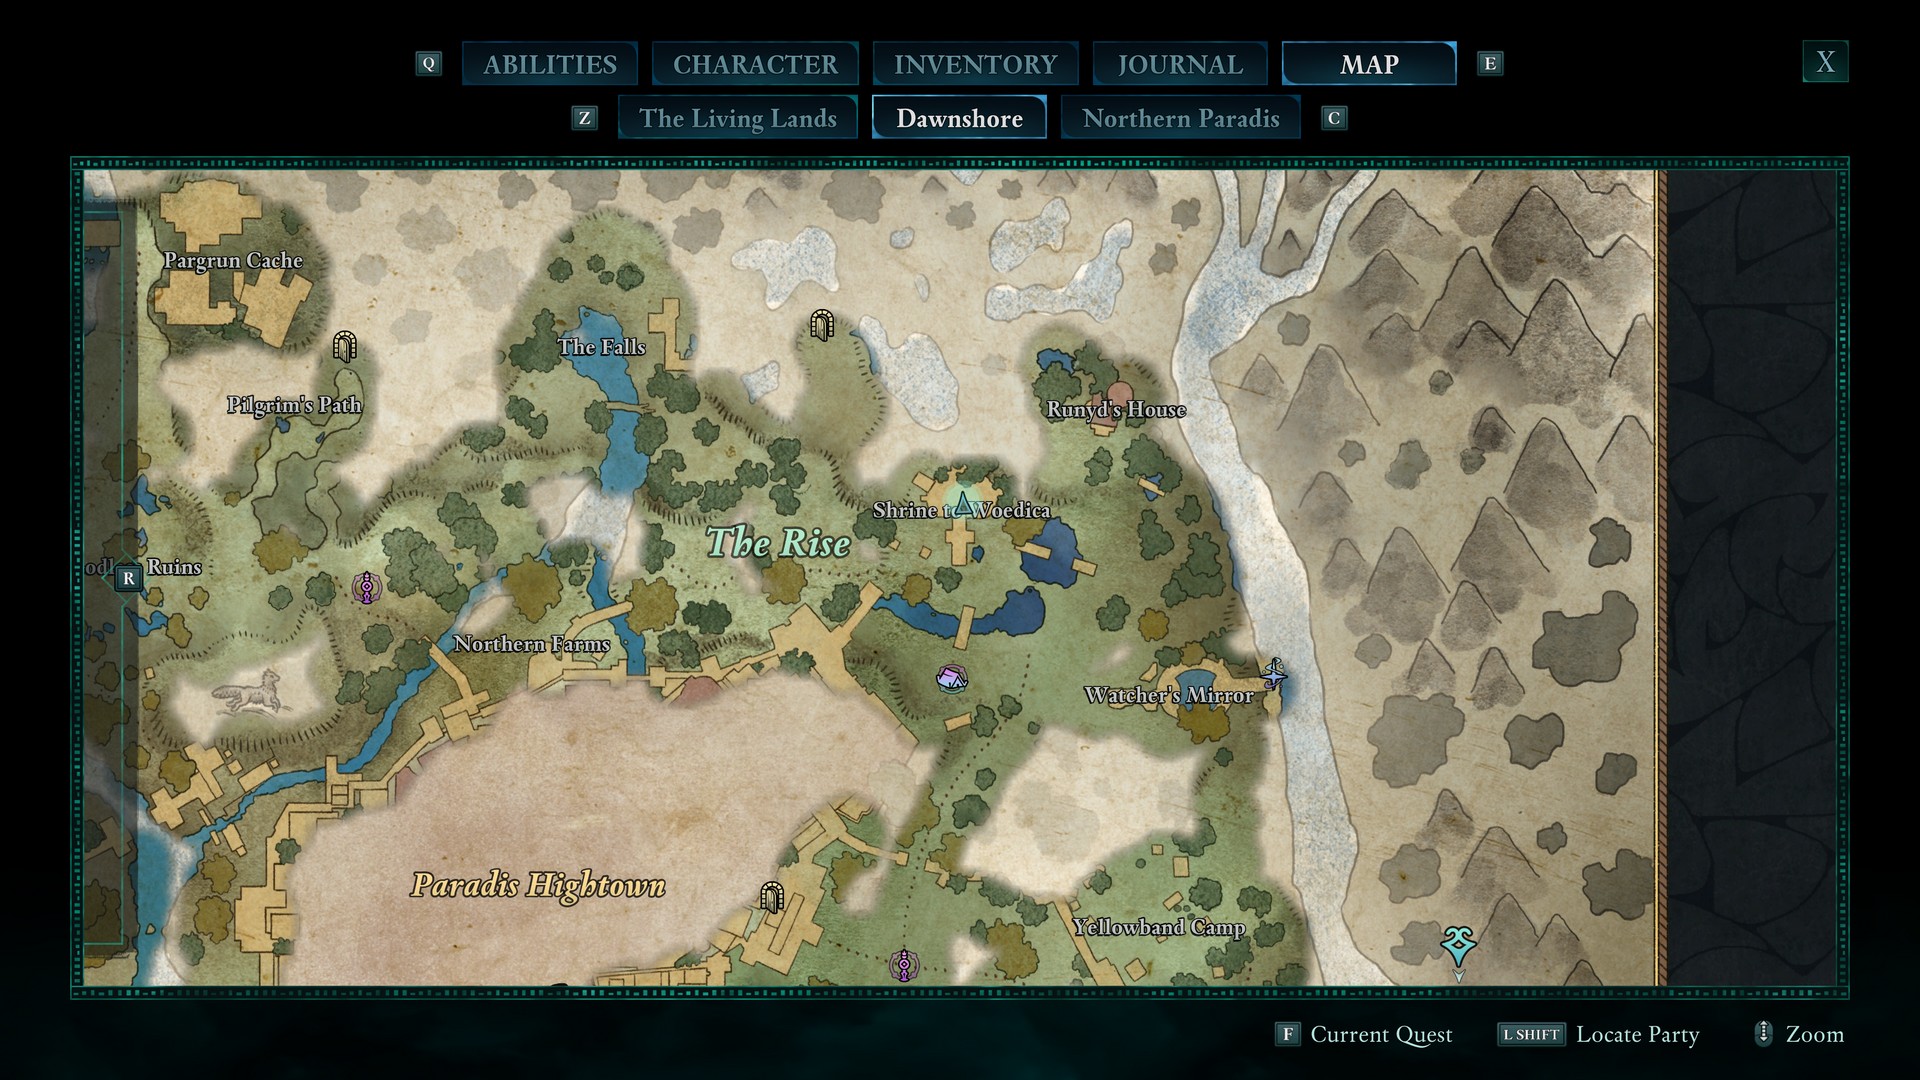
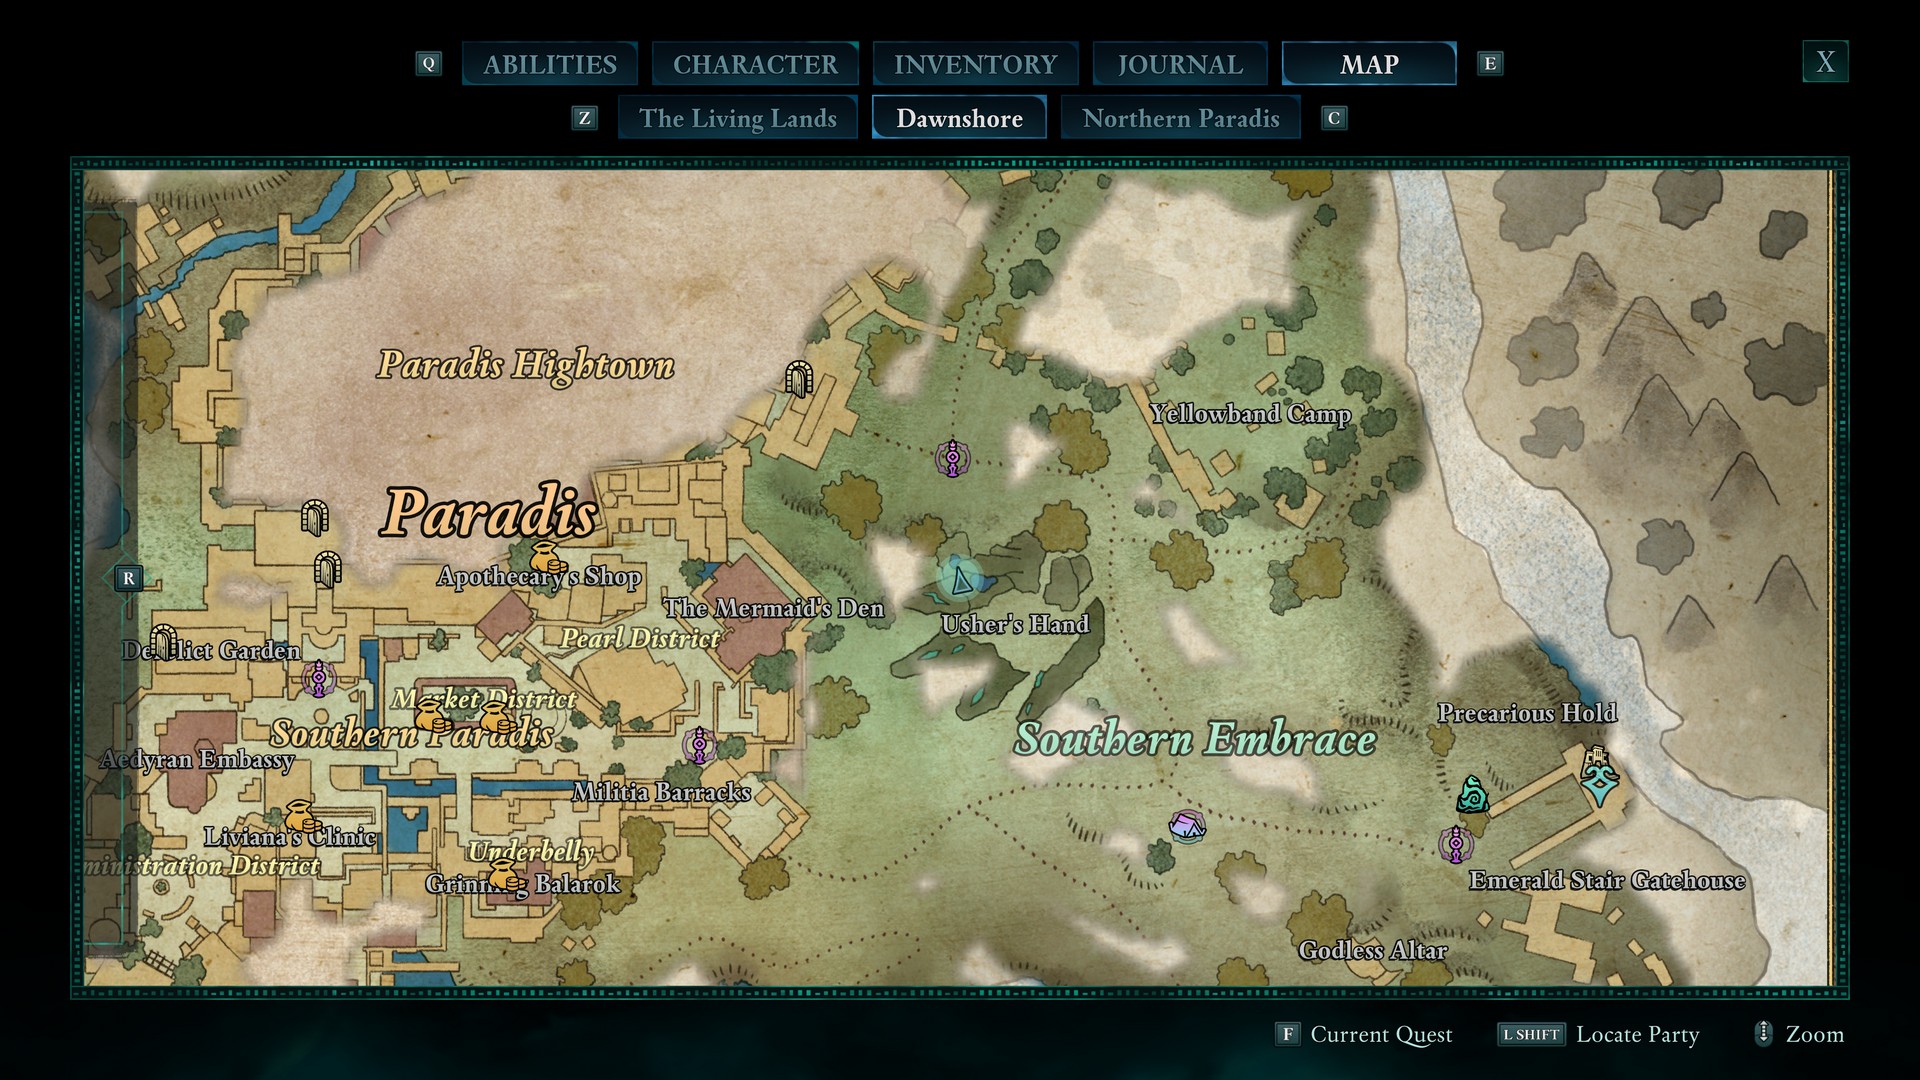
Located northwest of Paradis, at the altar of the Shrine of Woedica.
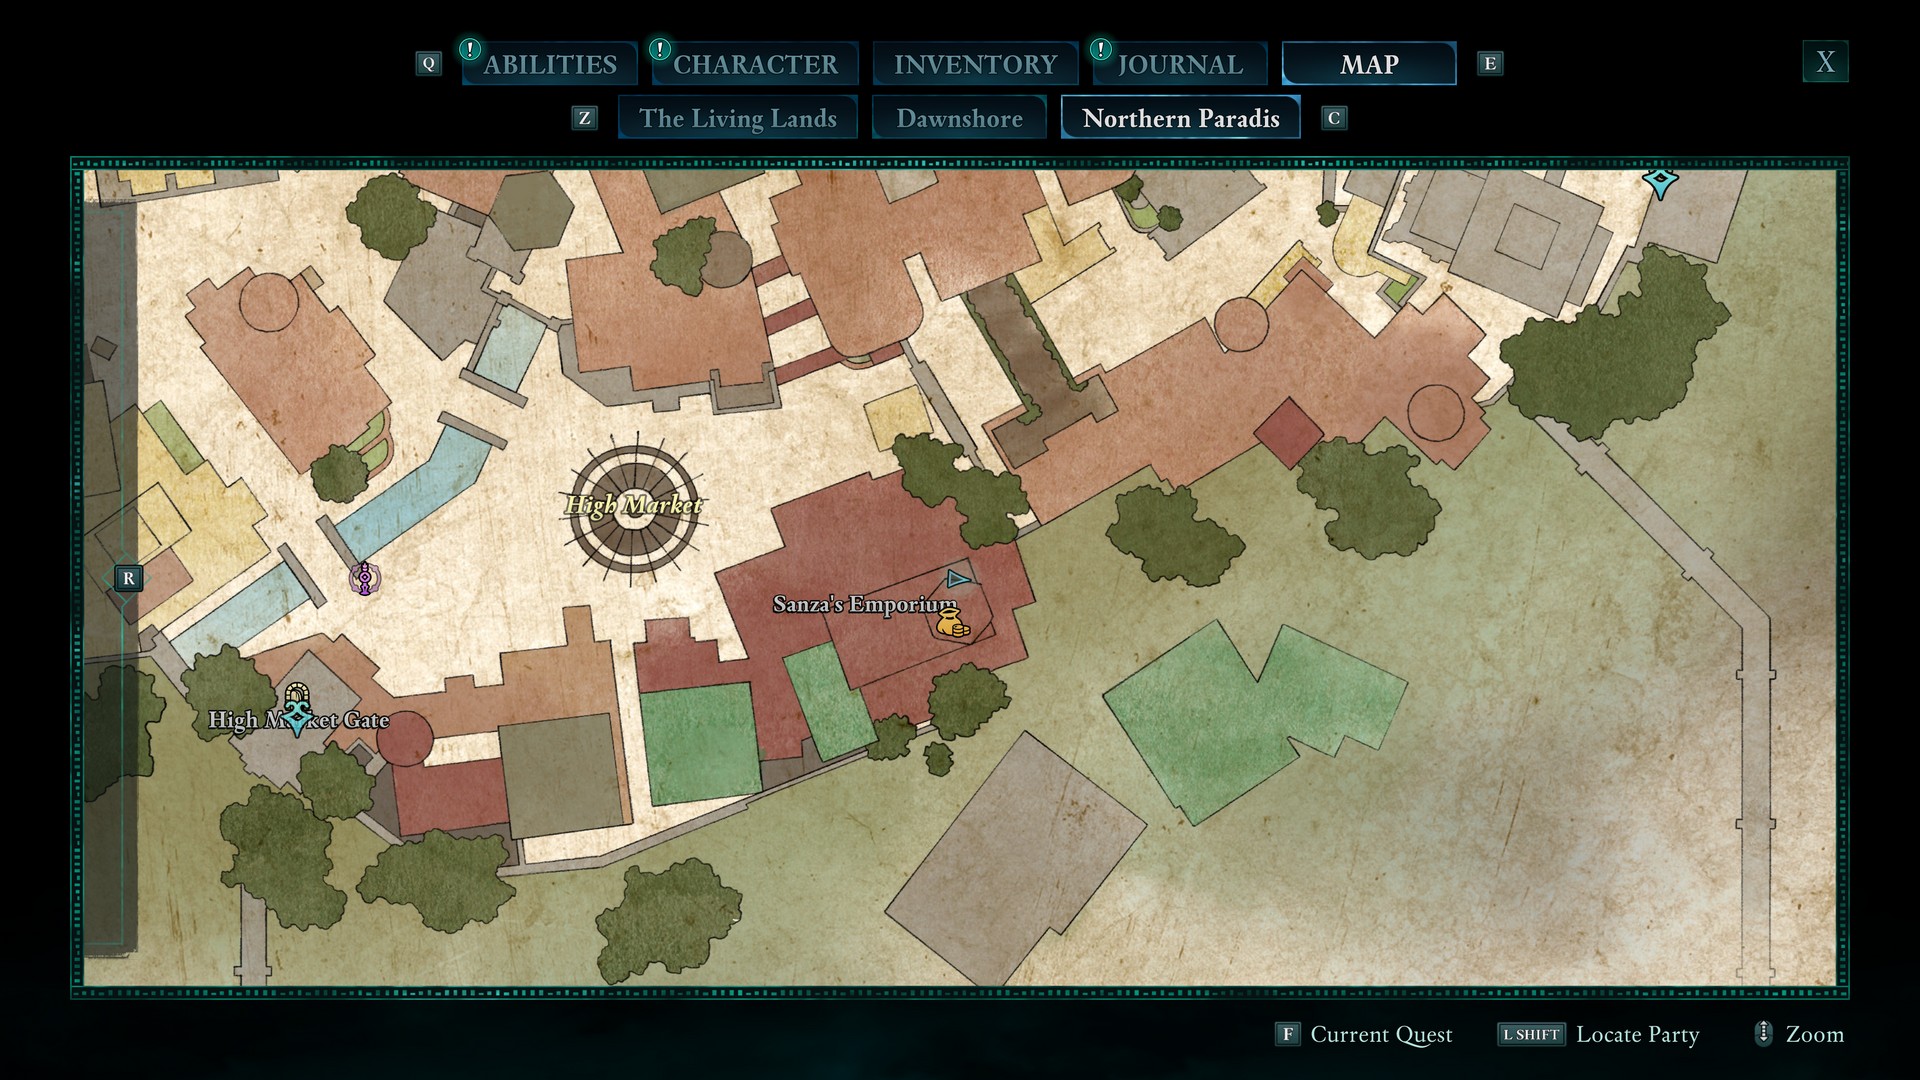
Golden Plaque of Promises
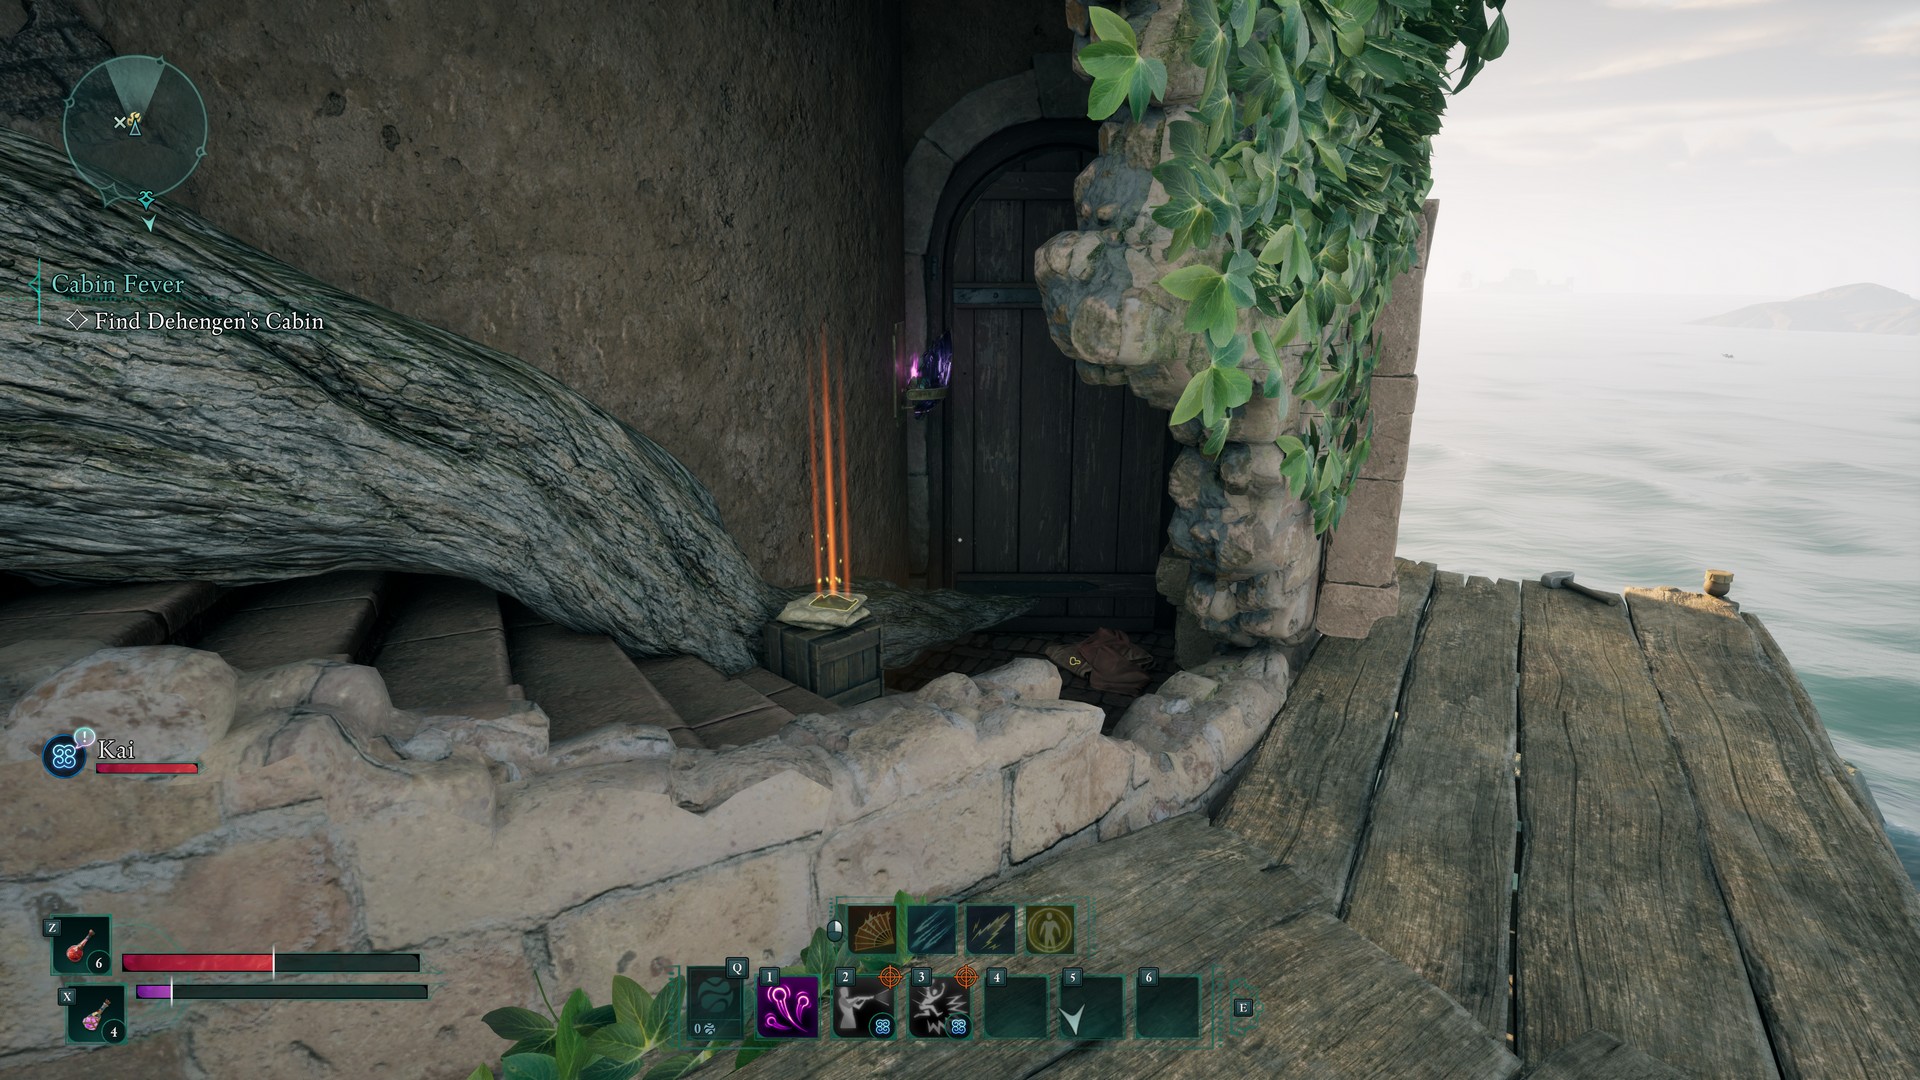
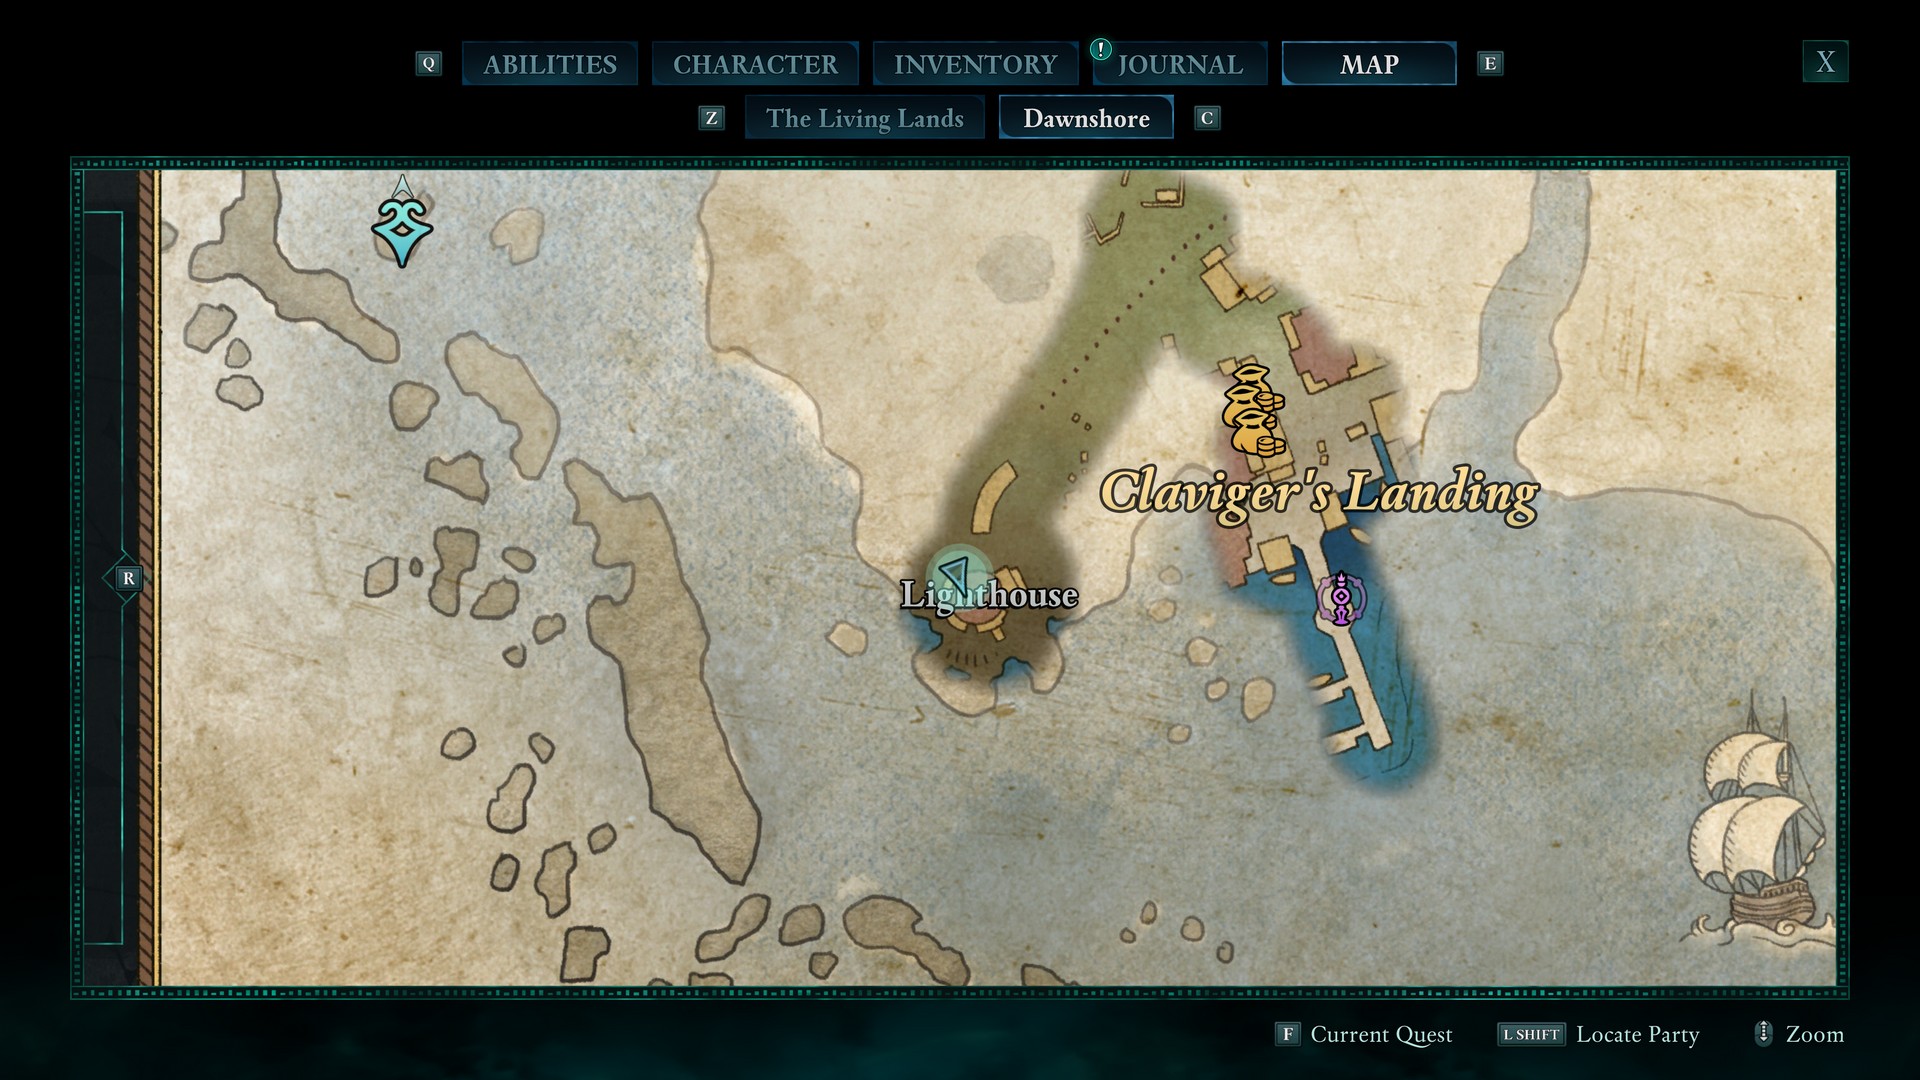
When climbing up to the top of the lighthouse in Claviger’s Landing, it’s inside a broken out wall a little more than half-way up.
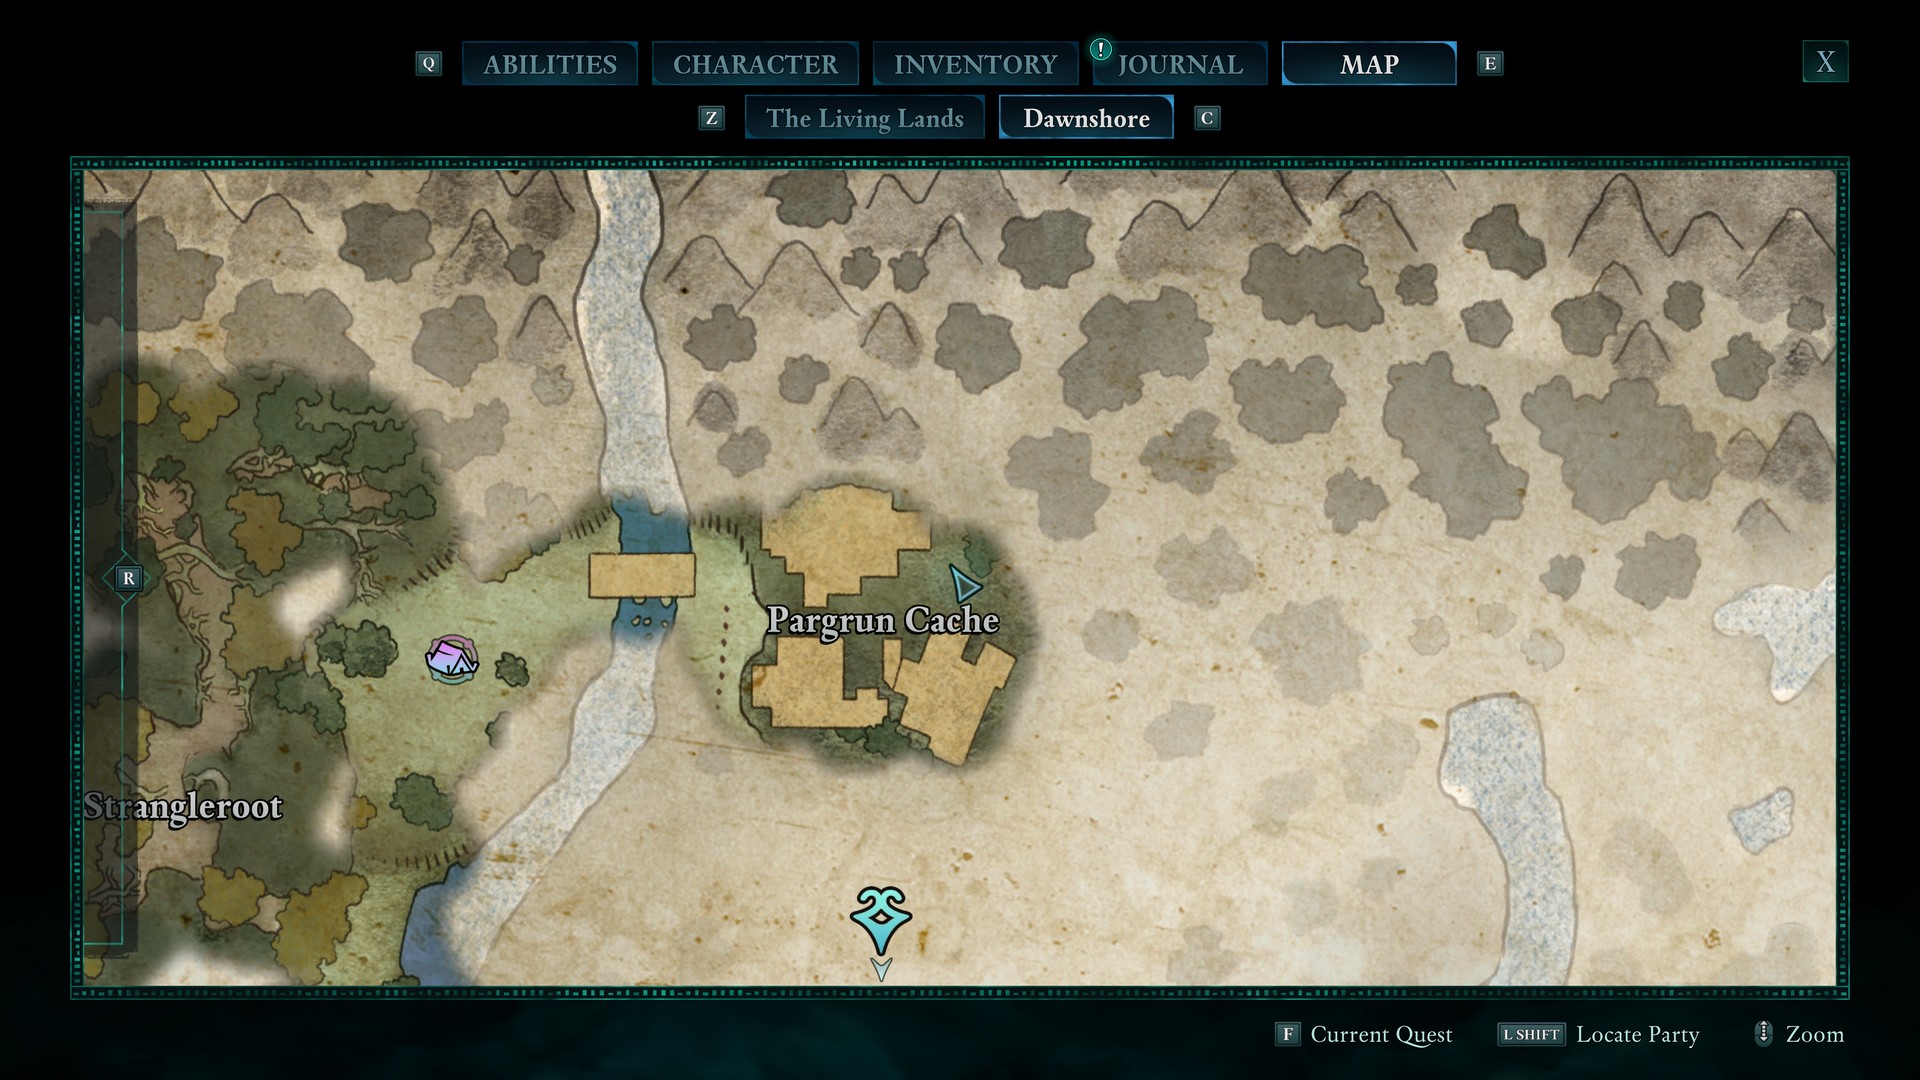
Golden Scale of Order
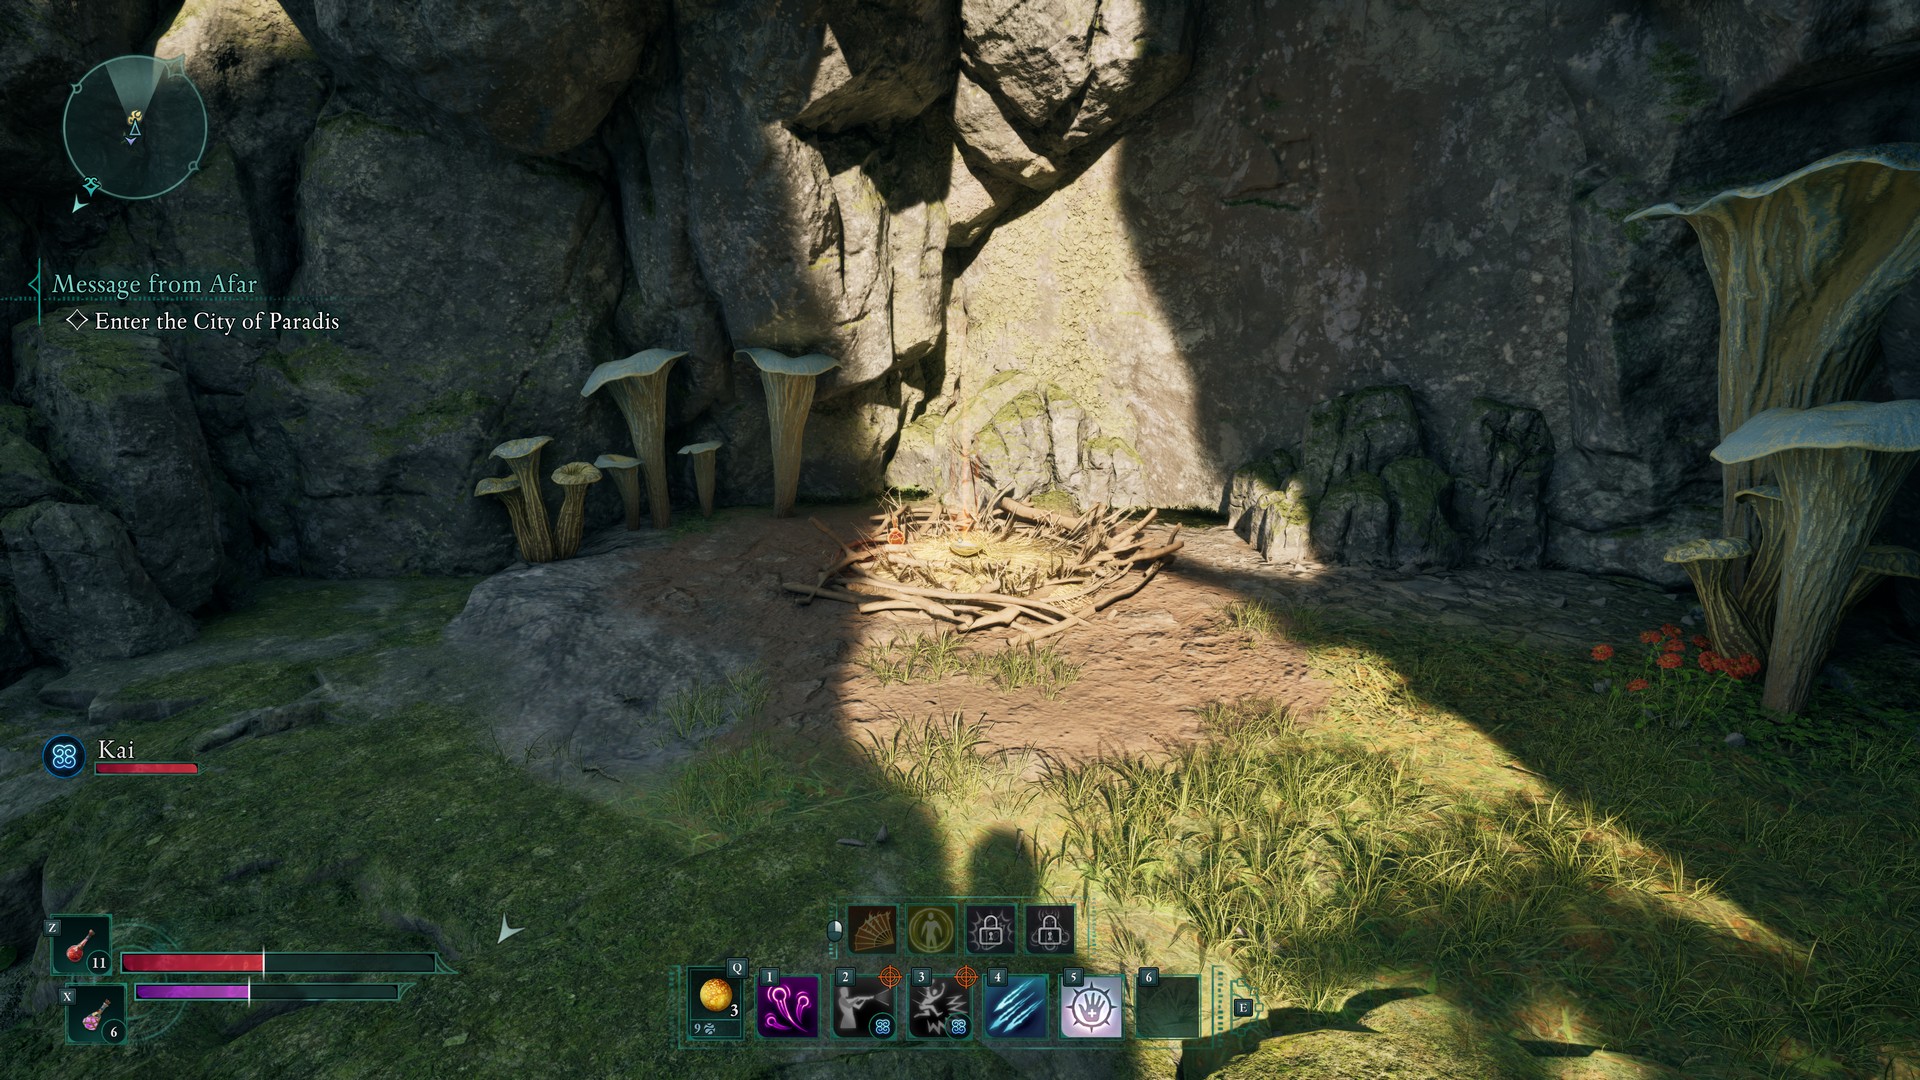
Head to the top of Dawnshore’s Pargrun Cache, you’ll have to blow up a couple destructible walls. At the top, you’ll be able to jump to a nearby ledge with this in a nest.
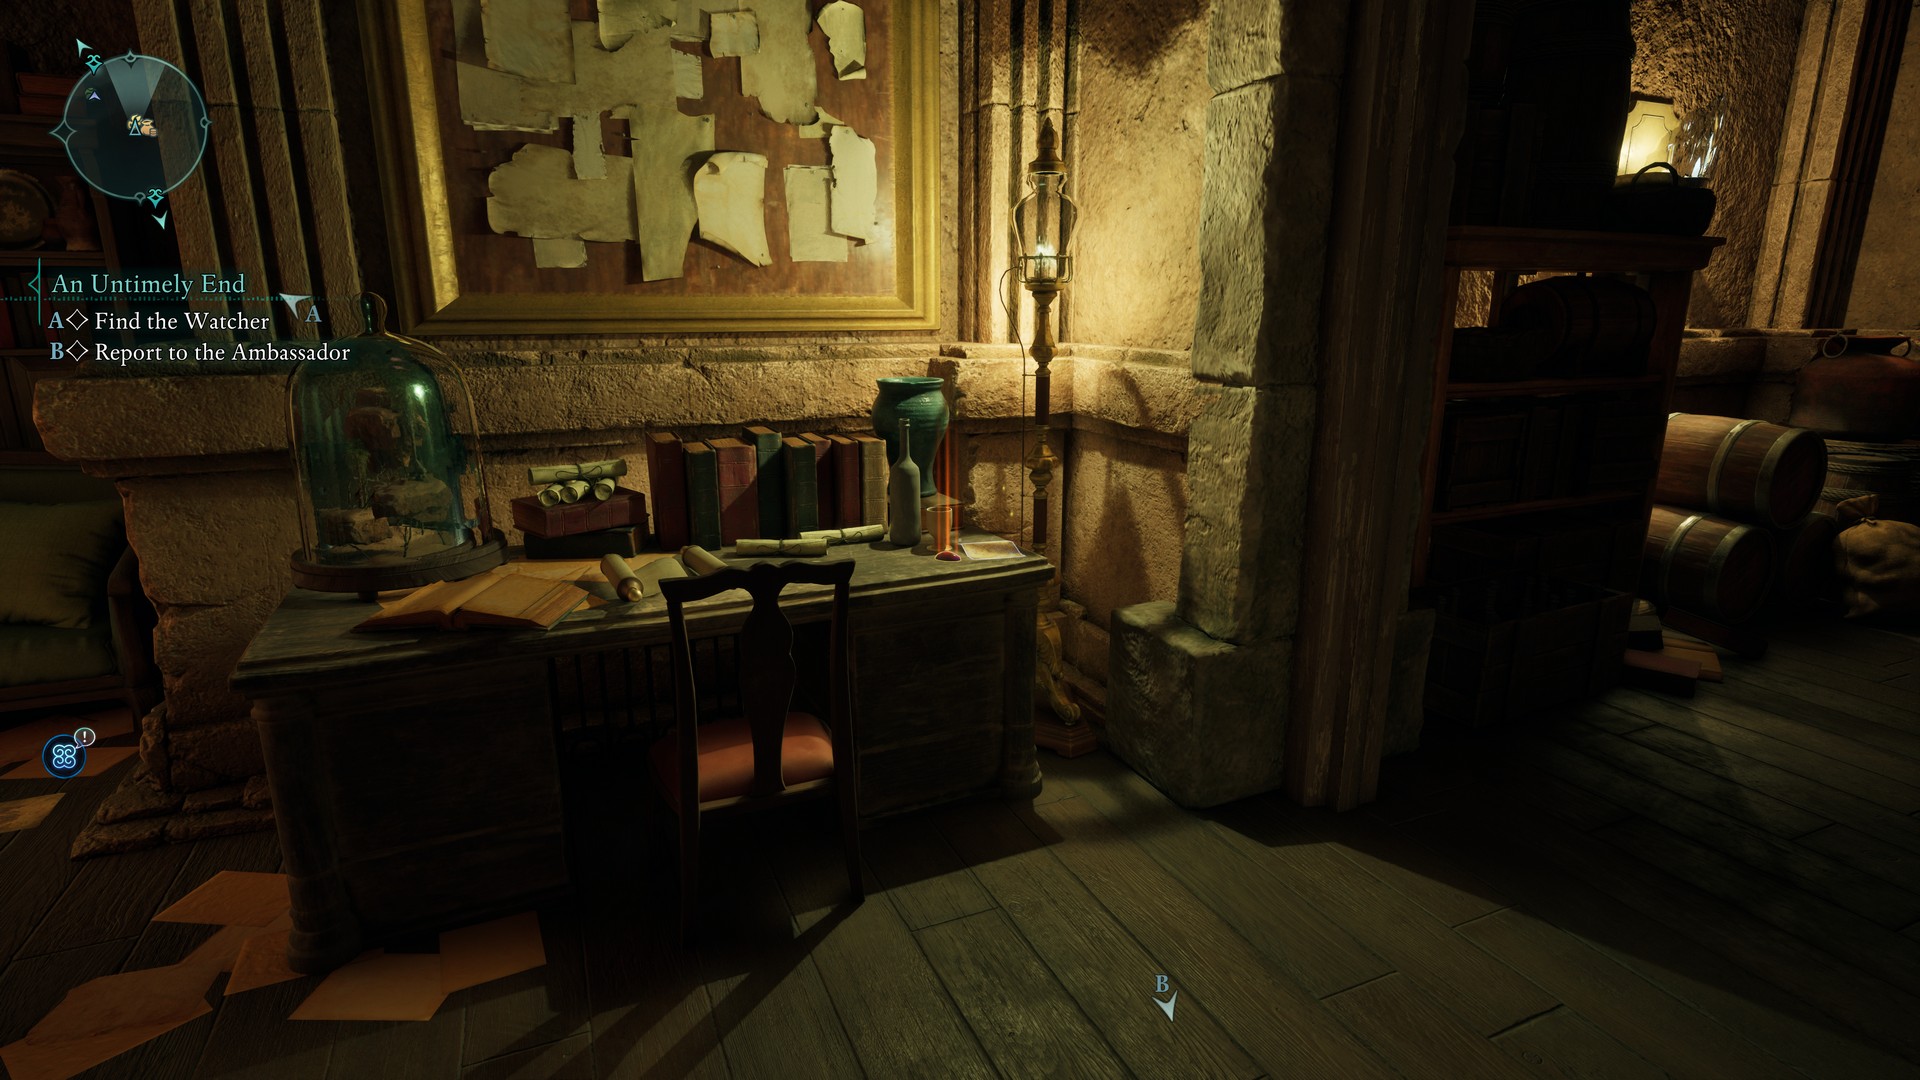
Broken Crown Jewel
Located right away in the back room of Sanza’s Emporium in Northern Paradis.
Golden Scale of Justice
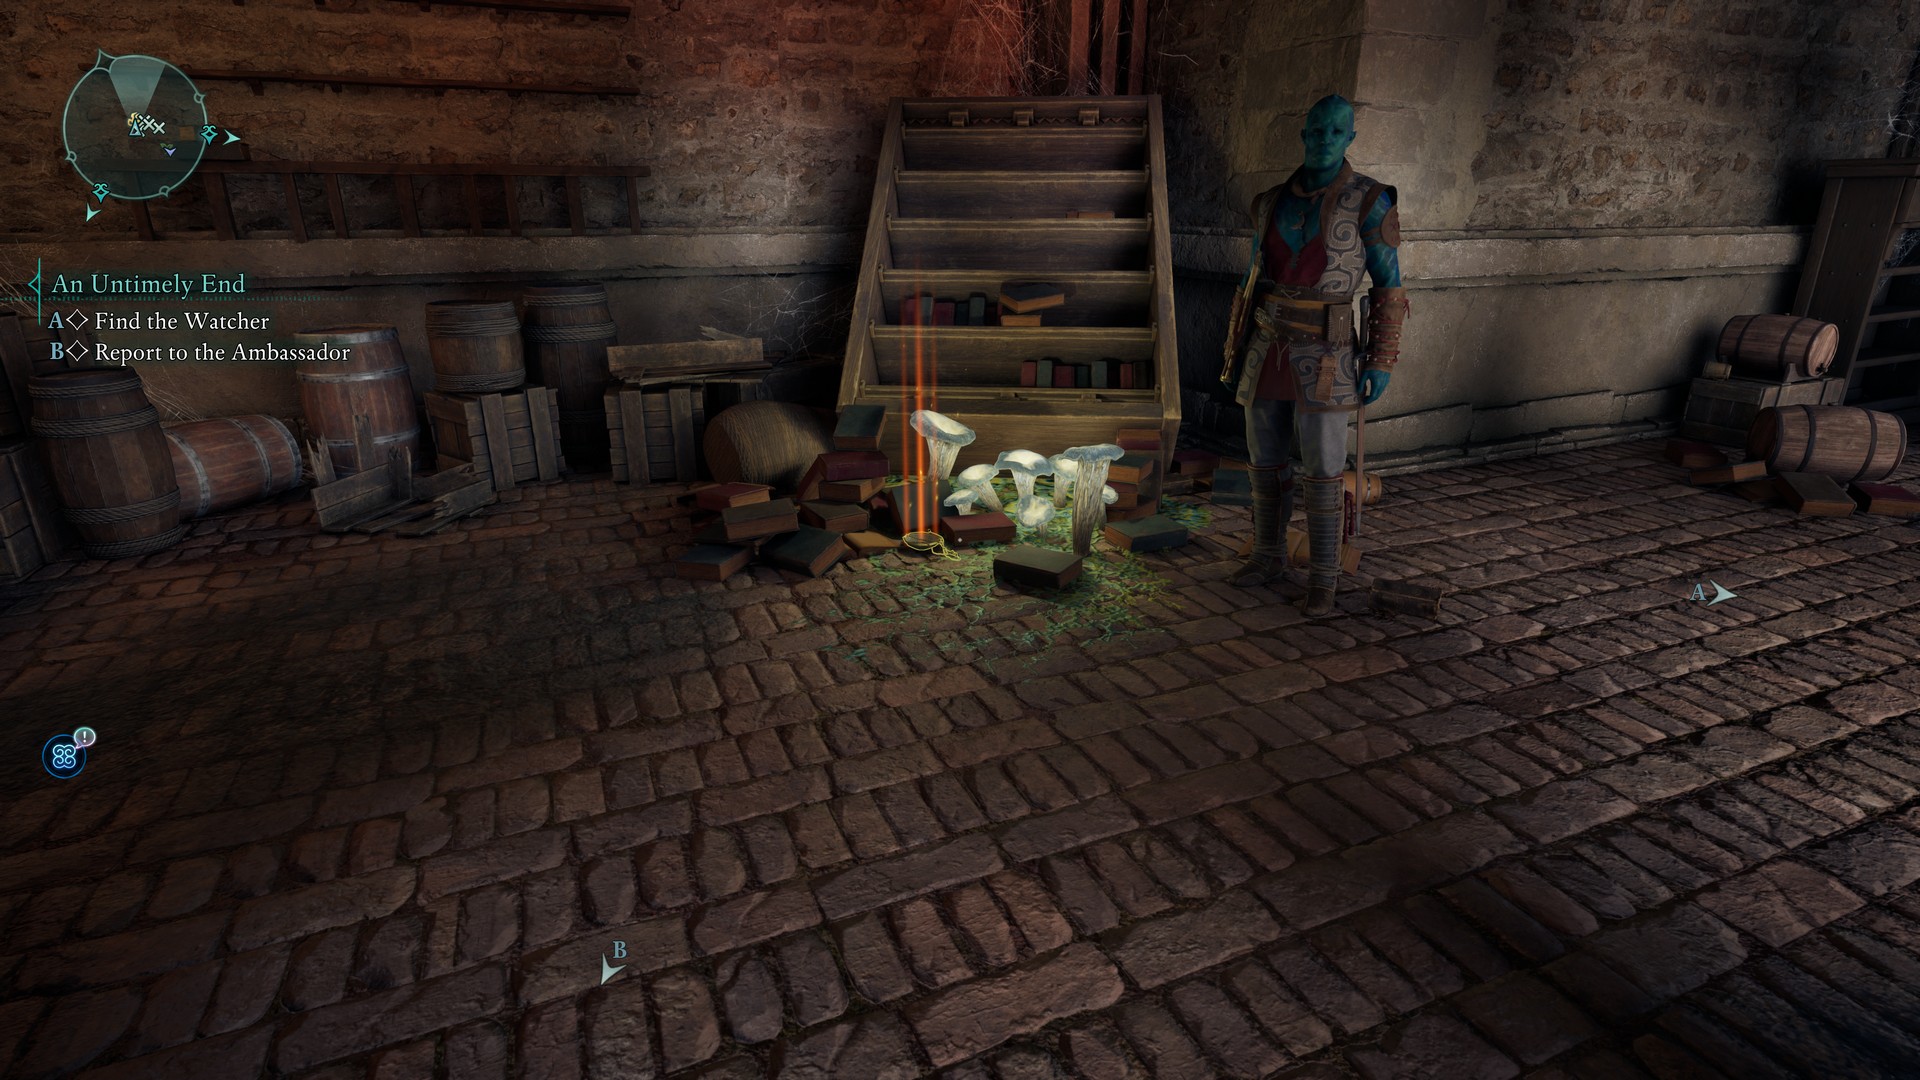
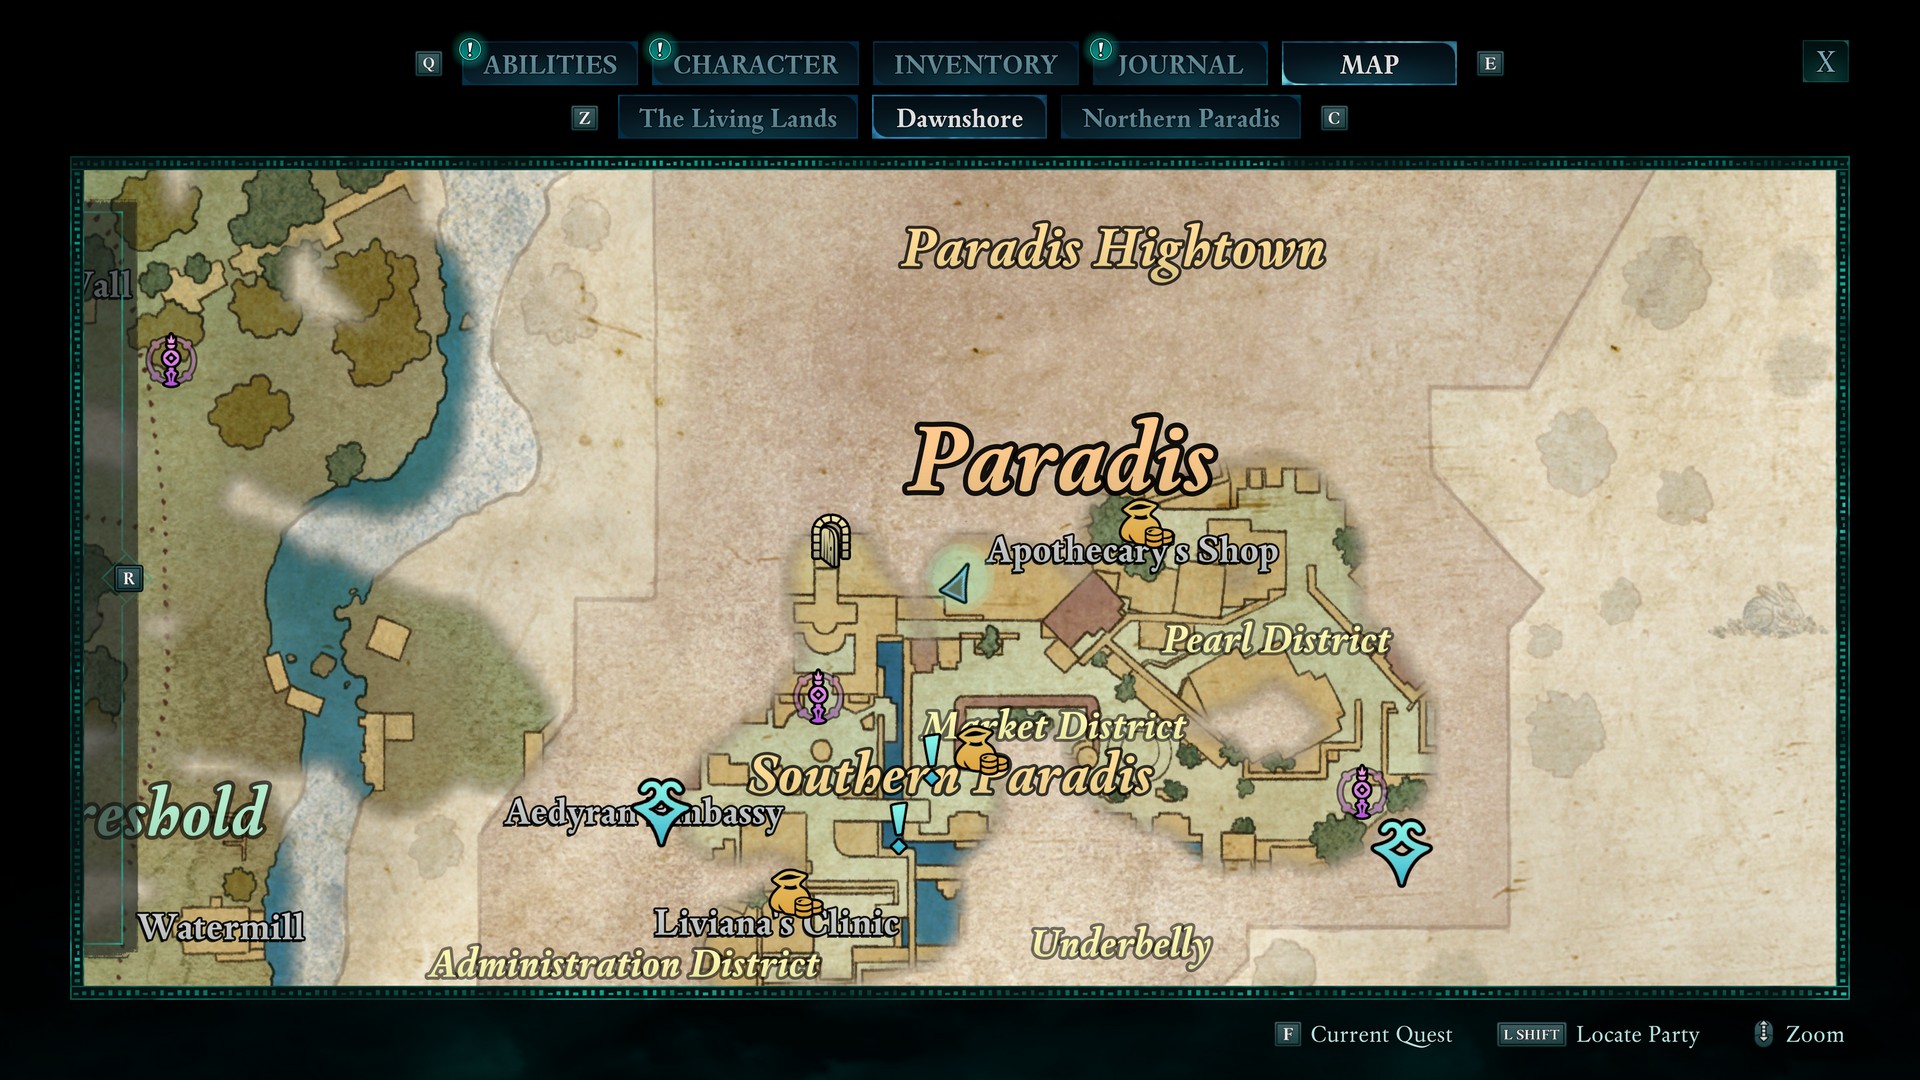
Head south from the Apothecary Shop in Paradis’s Pearl District. Climb up to the upper level, and then make your way west until you see a ledge with a canvas easel on it. Inside, you’ll burn a web and fight a few phantoms and find the fragment.
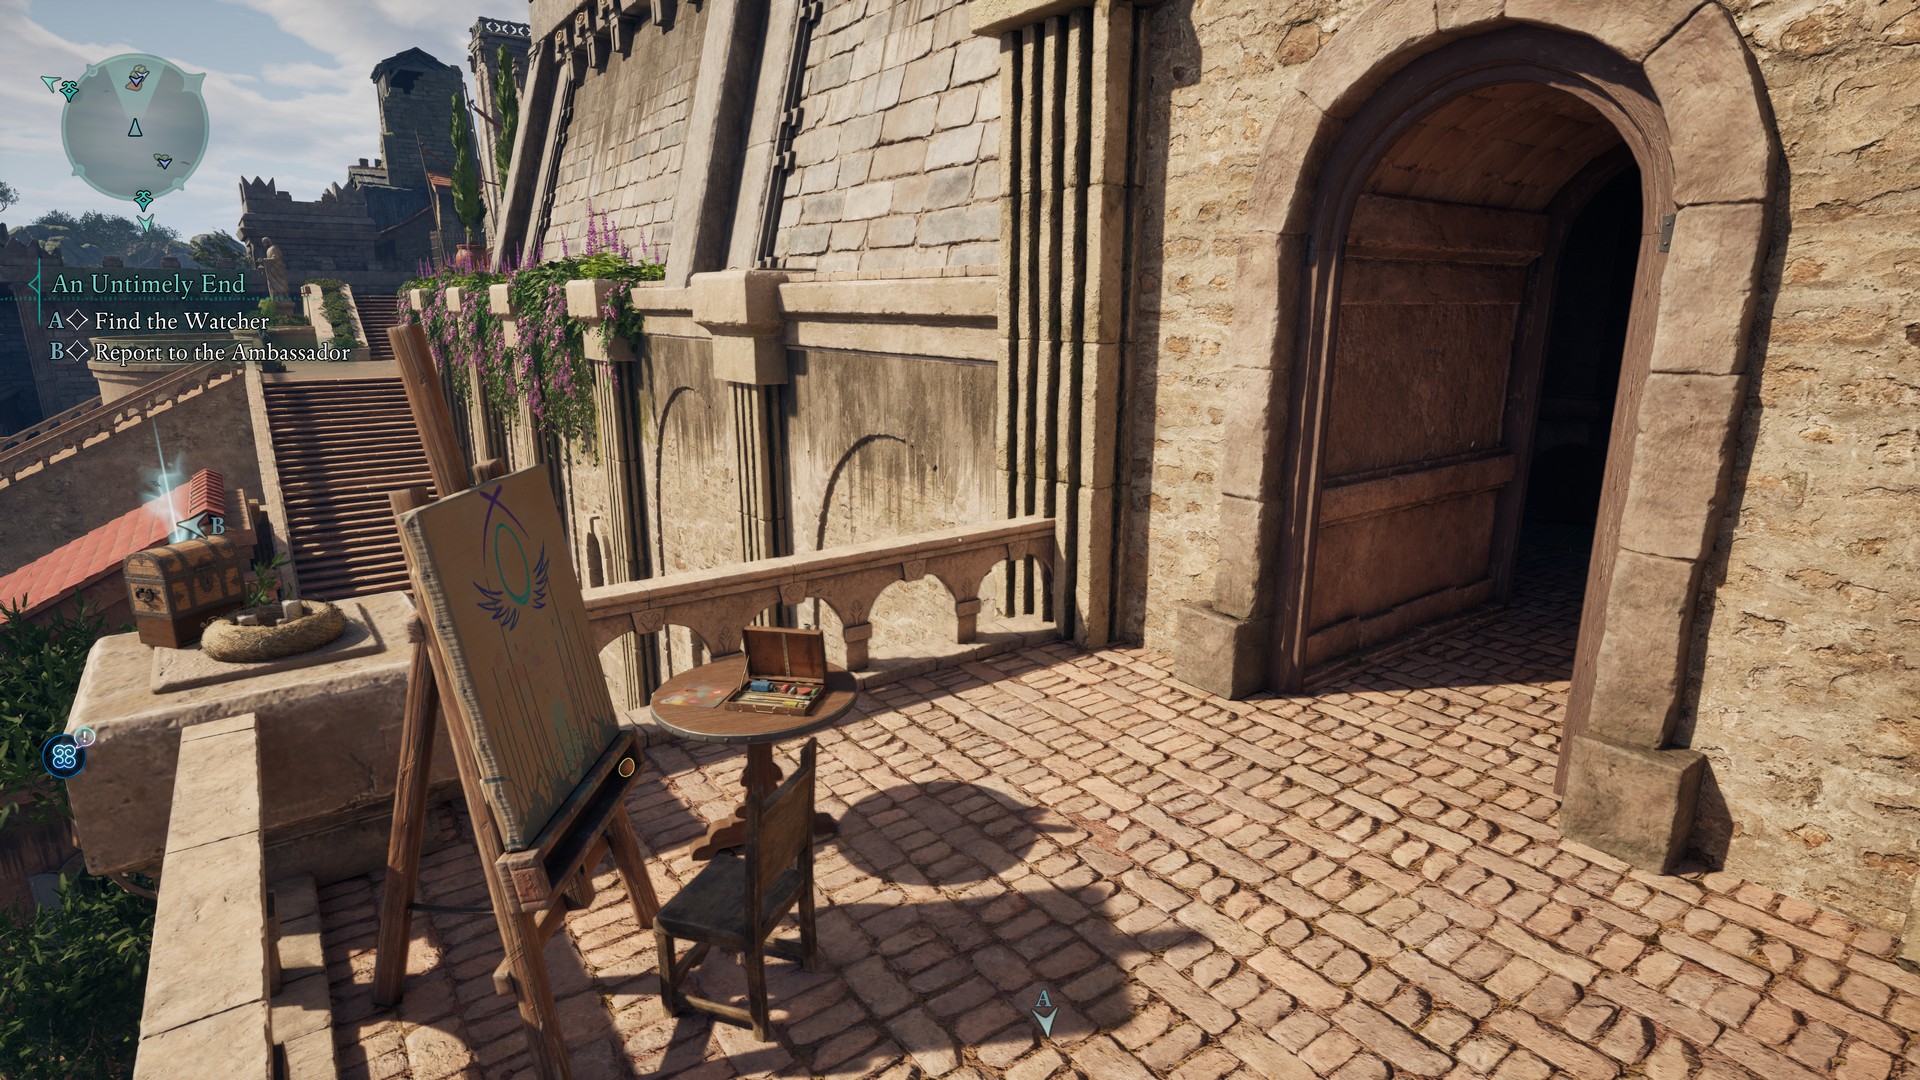
Inside, you’ll burn a web and fight a few phantoms and find the fragment.
Golden Flames
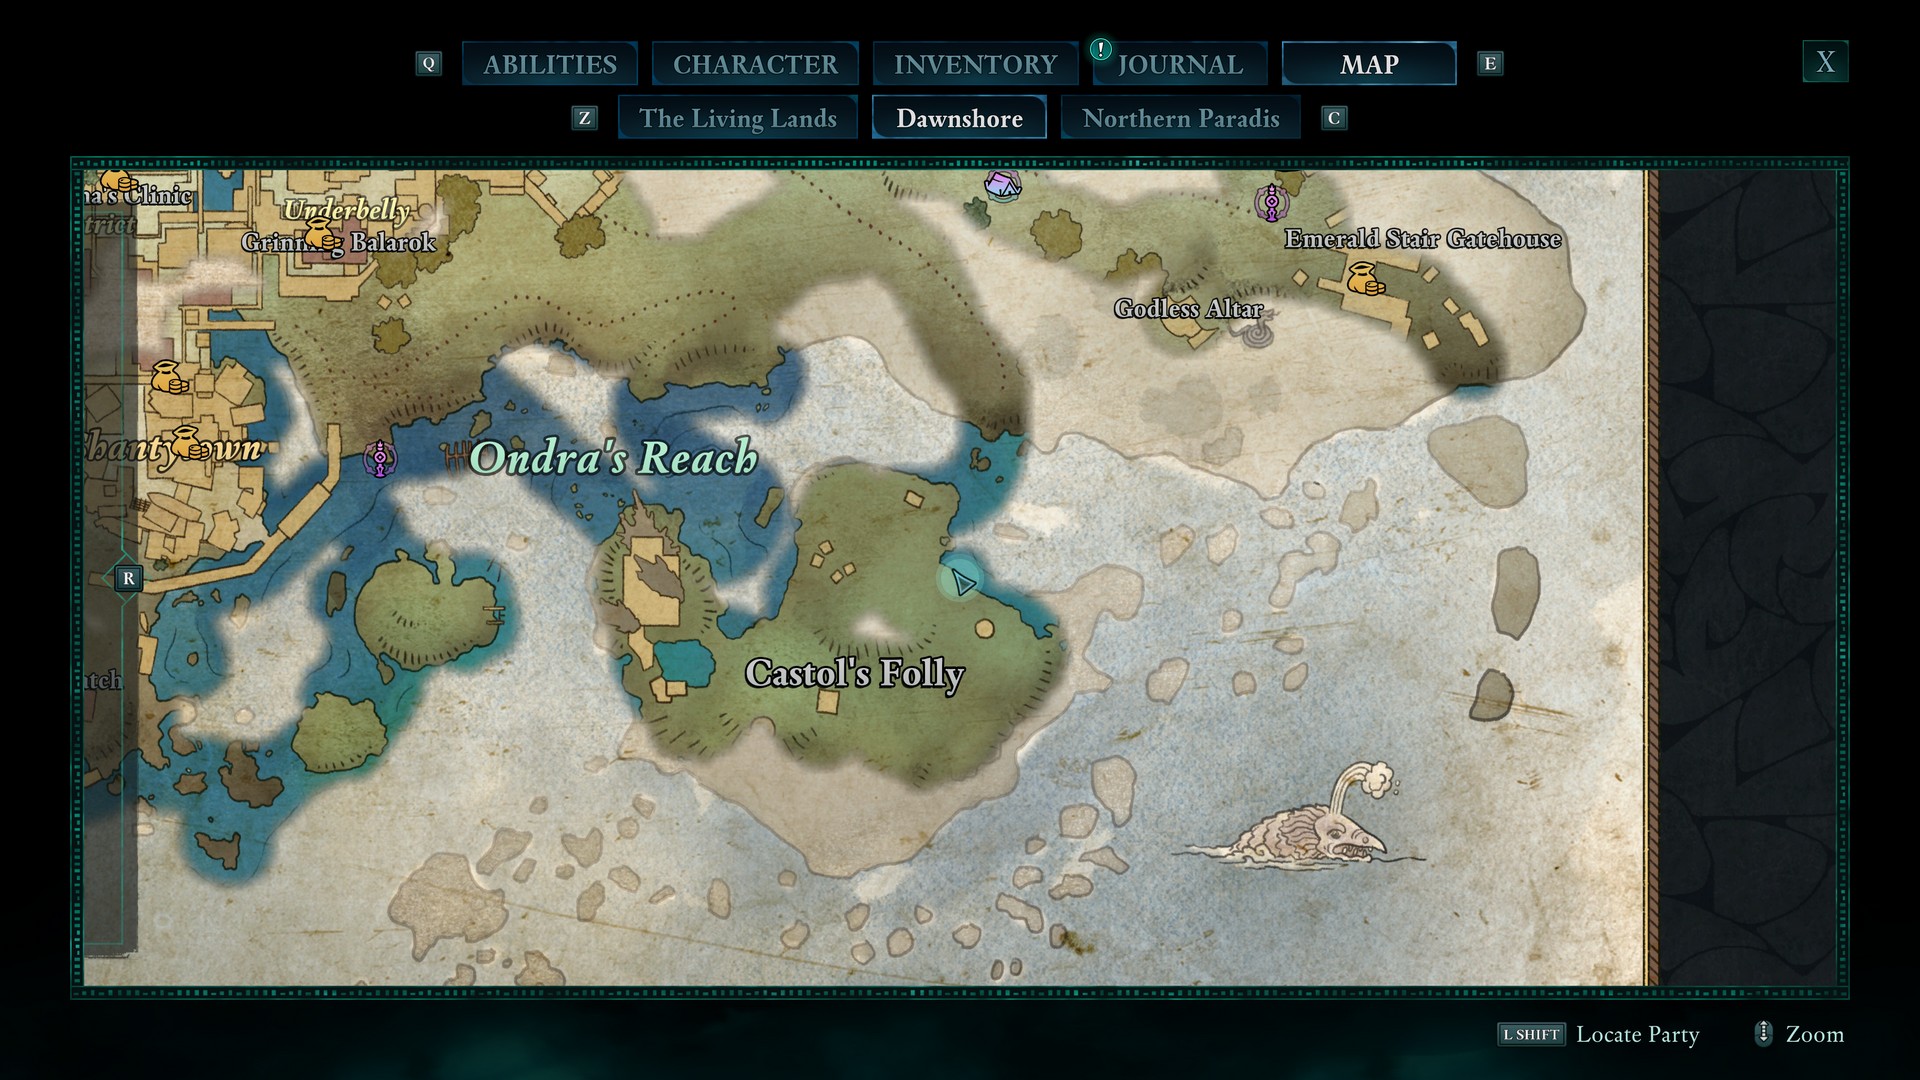
On the east side of Castol’s Folly, look past a lit brazier for a place to jump to find it overlooking the river.
Golden Plaque of Oaths
Located at Usher’s Hand between Paradis and Southern Embrace. Look behind an ice grate in the ground.
Scales of the Oathbinder Totem Bonuses
- Swift Order - Reduce Companion ability cooldowns by 15%.
- The Powder of Command - Activating a Companion ability increases your damage for 5 seconds.
- Sympathy for the Damned - Critical Hits deal high Fire Accumulation
- The Queen’s Burden - +2 Intellect, +2 Resolve
- Nobless Oblige - Reviving a Companion grants rapid Health and Essence regeneration.
- Flames of Resurrection - Second Wind casts Ring of Fire.
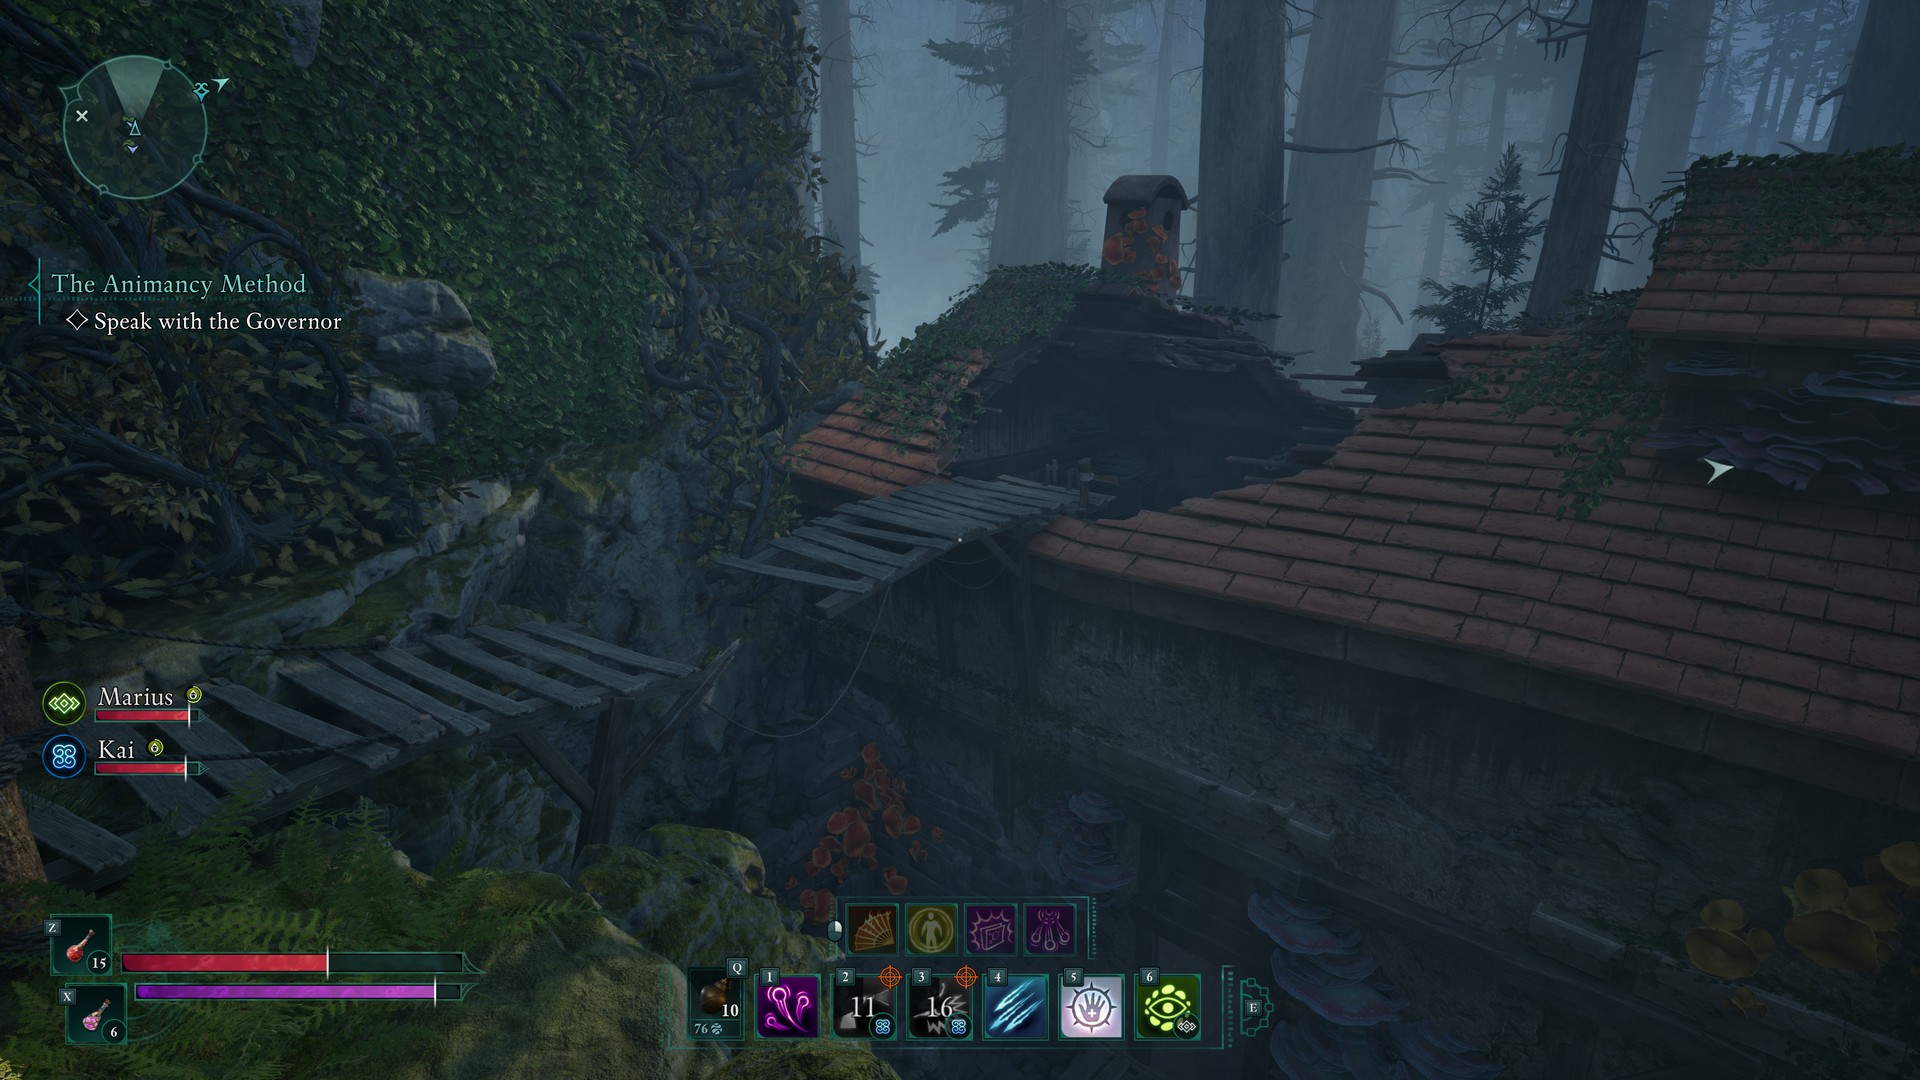
Emerald Stair - Totem of Defiance: Schemer’s Offering
Fragments of the Offering
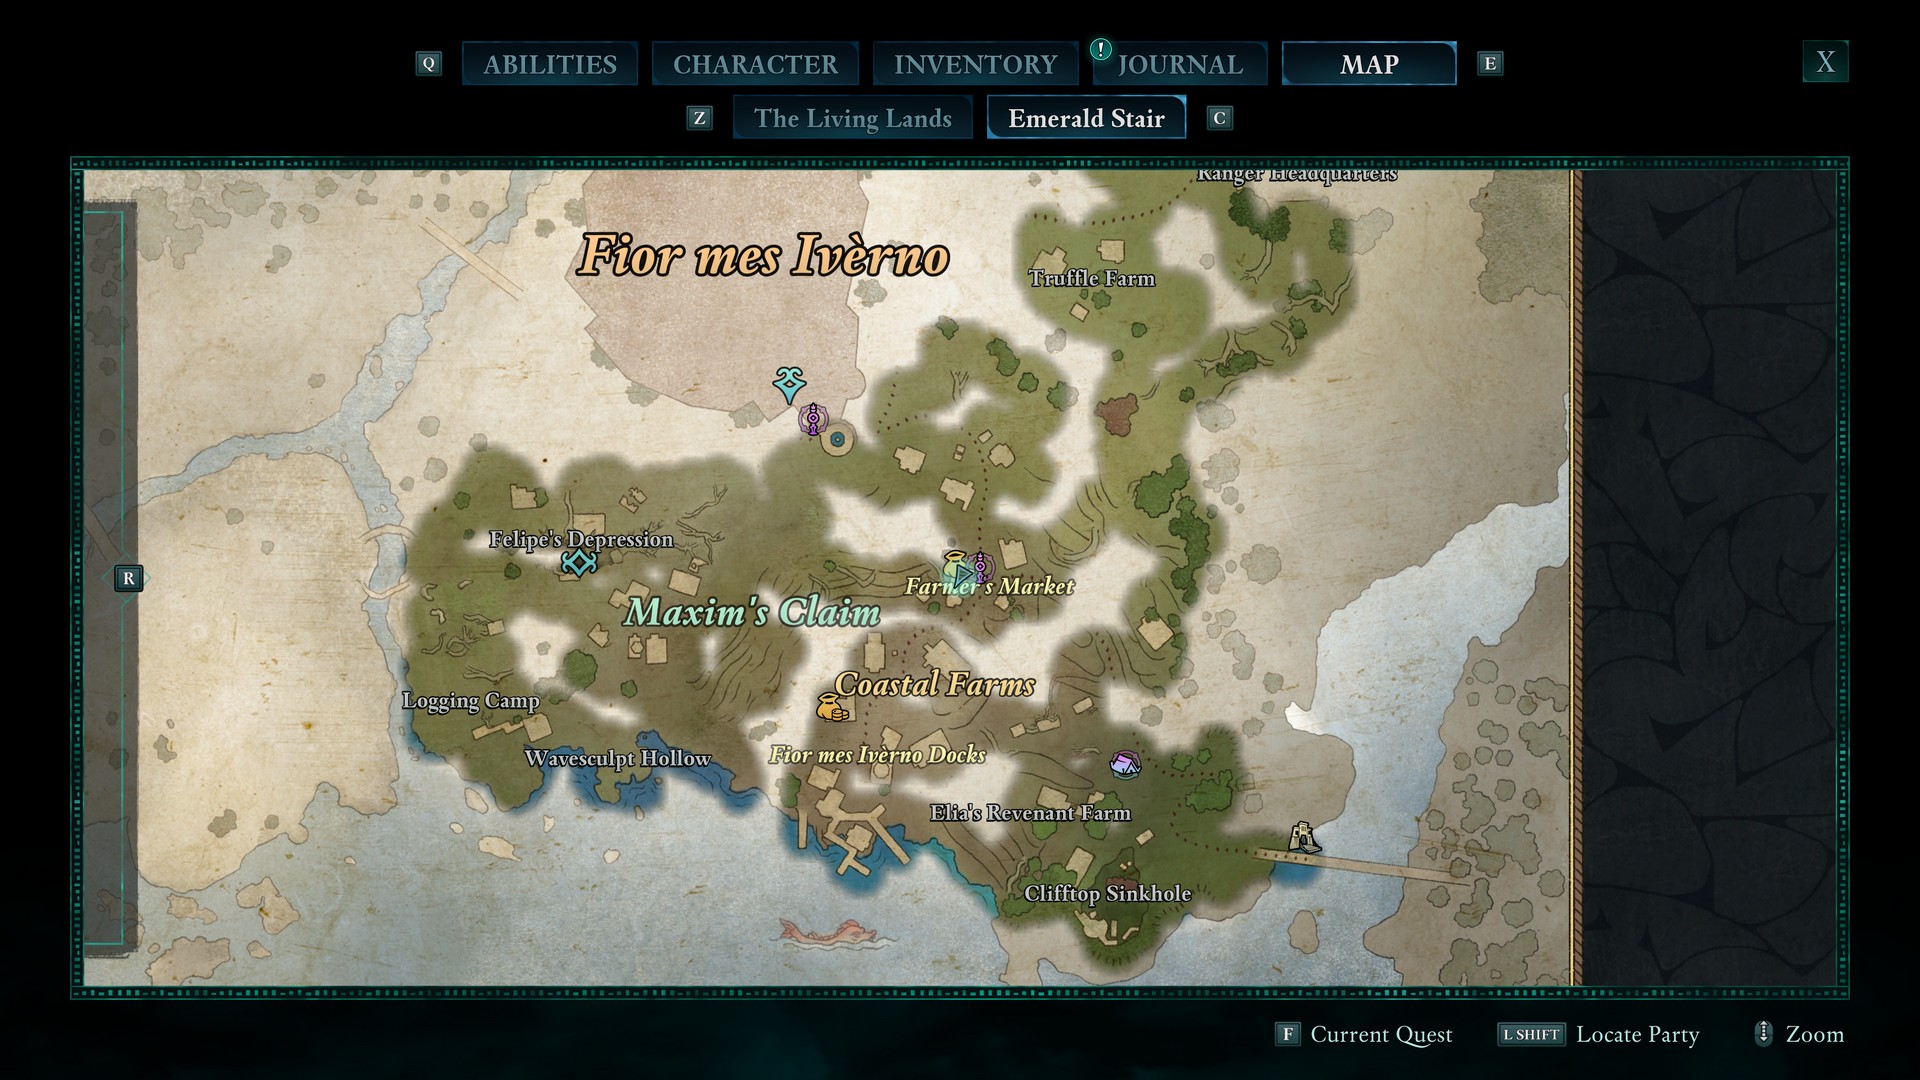
Buy from Farmer’s Market in the early southeastern region of Emerald Stair.
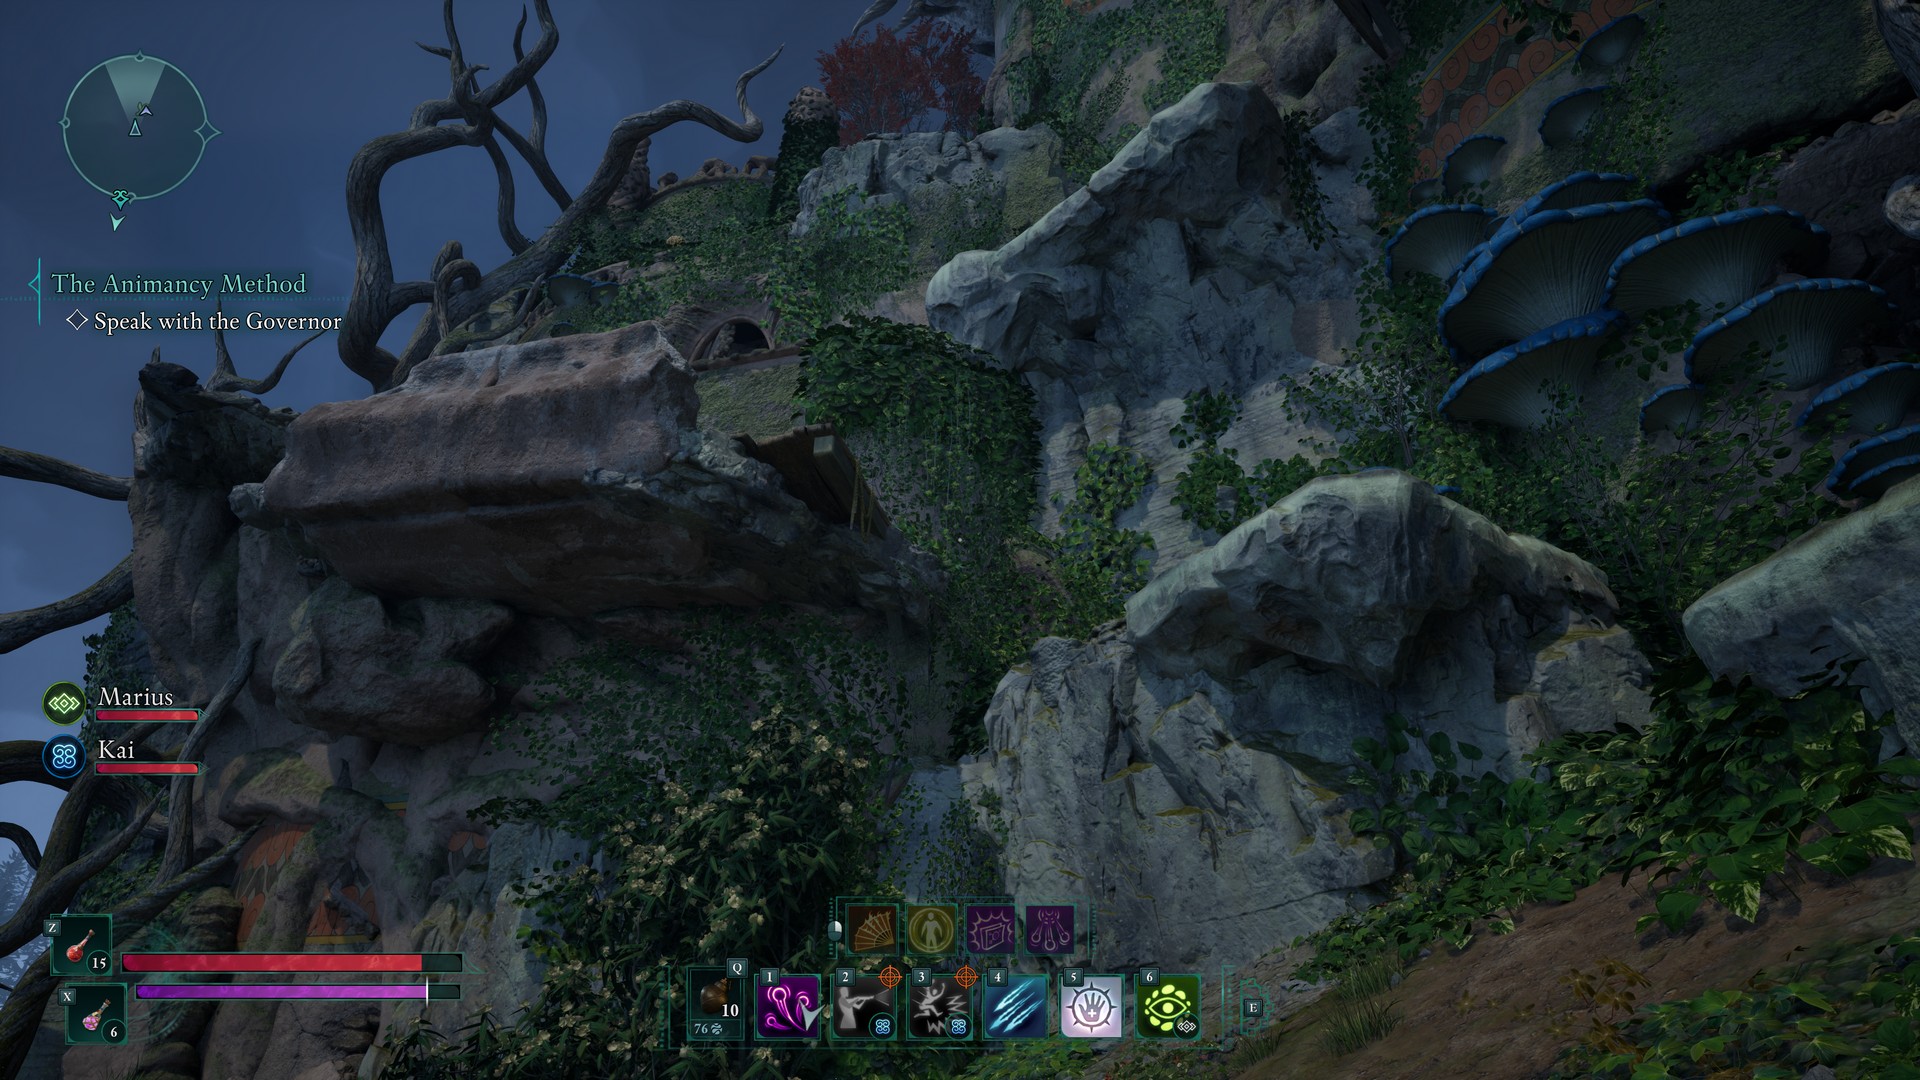
The Schemer's Offering (Quiet Slave)
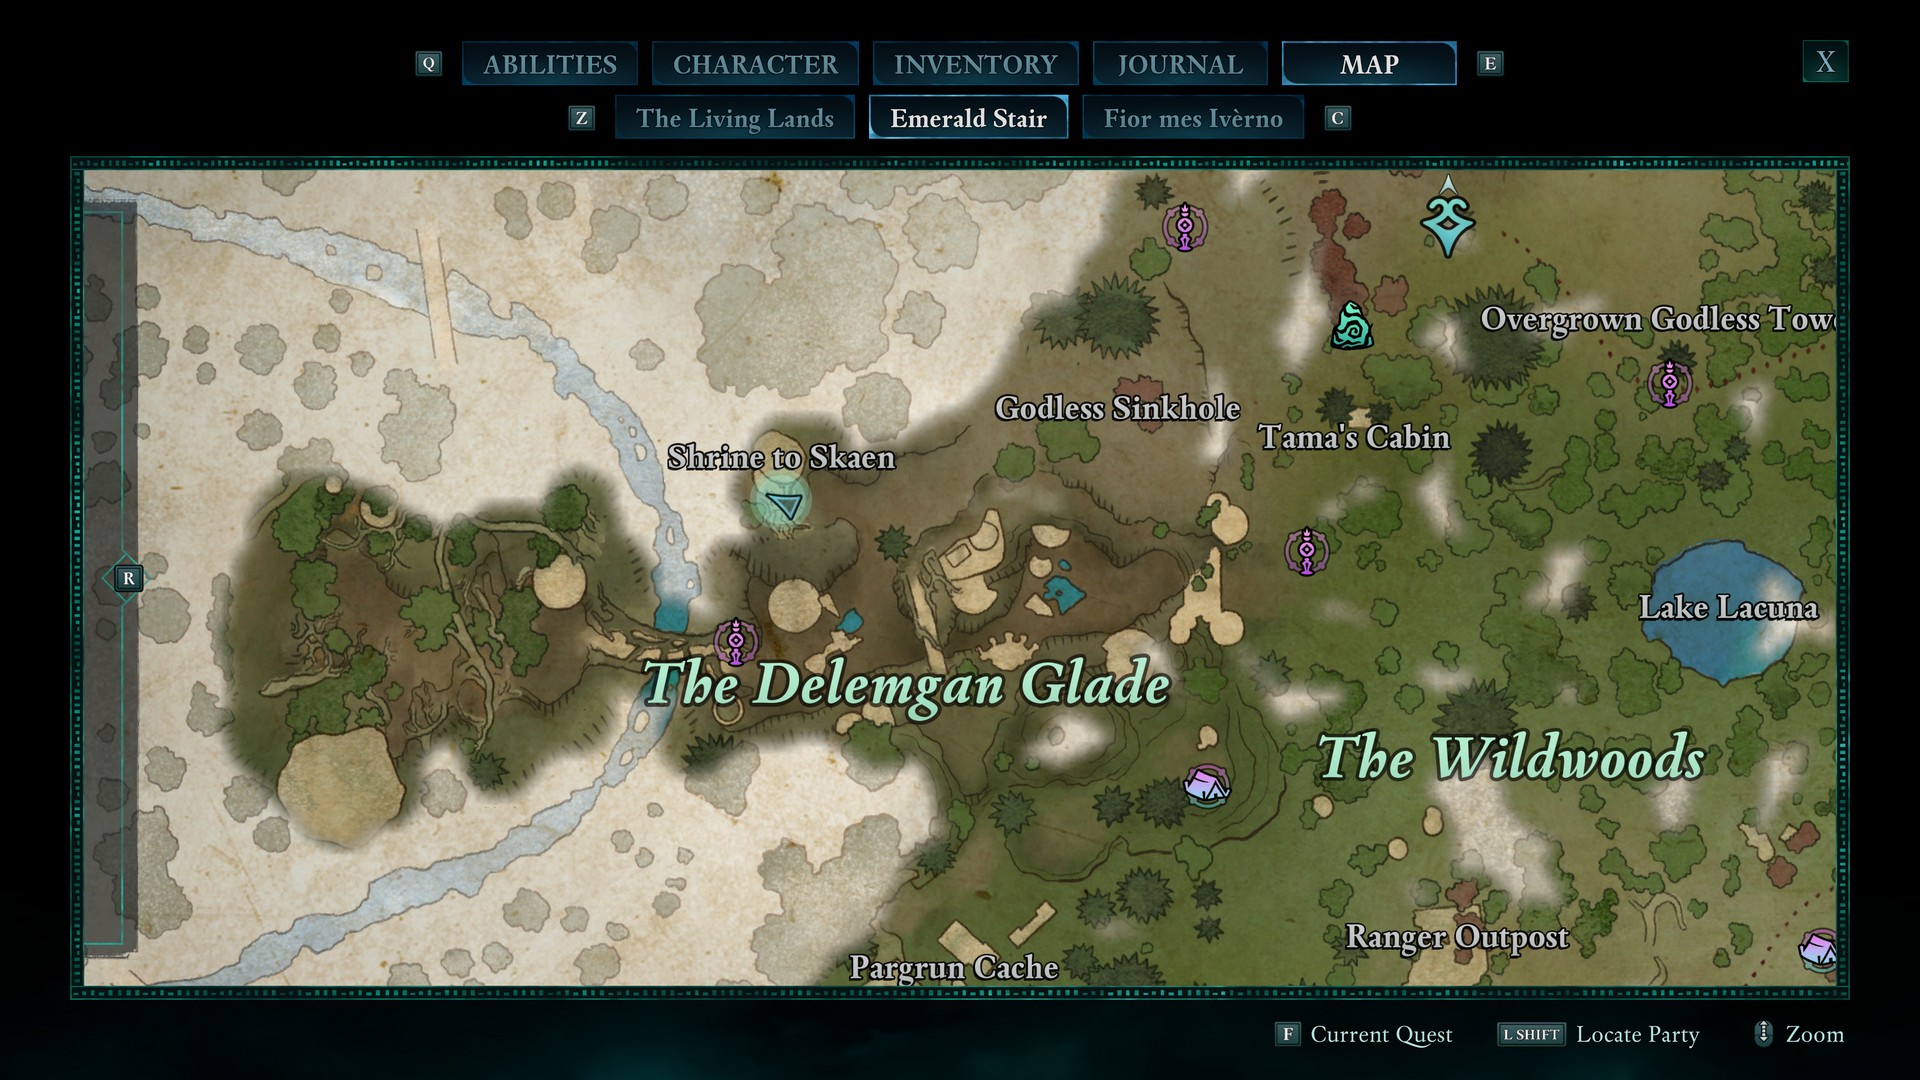
Top of Shrine to Skaen on the west end of Emerald Stair. Look for a starting ledge on the east side, then follow the linear path up to the top.
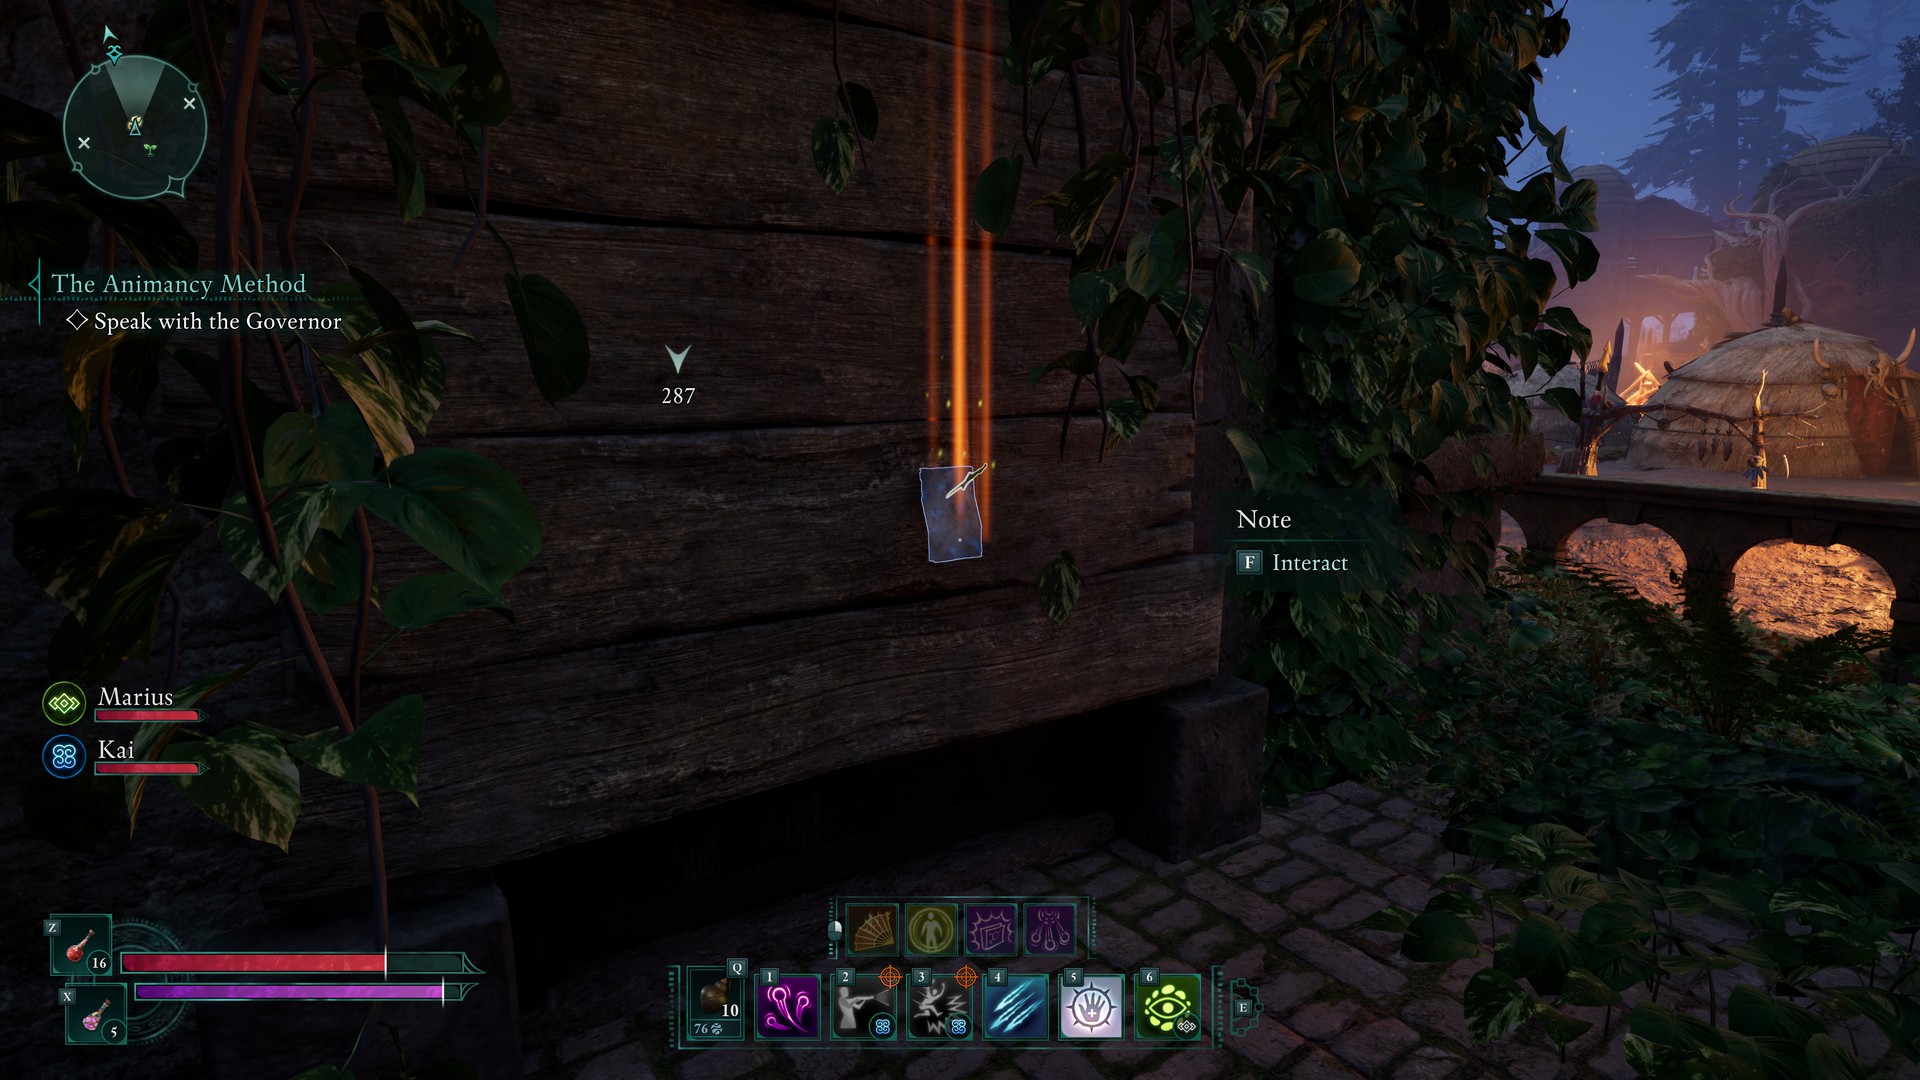
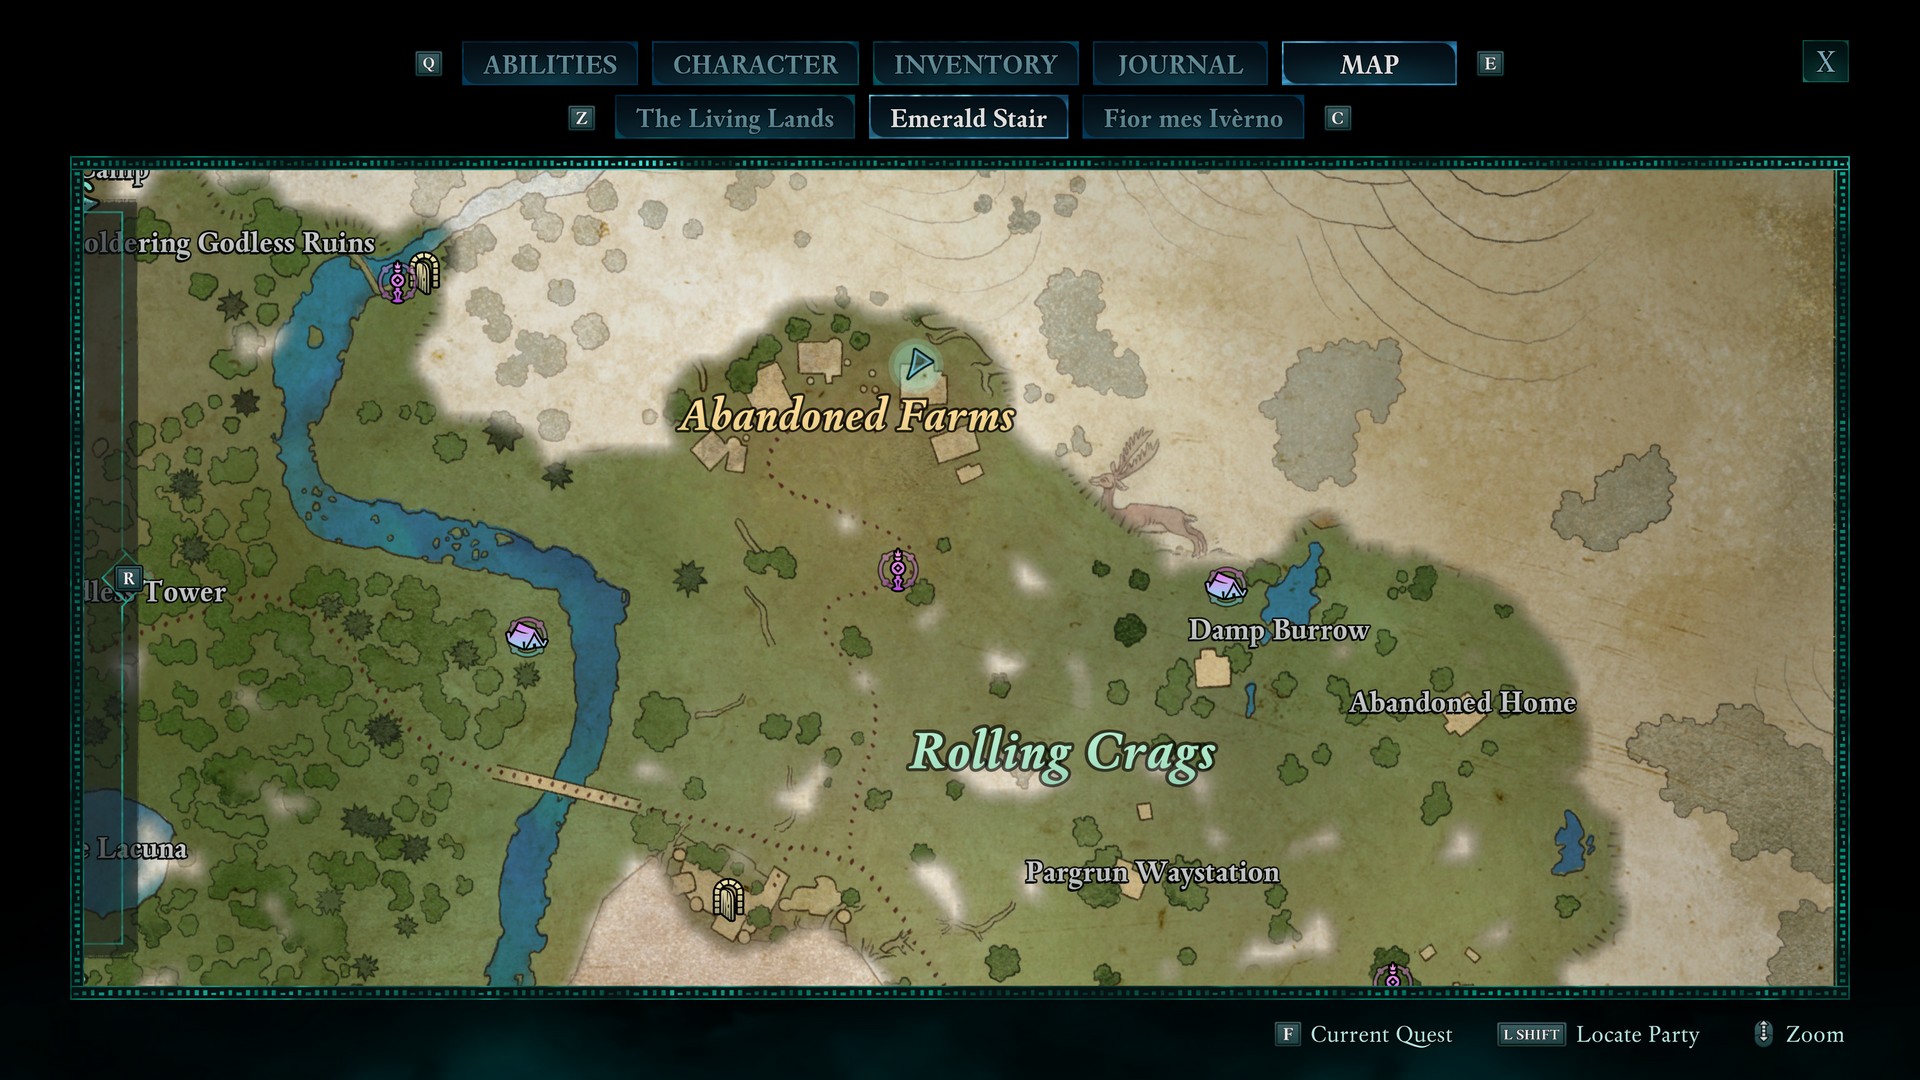
Sacrificial Dagger
On the north side of the northeastern building at Abandoned Farm. It is stuck into the side of the wall holding up a note.
Idol of Covert Plots
Inside of a church northwest of Sunken Village. You’ll have to jump through the broken roof of the church from the west-side ledge.

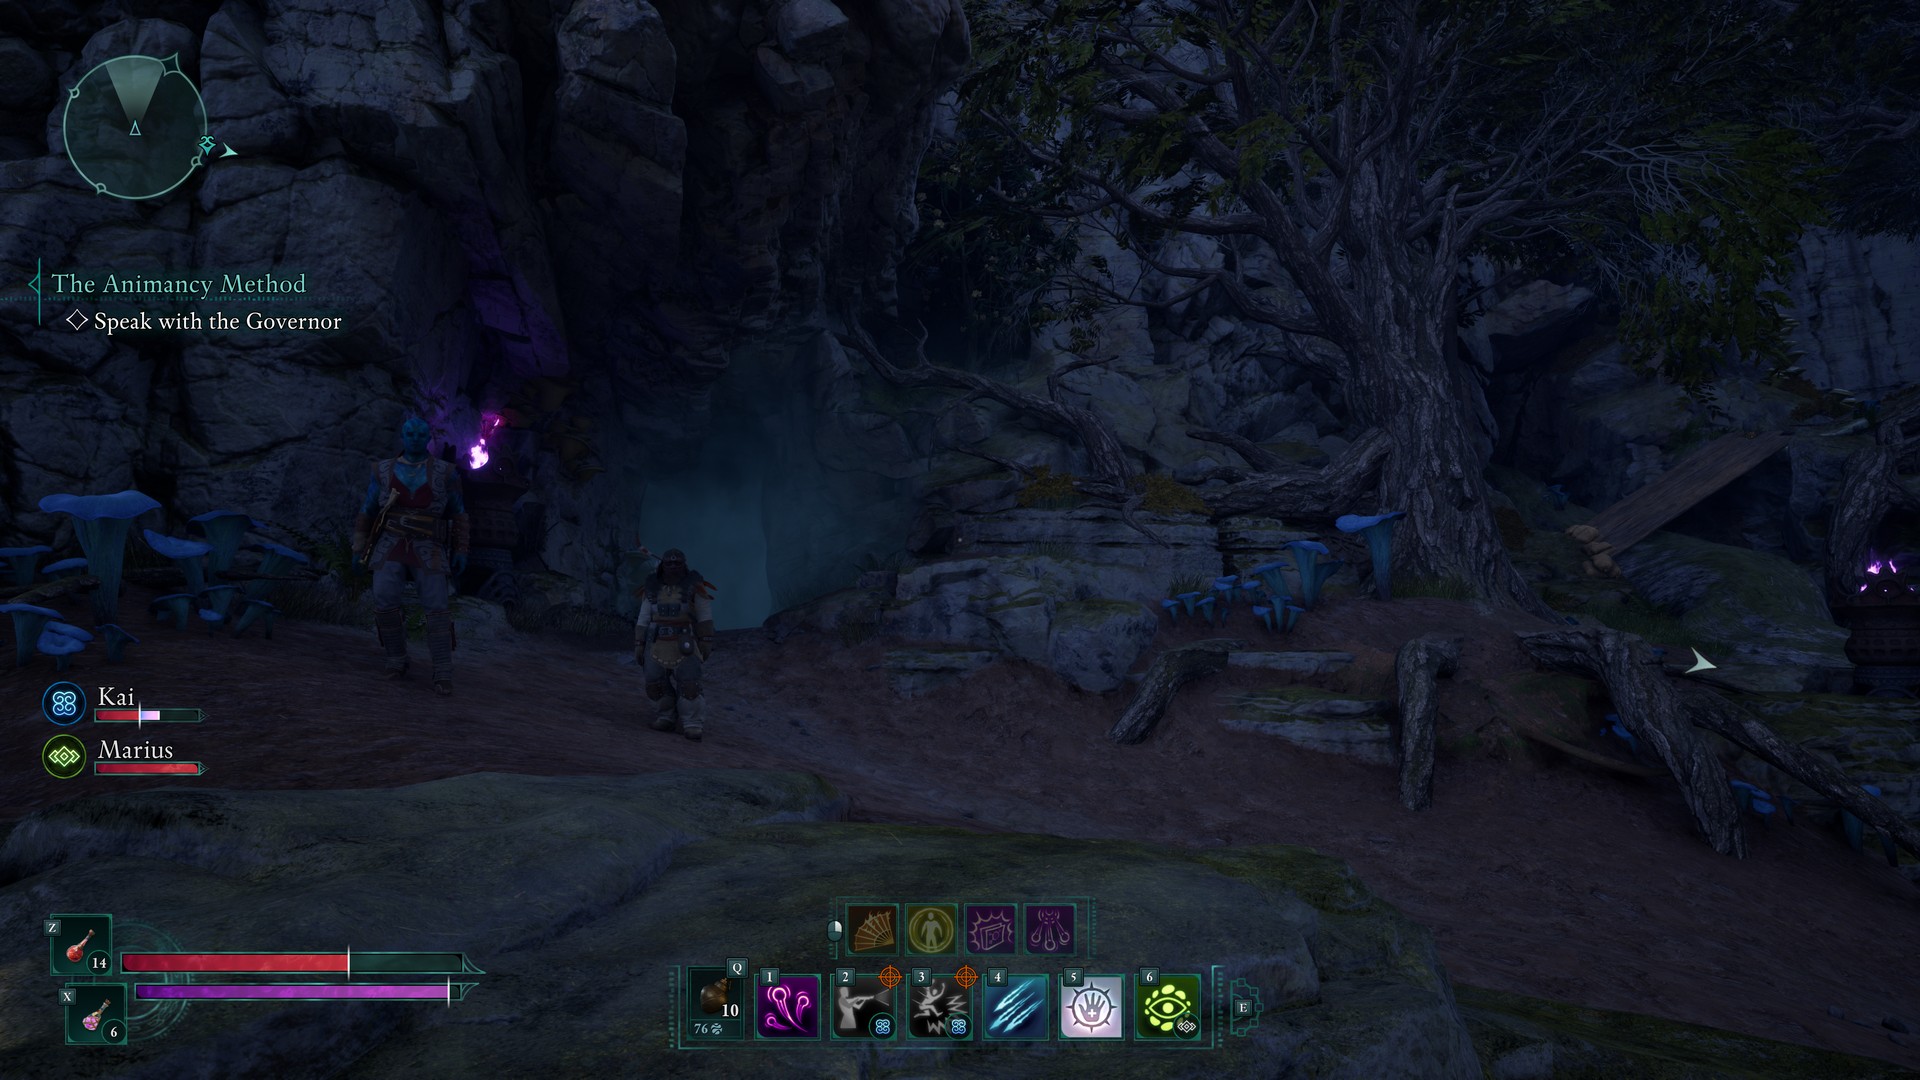
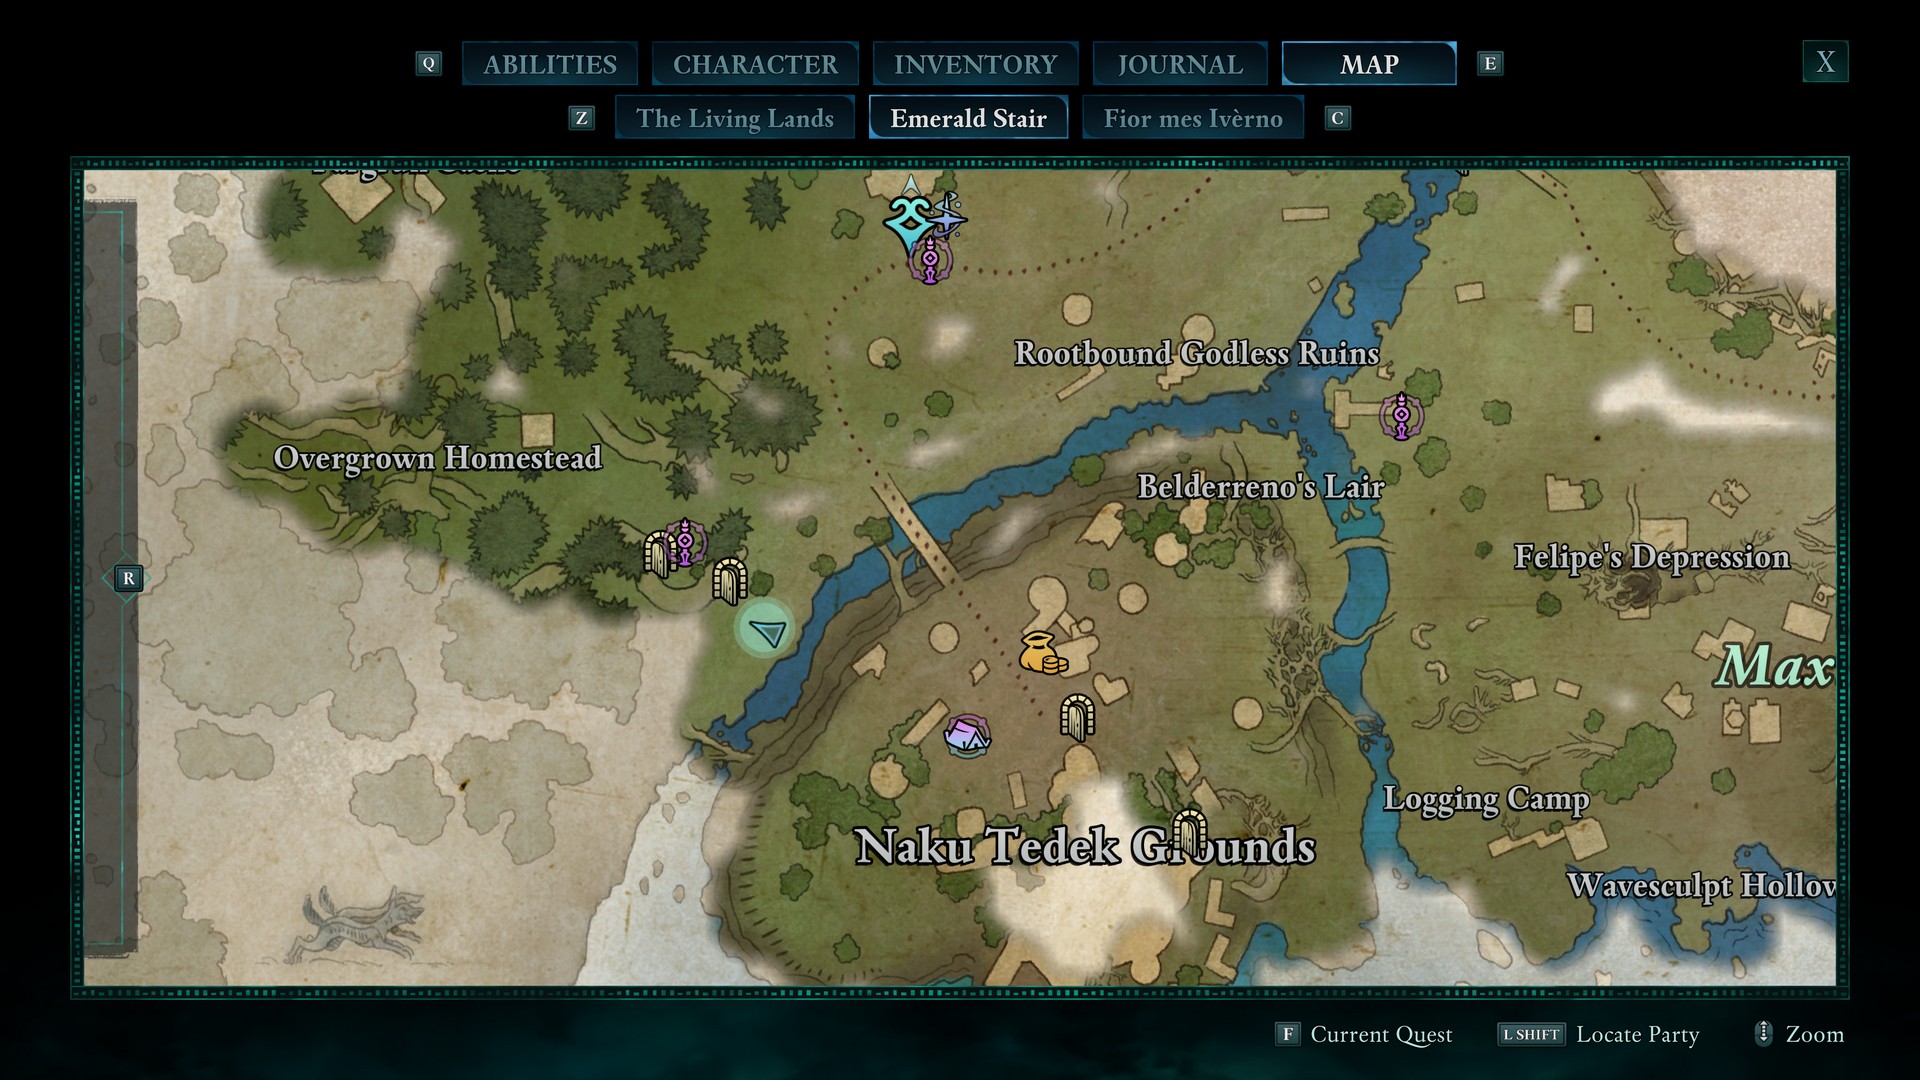
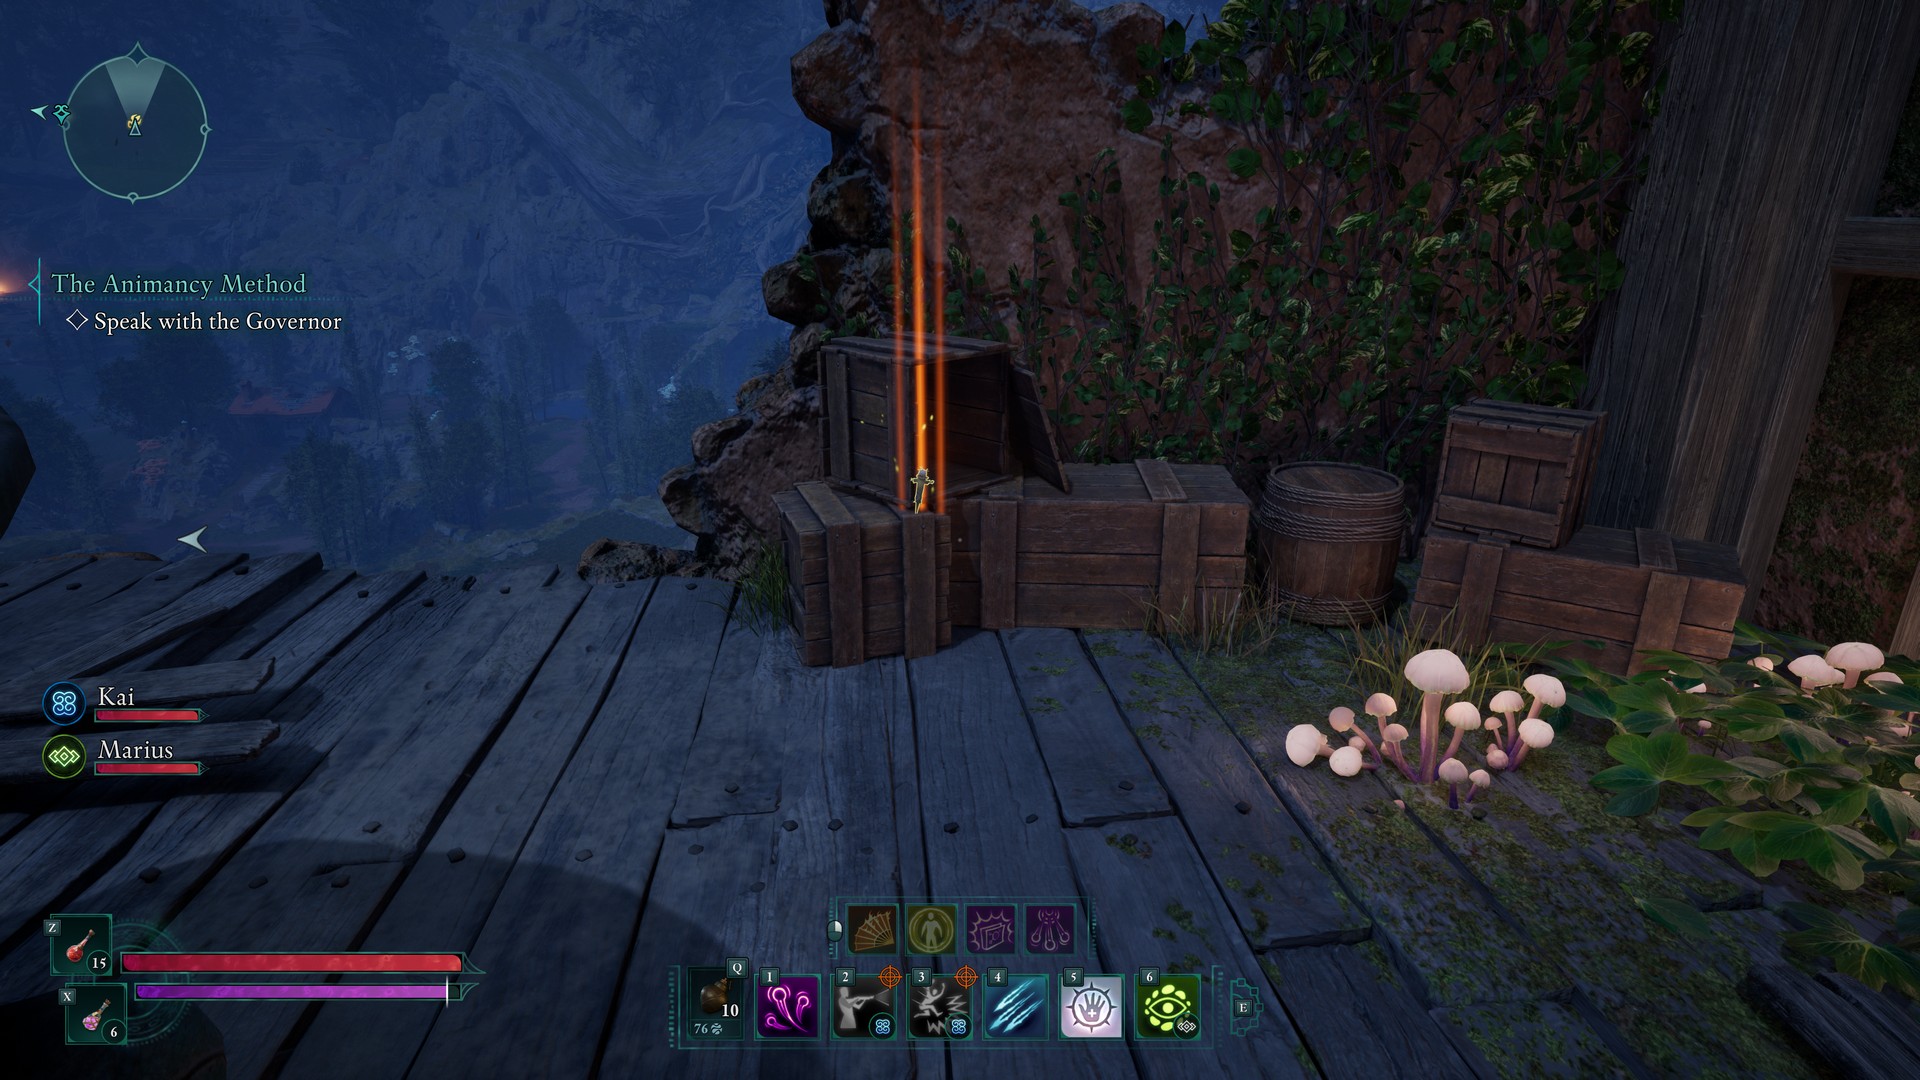
Idol of Secret Hatred
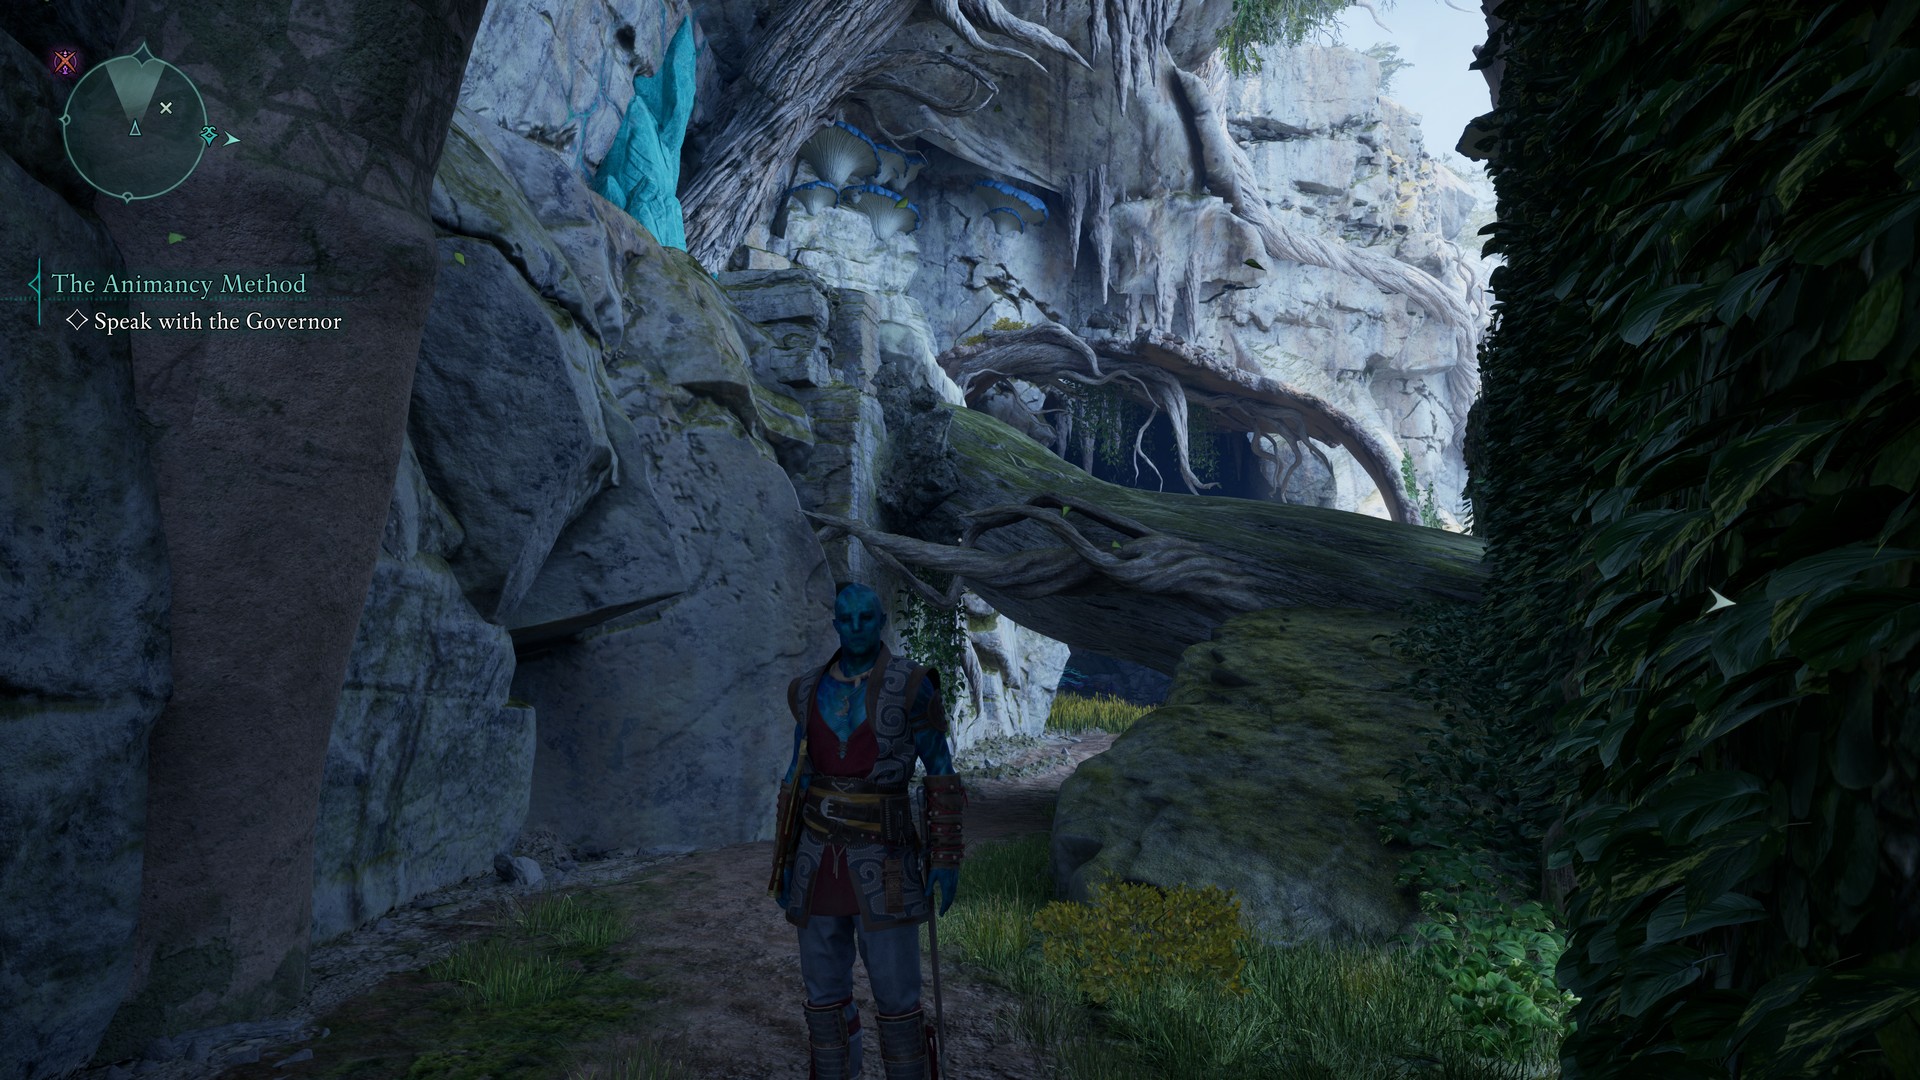
Found inside the Ancient Grotto, just northwest of the Naku Tedek Grounds. In the lower part of the grotto, closer to the entrance near the river, near Maxim Vidarro’s corpse.
Idol of Violent Rebellion
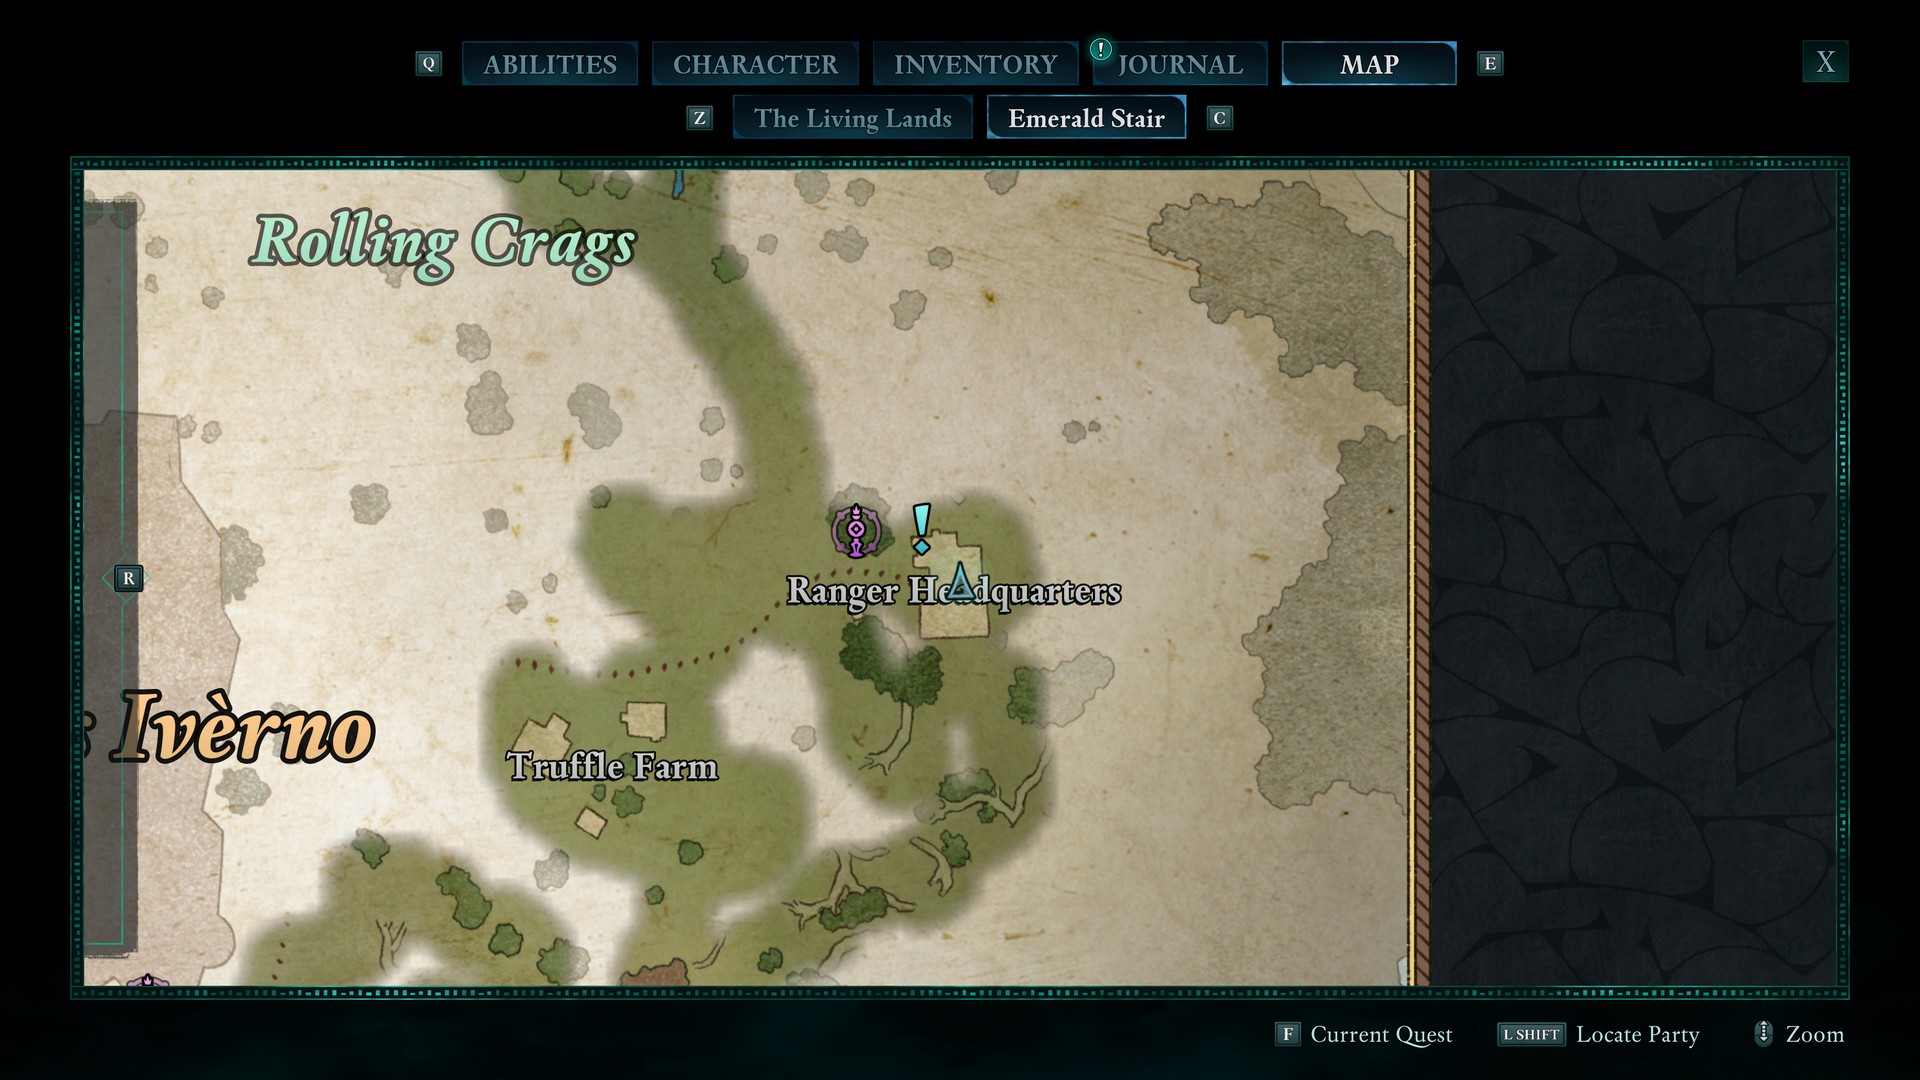
At the very top of Ranger Headquarters. Climb up a ladder on the southeast side of the structure and then follow the path up to the top.
Obsidian Prayer Beads
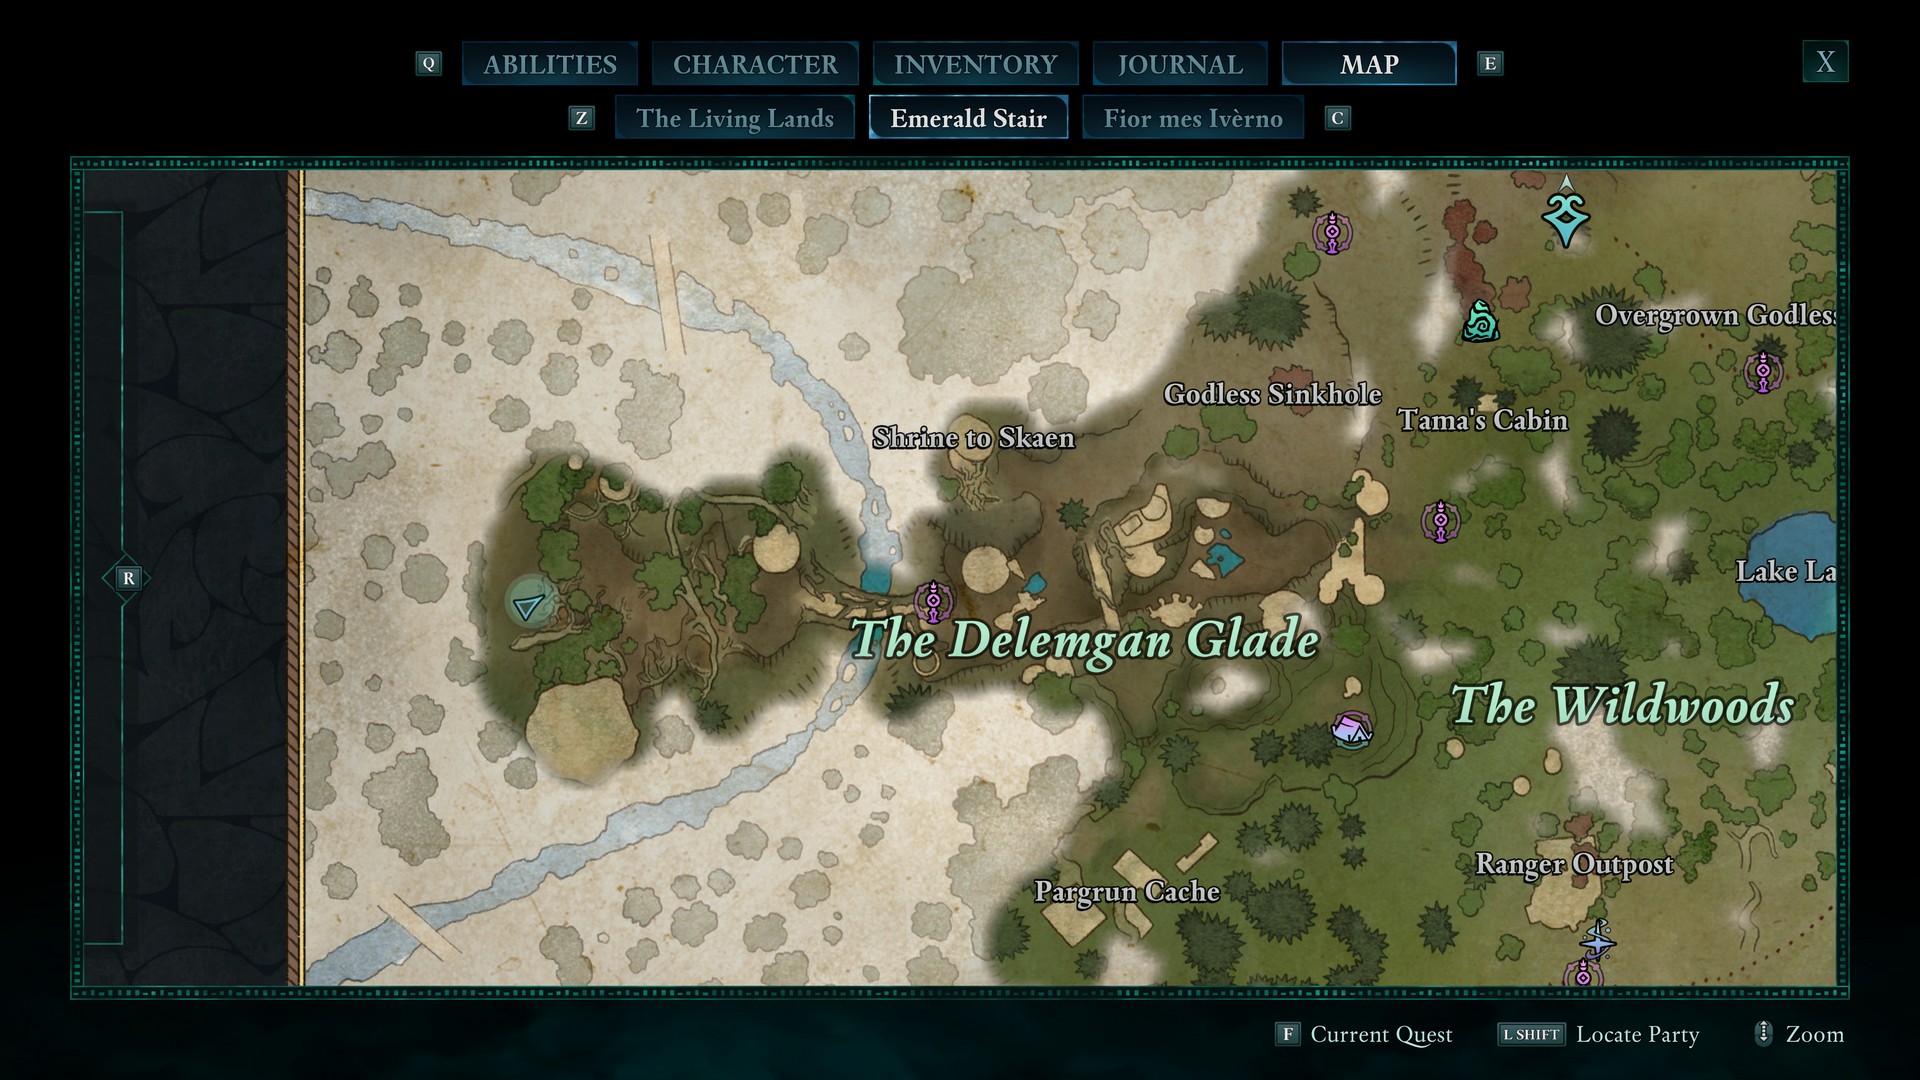
On the far west end of The Delemgan Glade. Get to the westernmost edge, follow the tree root up to the higher level, and then jump onto the structure.
Effigy Necklace
Found early inside Neku Tedek during Ancient Soil main quest. Once at the bottom of the first room, open the electric switch door to your left, and then use an ice platform to reach the location with the fragment.
The Schemer’s Offering Totem Bonuses
- Furious Frenzy - Second Wind Casts Flurry of Blows.
- The Slave’s Patience - +2 Constitution, +2 Dexterity.
- Hidden Hatred - Increases you damage against unaware enemies by 25%
- Kill the Master - Increases your damage against “skull” enemies.
- Bitter Thoughts - Critical Hits deal high Poison Accumulation.
- A Vengeful Victim - After taking damage from an enemy, your next attack within 10 seconds deals +20% of the original damage you received. Stacks with Retribution.
Shatterscarp - Totem of Revelations: Eyes of the Obscured
Fragments of the Eyes
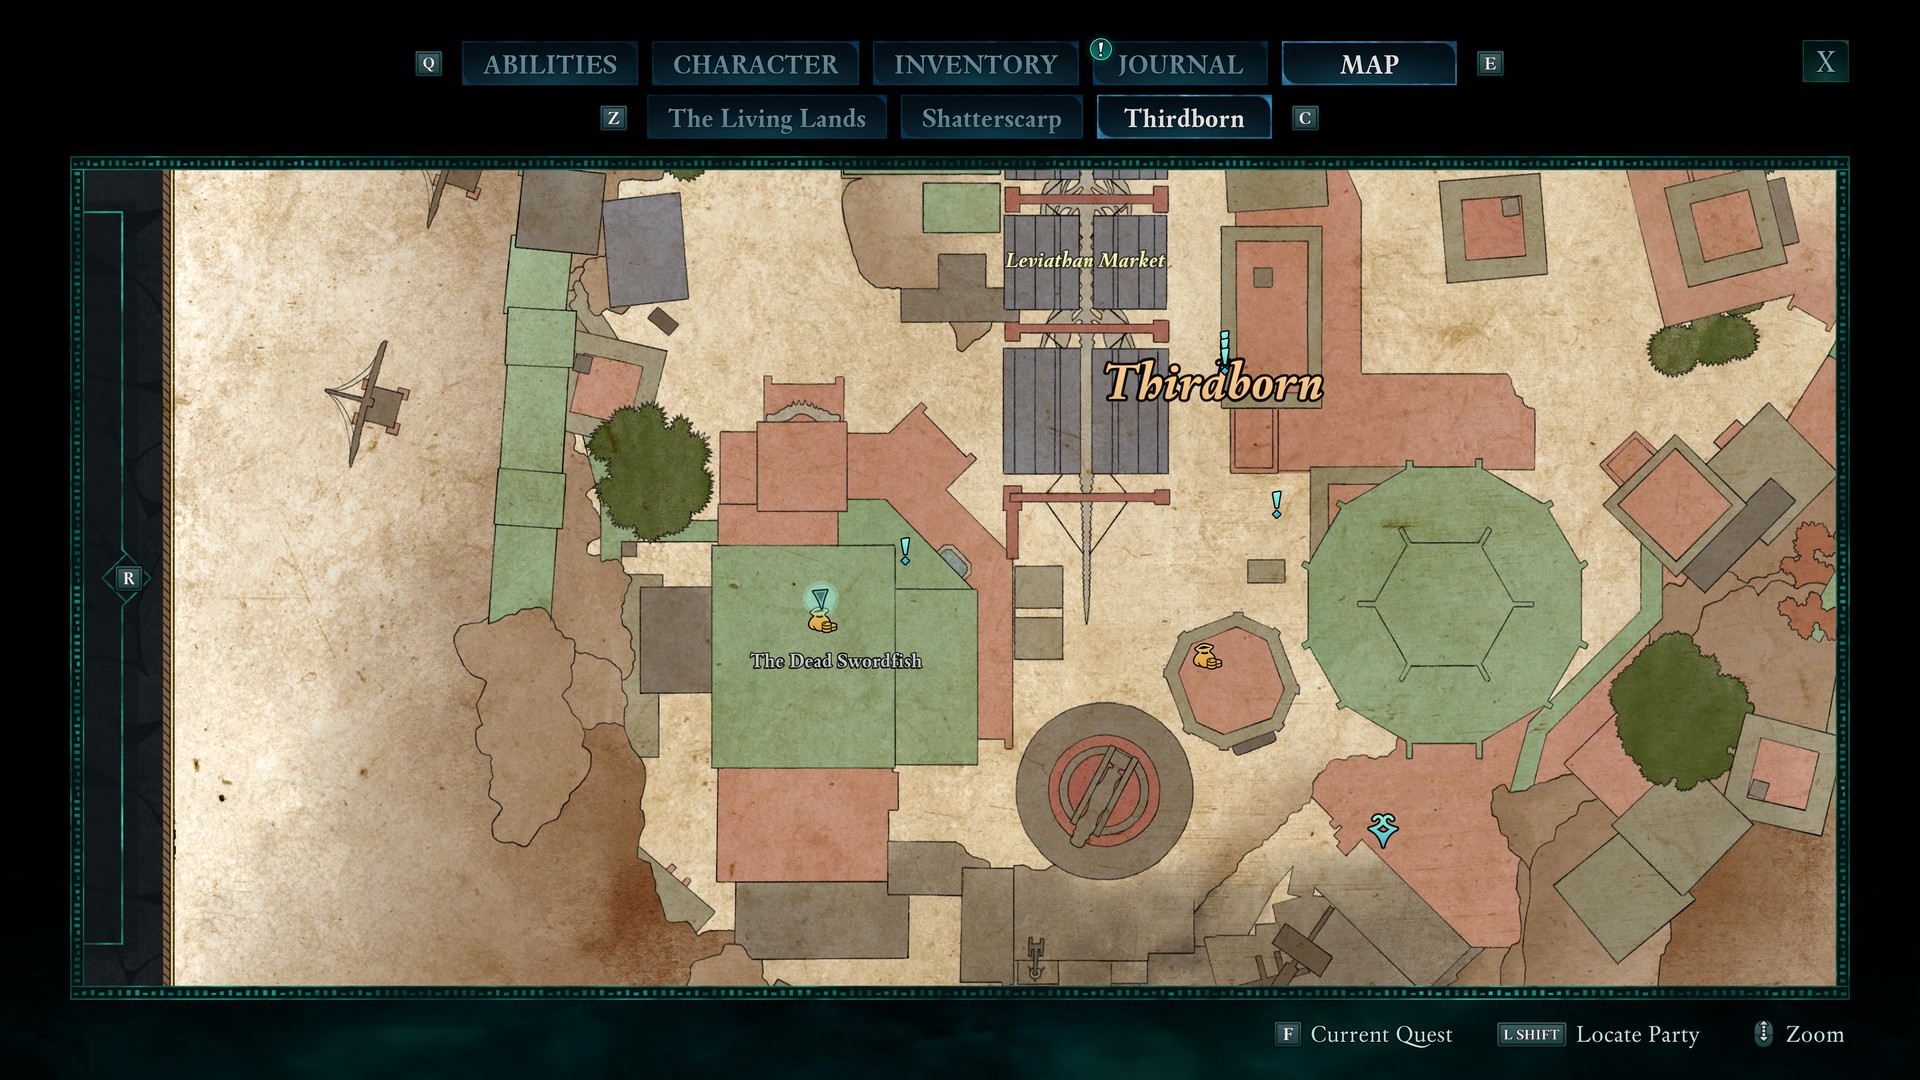
Buy at The Dead Swordfish in Thirdborn.
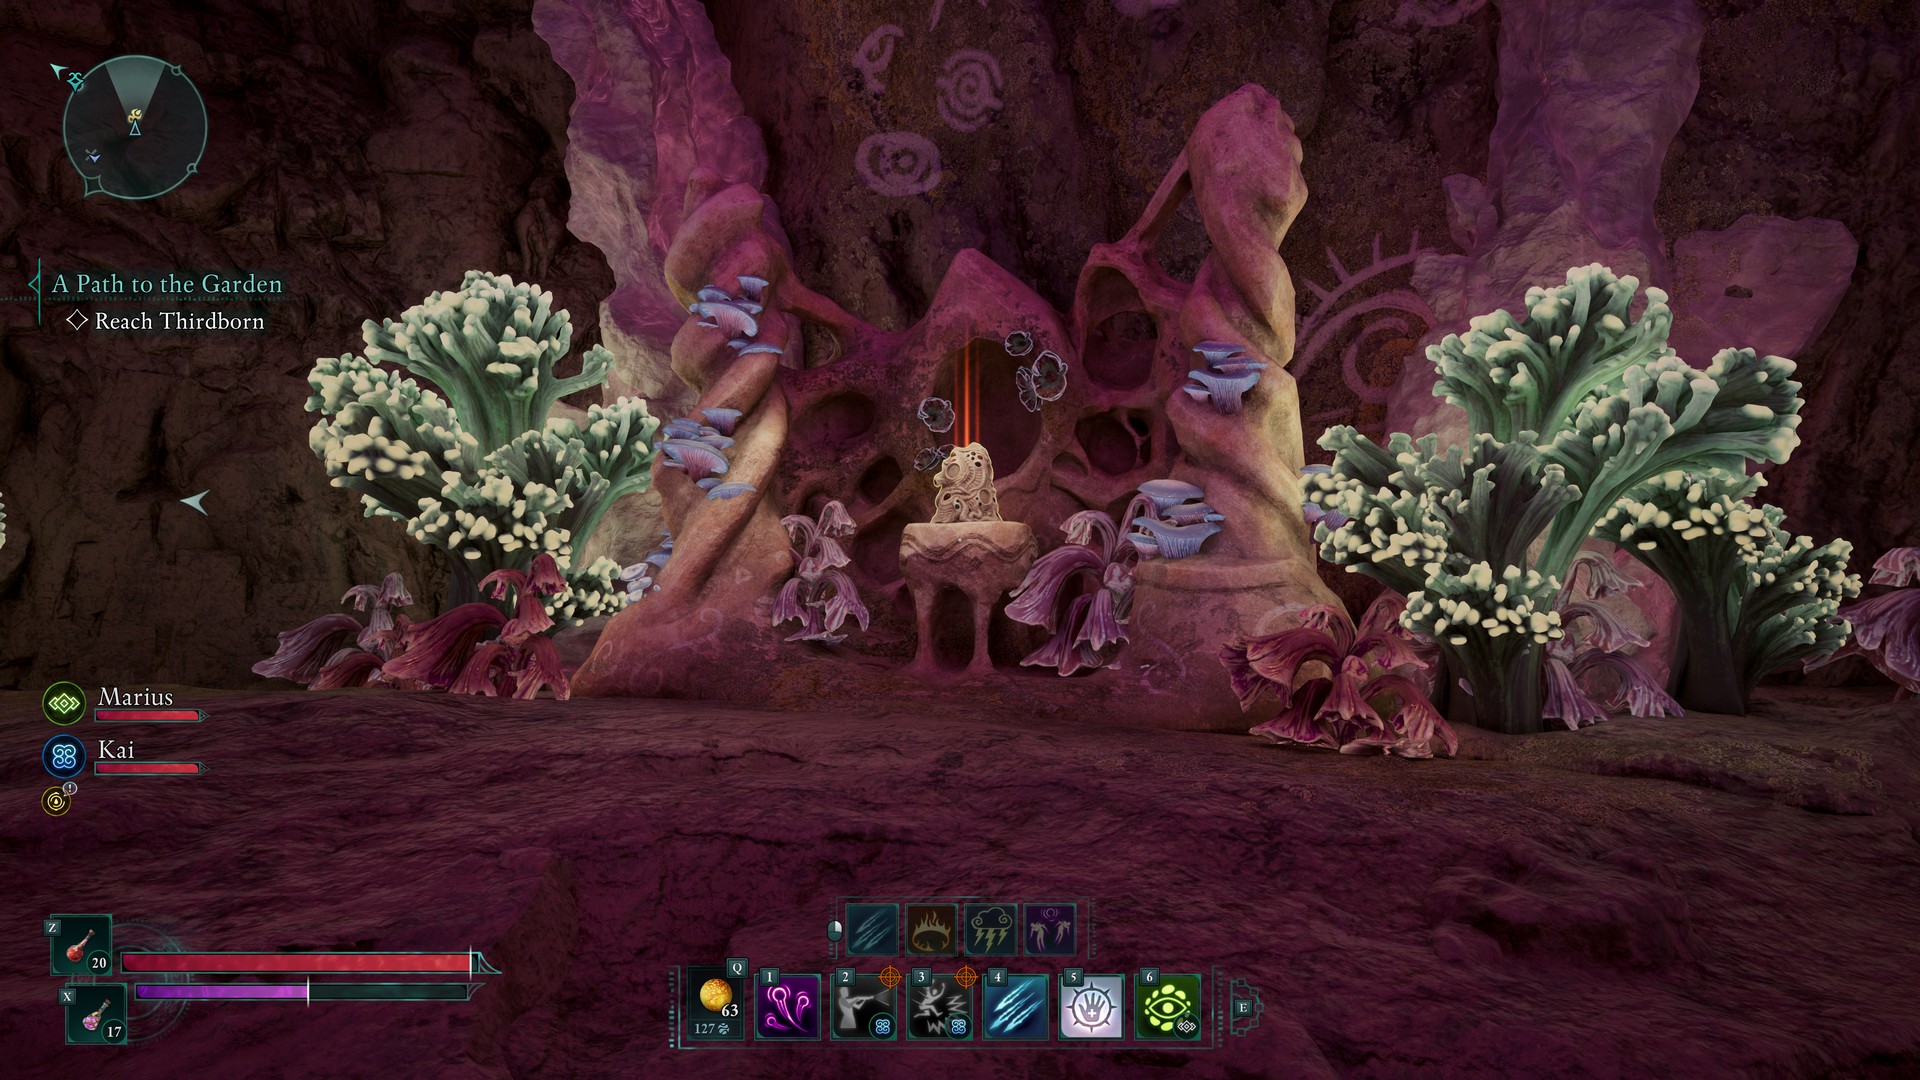
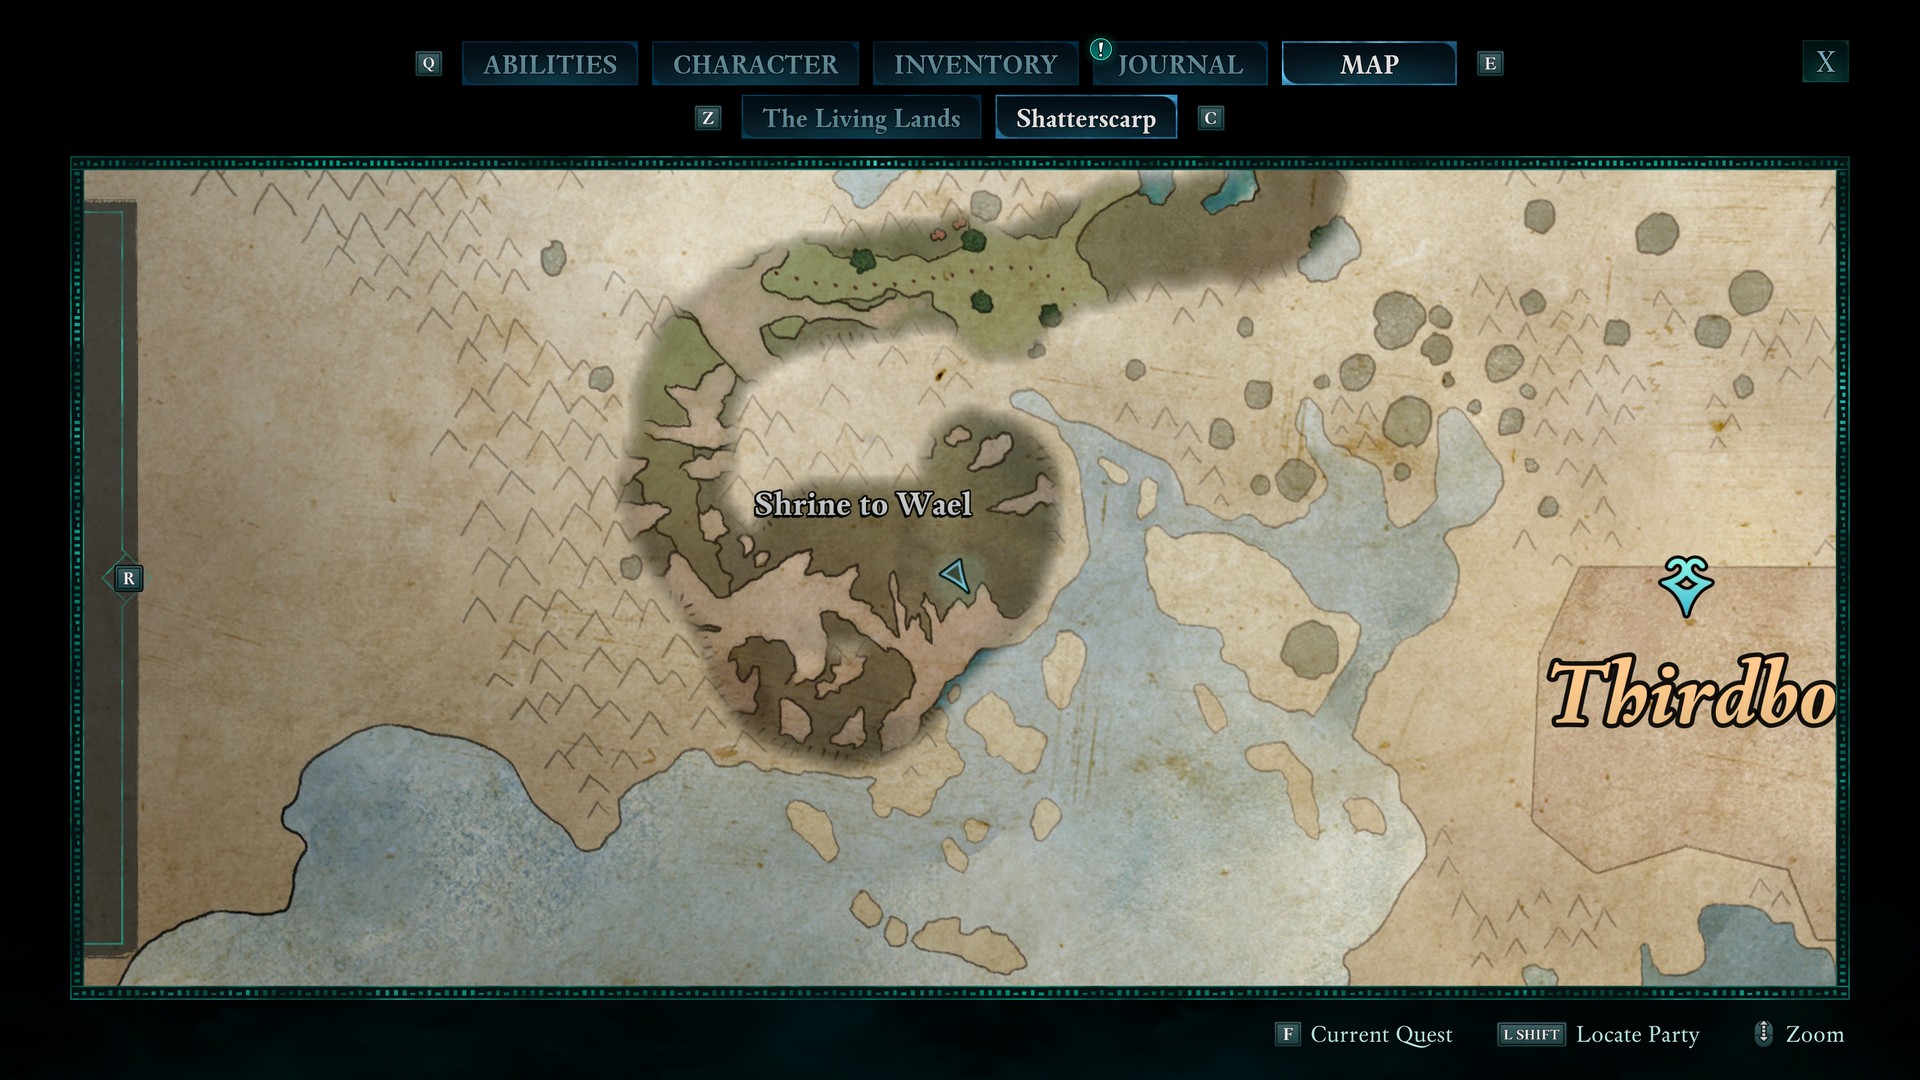
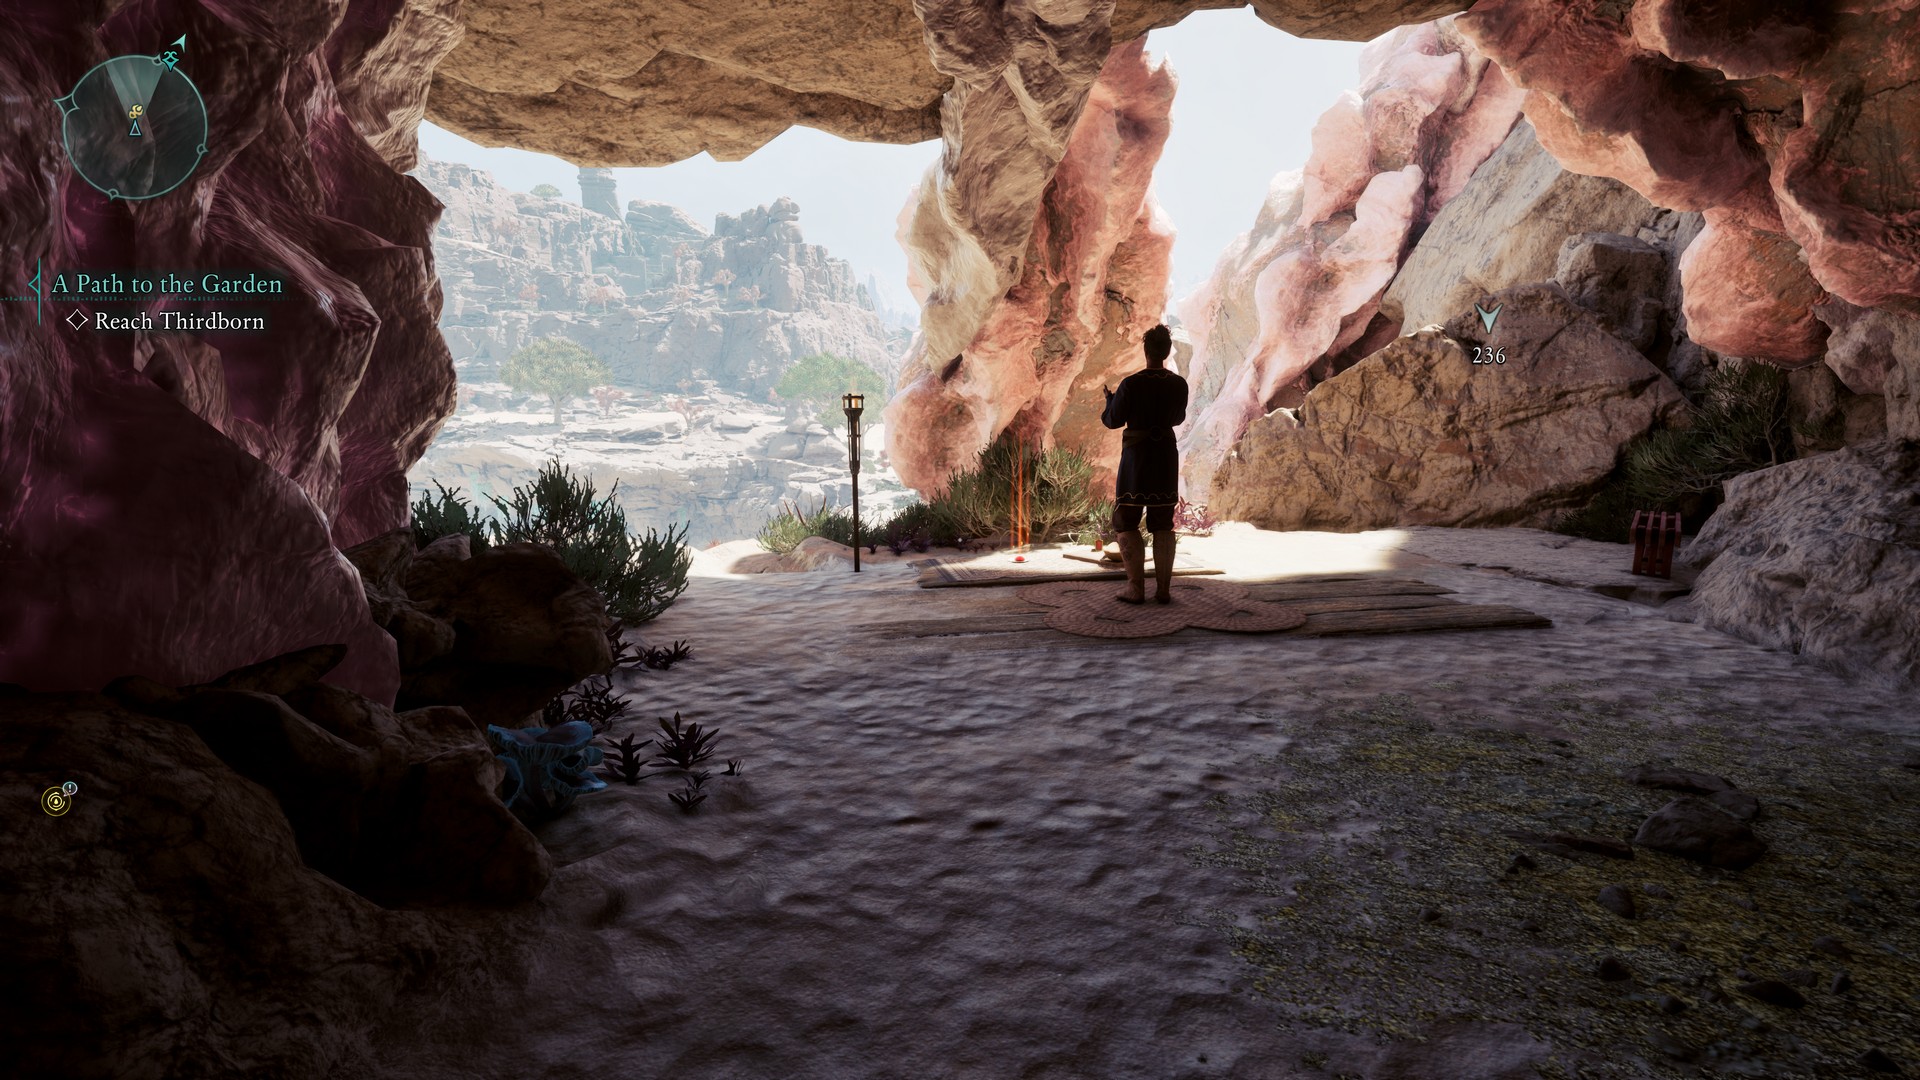
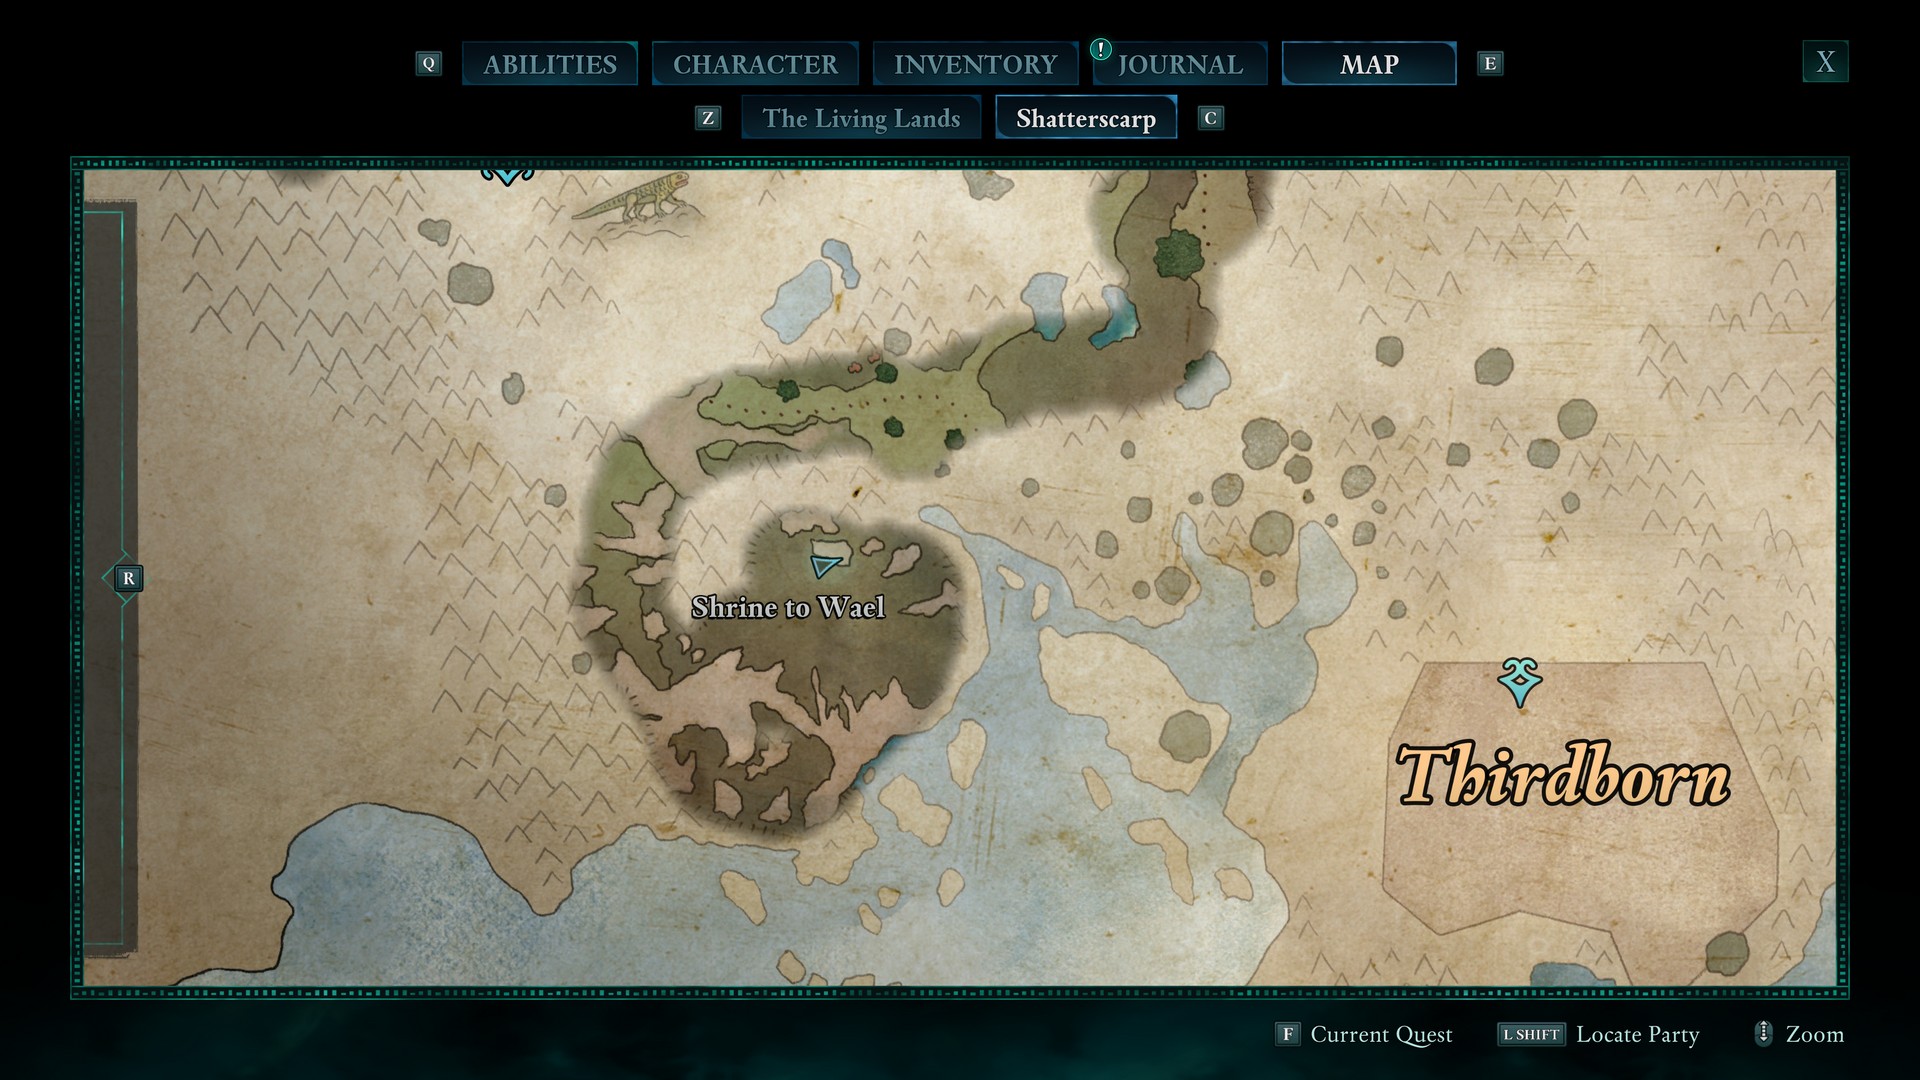
Eyes of the Obscured
On the altar inside of Shrine to Wael. Can enter the shrine by following the path on the west side of it.
Ruby Eye
Near the top of Shrine to Wael. Speak to Ward of the Eye.
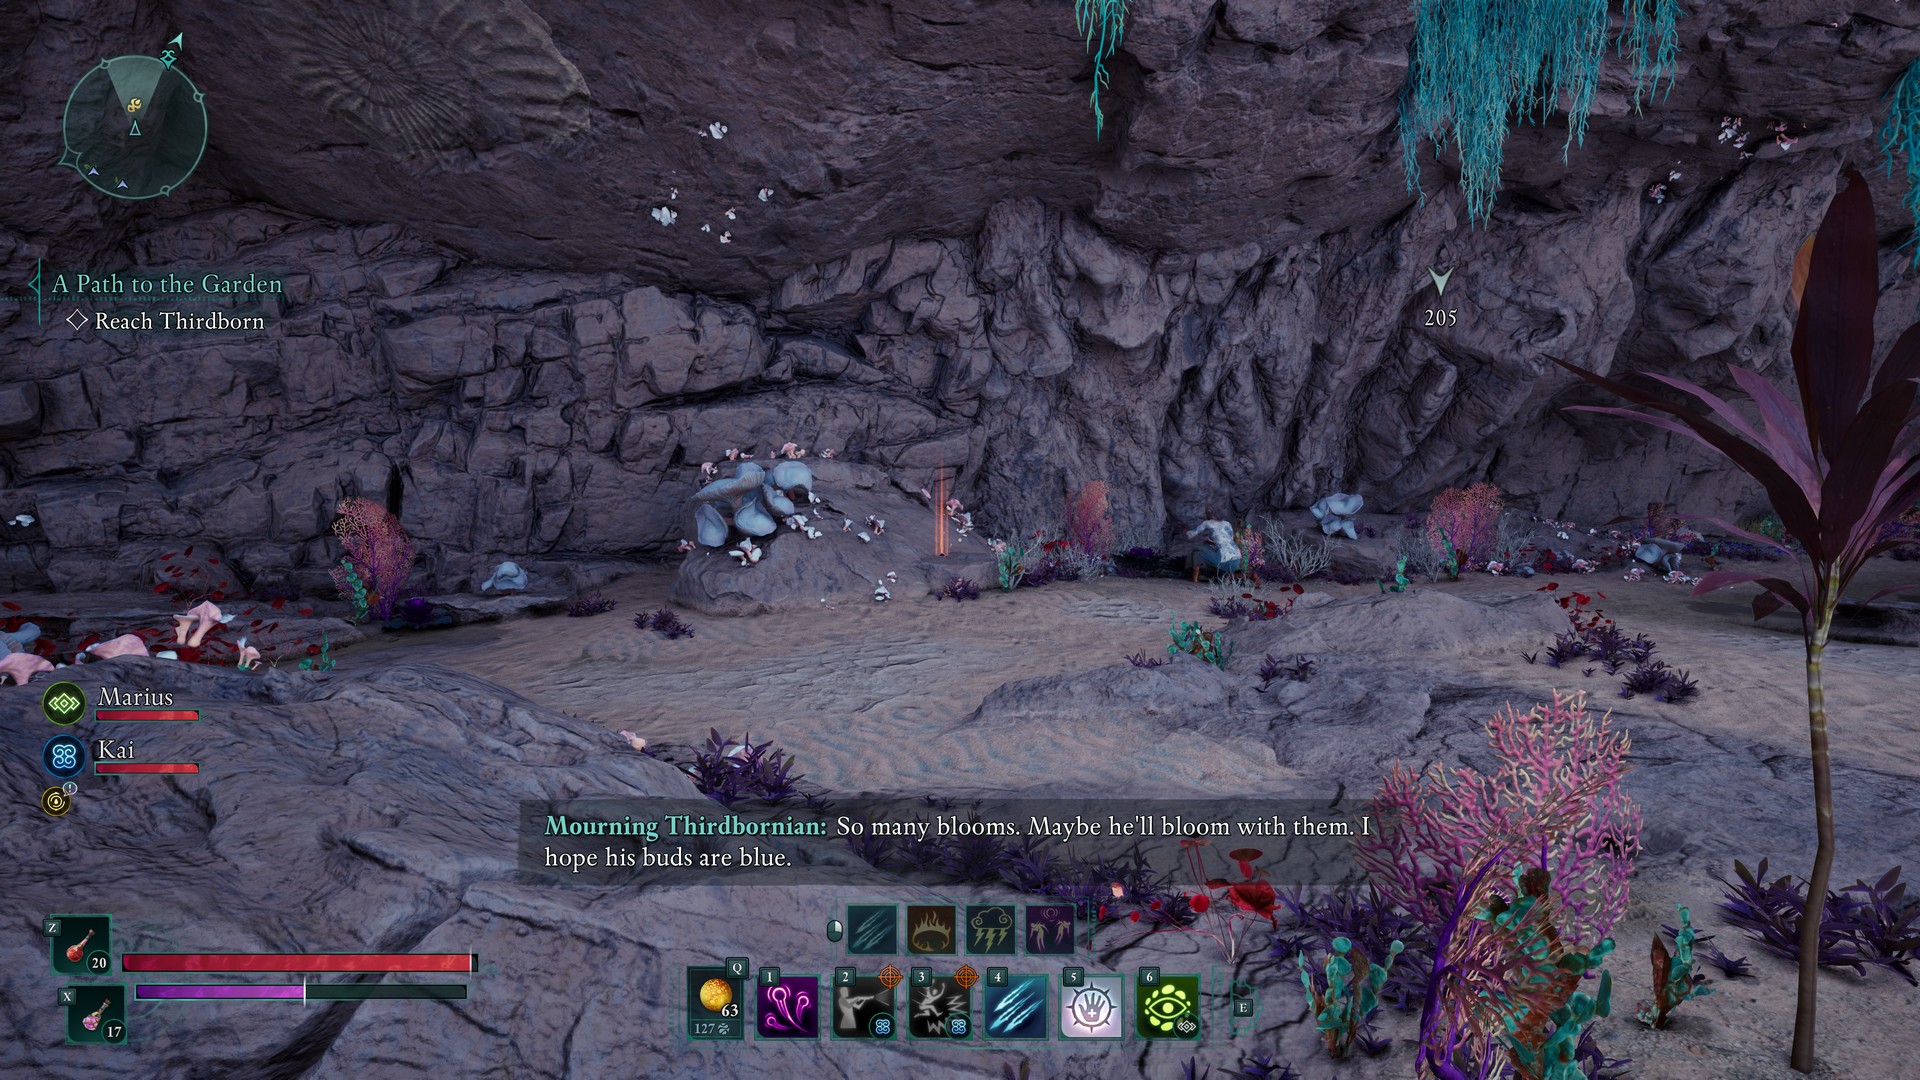
Amethyst Eye
On the ground level of the Ancient Lakebed, far to the east.
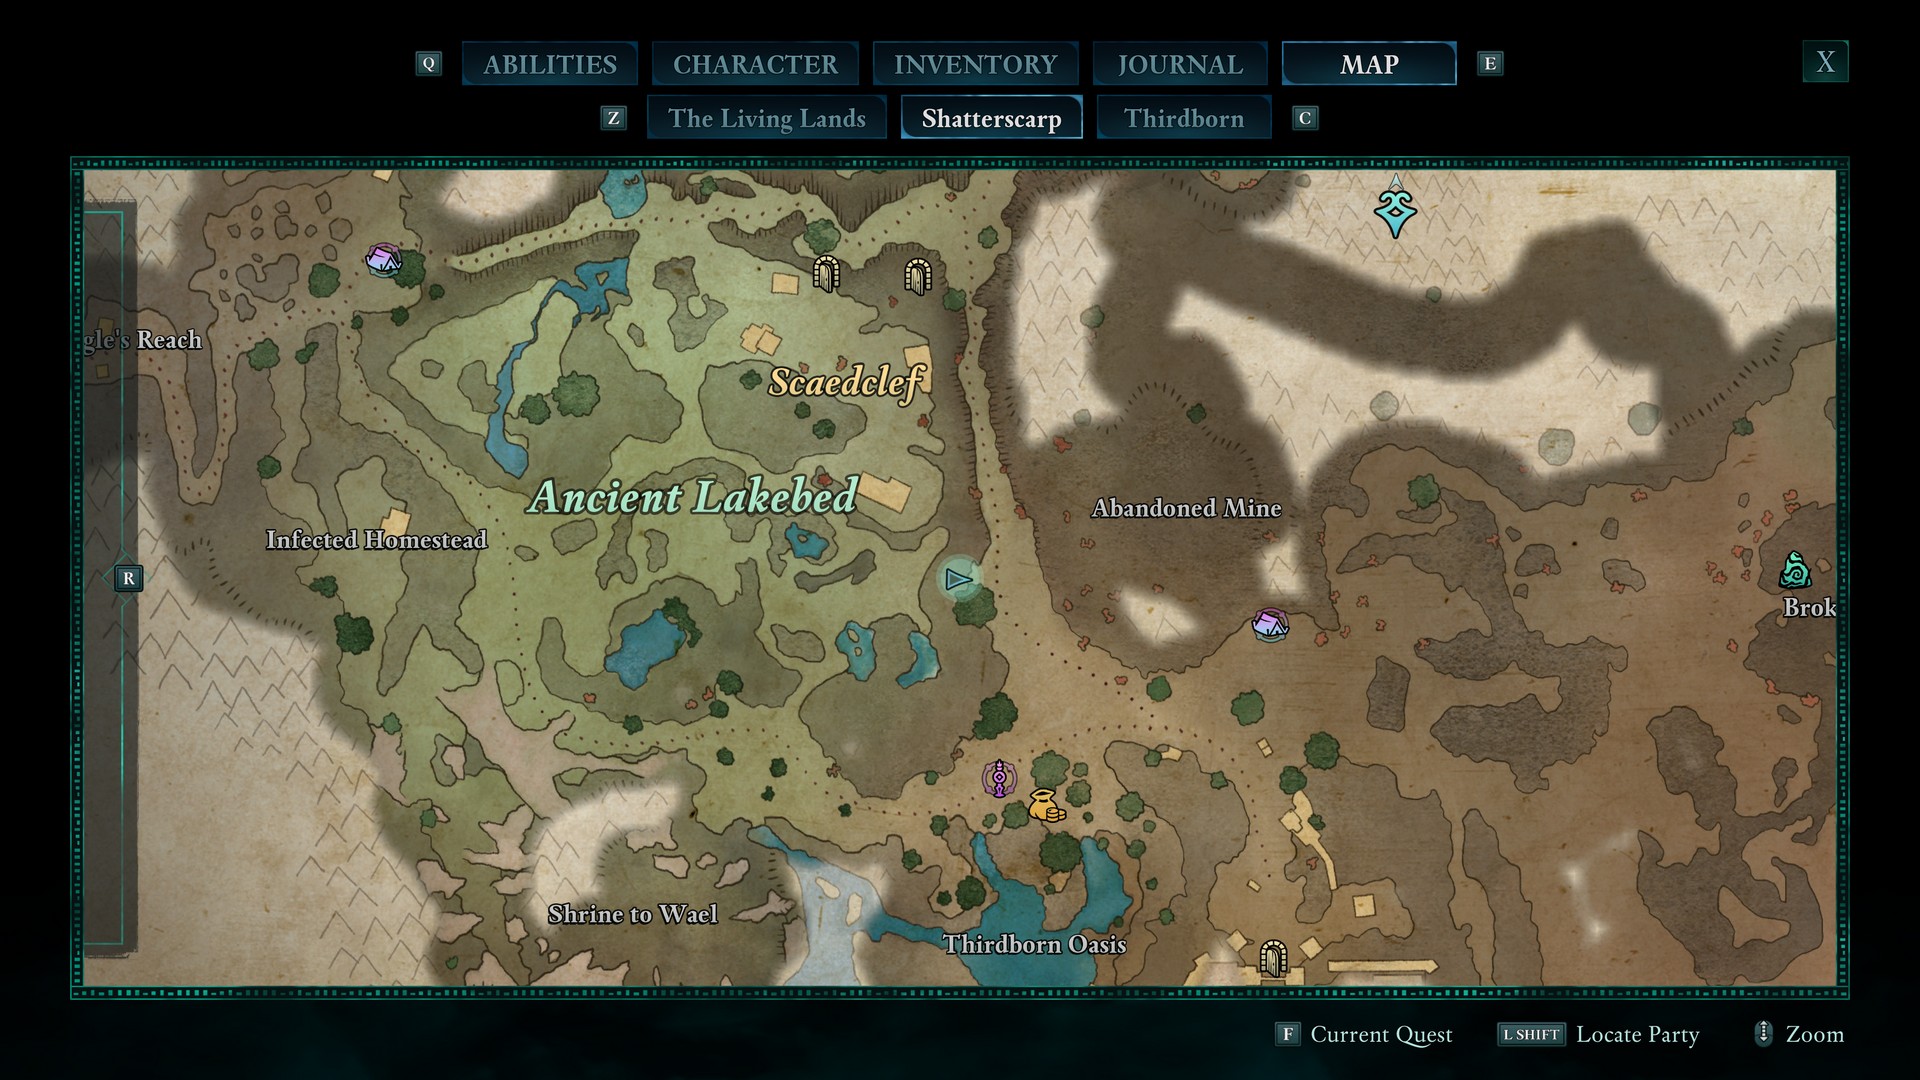
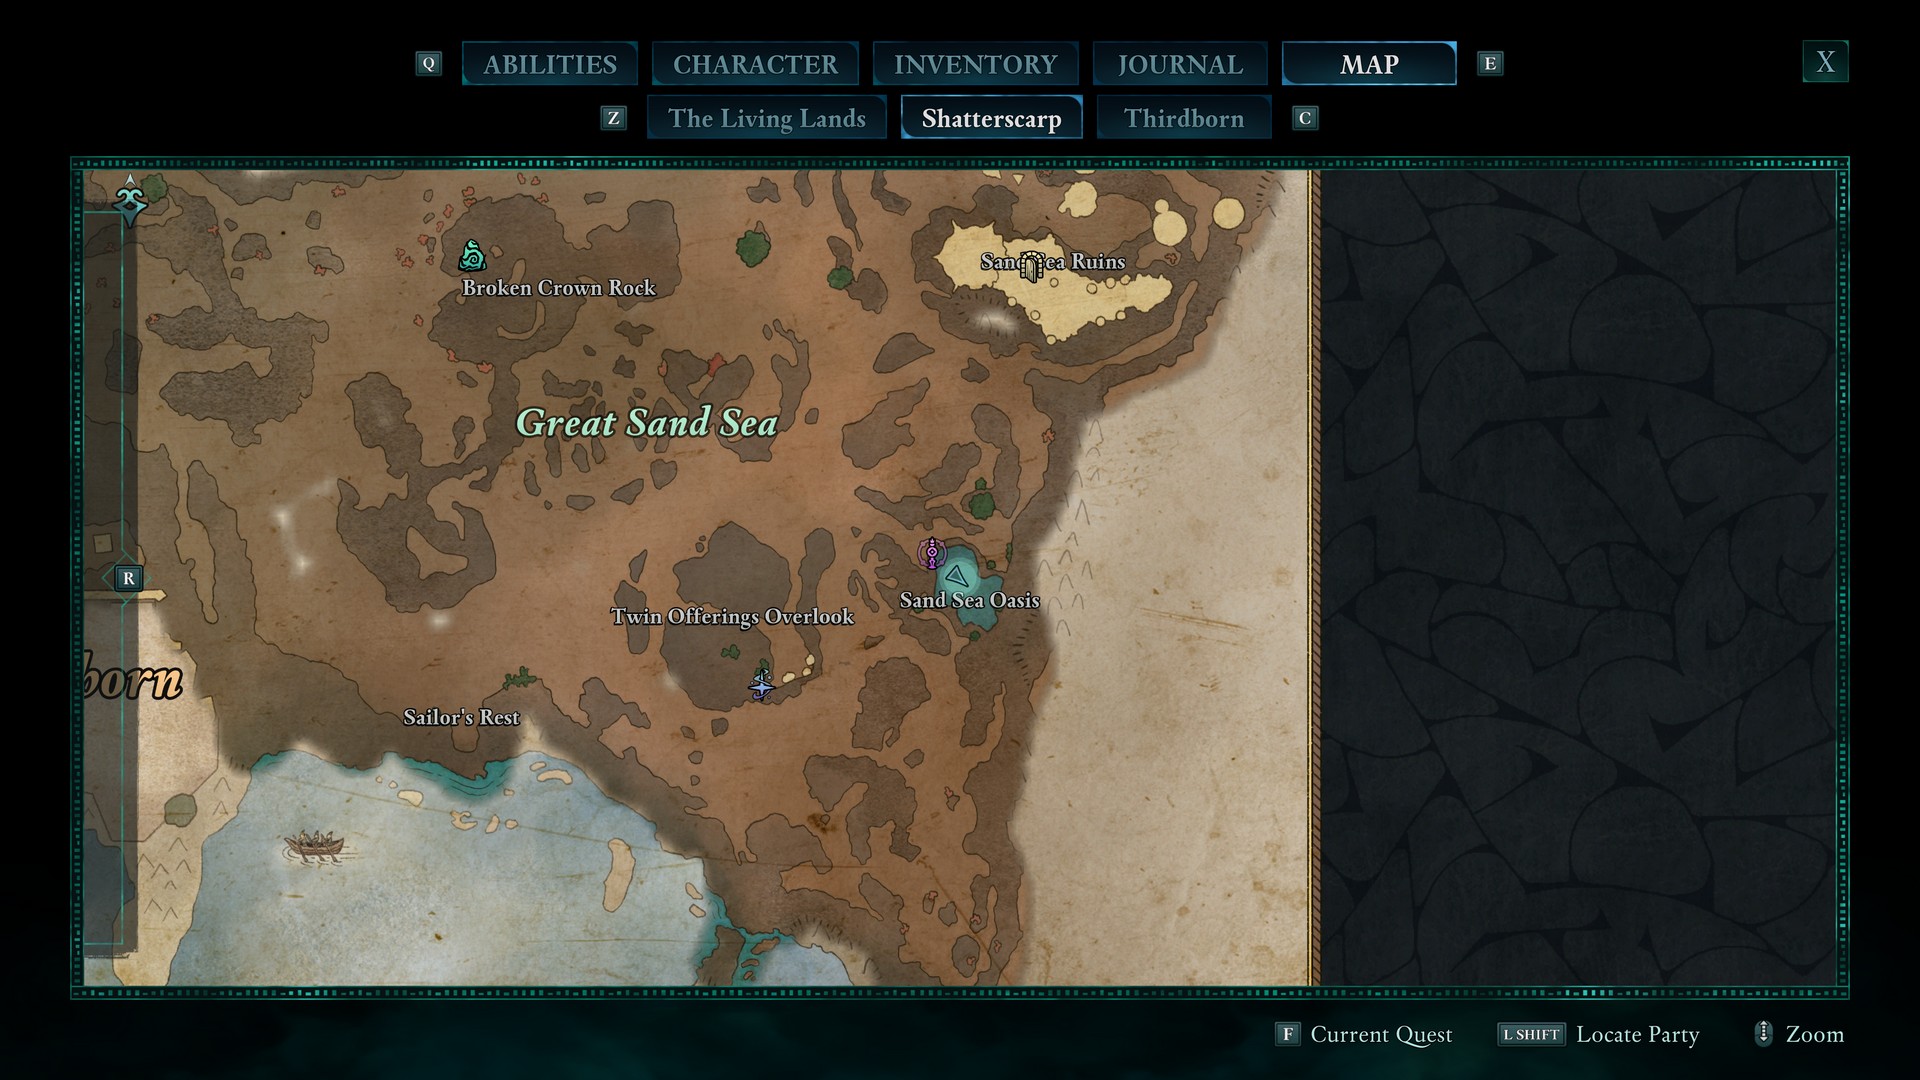
Sapphire Eye
At the bottom of the pond at Sand Sea Oasis.

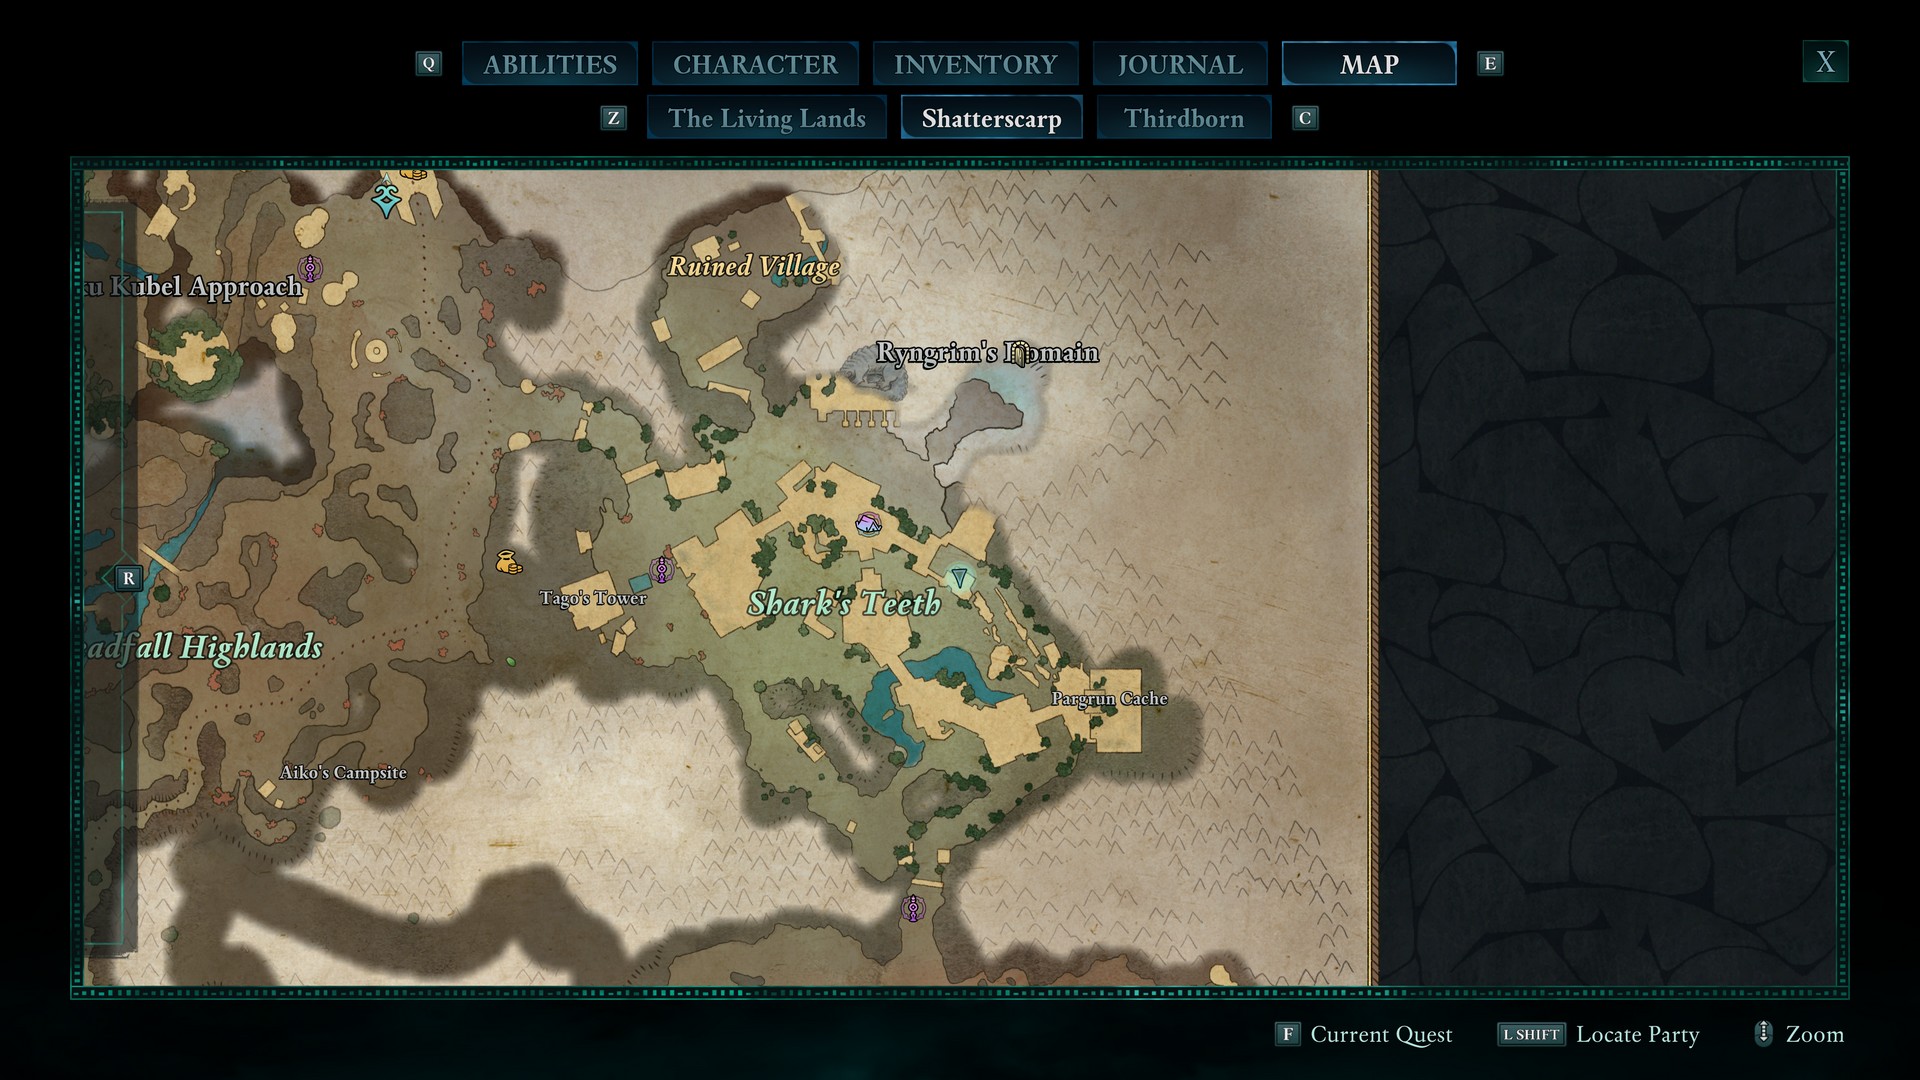
Emerald Eye
At the top of a half-built statue on the east side of Shark’s Teeth. Climb up the abandoned scaffolding to the “waist” of the statue to find the fragment.
Agate Eye
Near the entrance to the Sand Sea Ruins dungeon area. Enter the upper level of the large ruined structure, fall down one set of scaffolding, and then follow the path to the fragment.

Topaz Eye
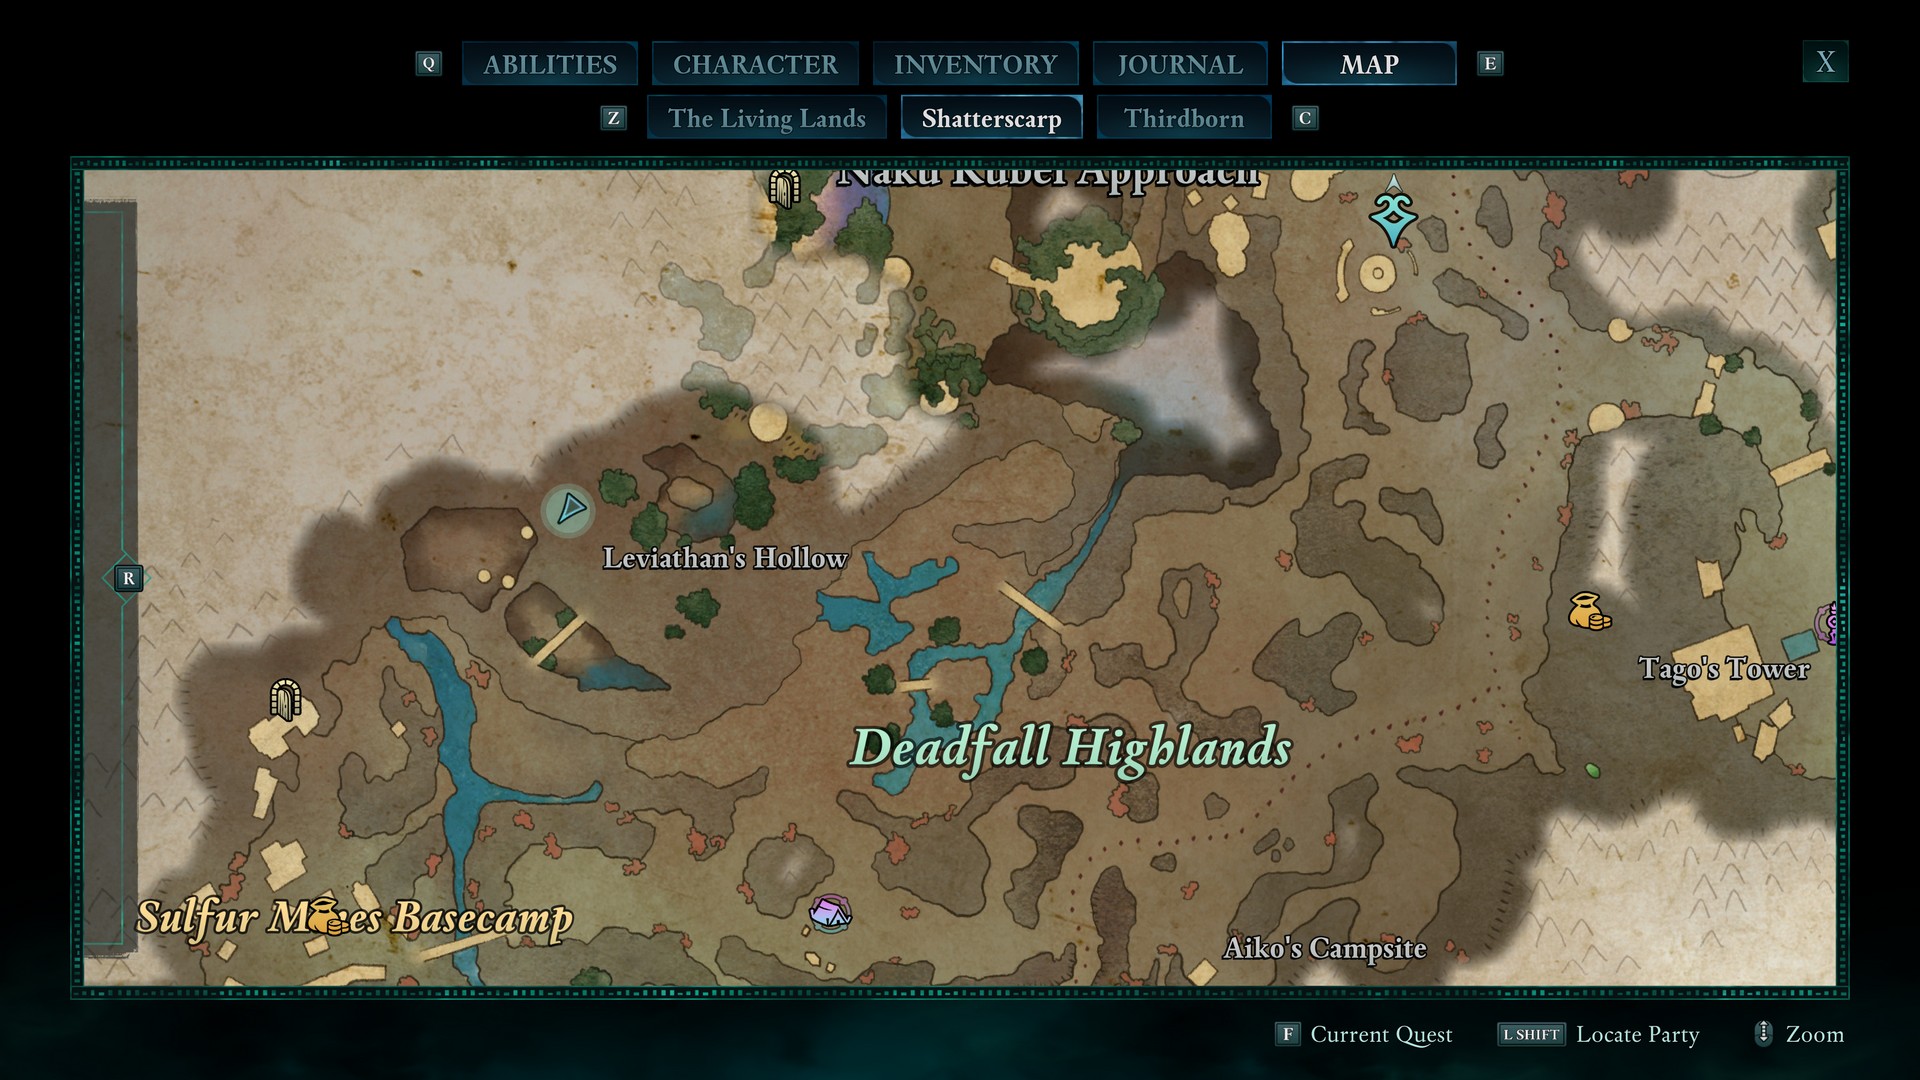
Swim into the cave under the giant skull in Leviathan’s Hollow. Find this fragment near the corpse of Manu for the First Contact with the Enemy quest.
Eyes of the Obscured Totem Bonuses
- Fickle Winds - Critical Hits deal high random accumulation.
- Disappearing Trick - Second Wind casts Shadowing Beyond.
- Magic in the Blood - Restoring Essence also restores a small amount of Health.
- Sight Beyond Eyes - +5% Critical Hit Chance.
- Enigmatic Shield - Activating a Level 15 or Level 20 ability grants +5% Damage Reduction for 10 seconds.
- The Obscured’s Vantage - +2 Intellect, +2 Perception
Galawain’s Tusks - Totem of Perseverance: Huntmaster’s Spoils
Fragments of the Spoils
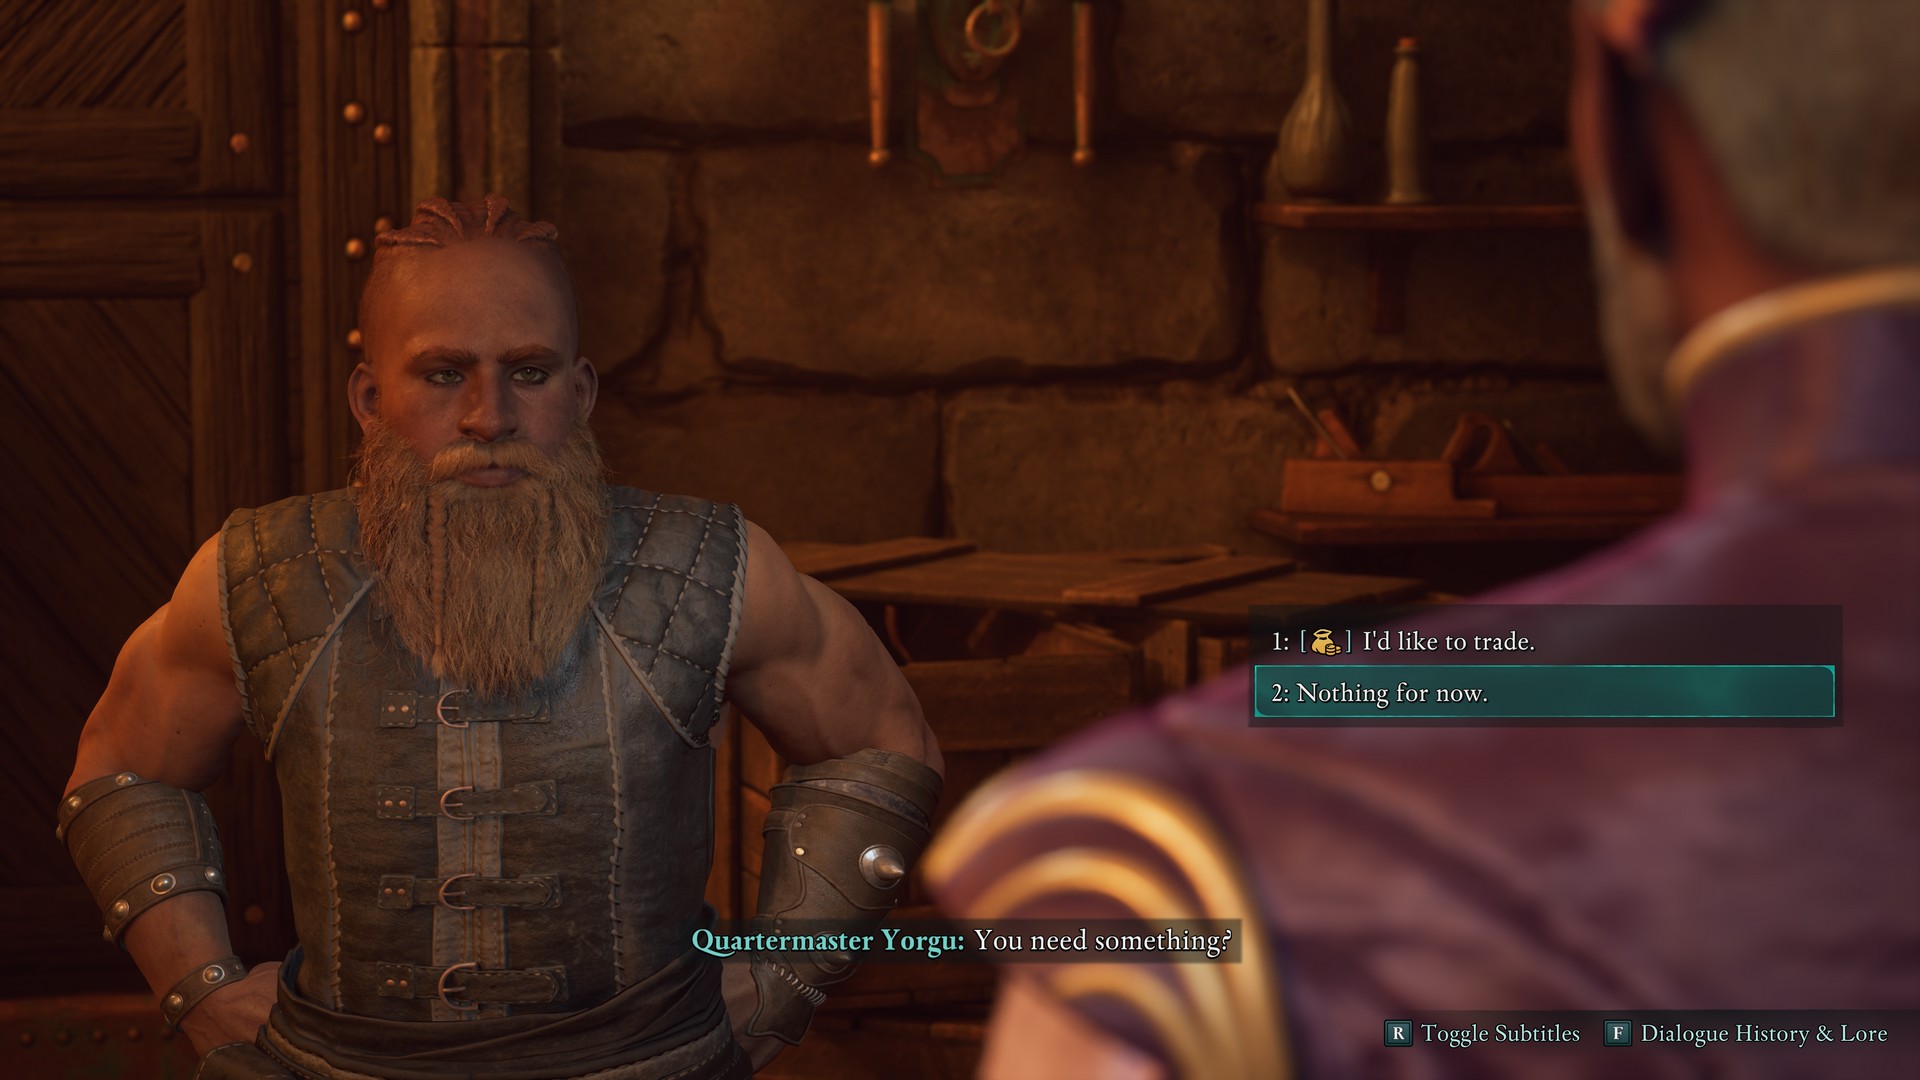
Buy from Quartermaster Yorgu in Solace Keep on the first level.
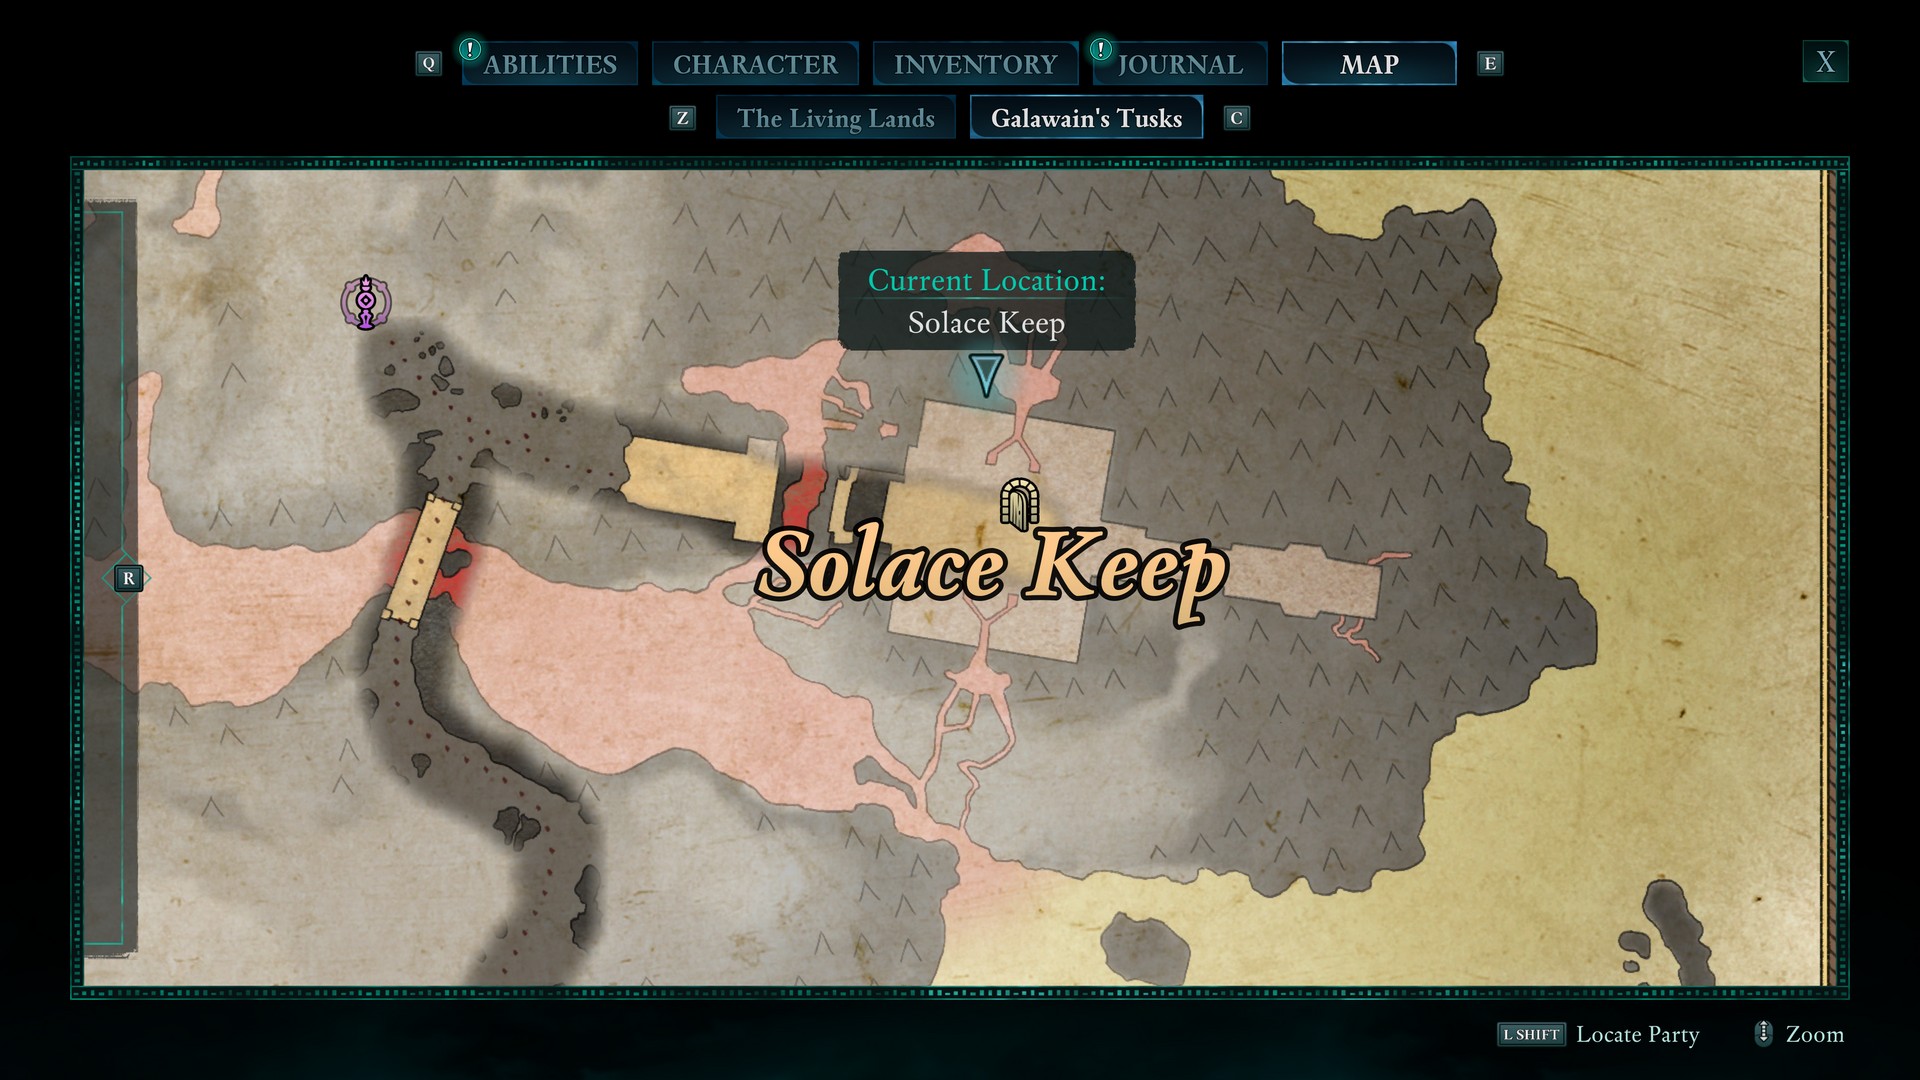
The Huntmaster’s Spoils
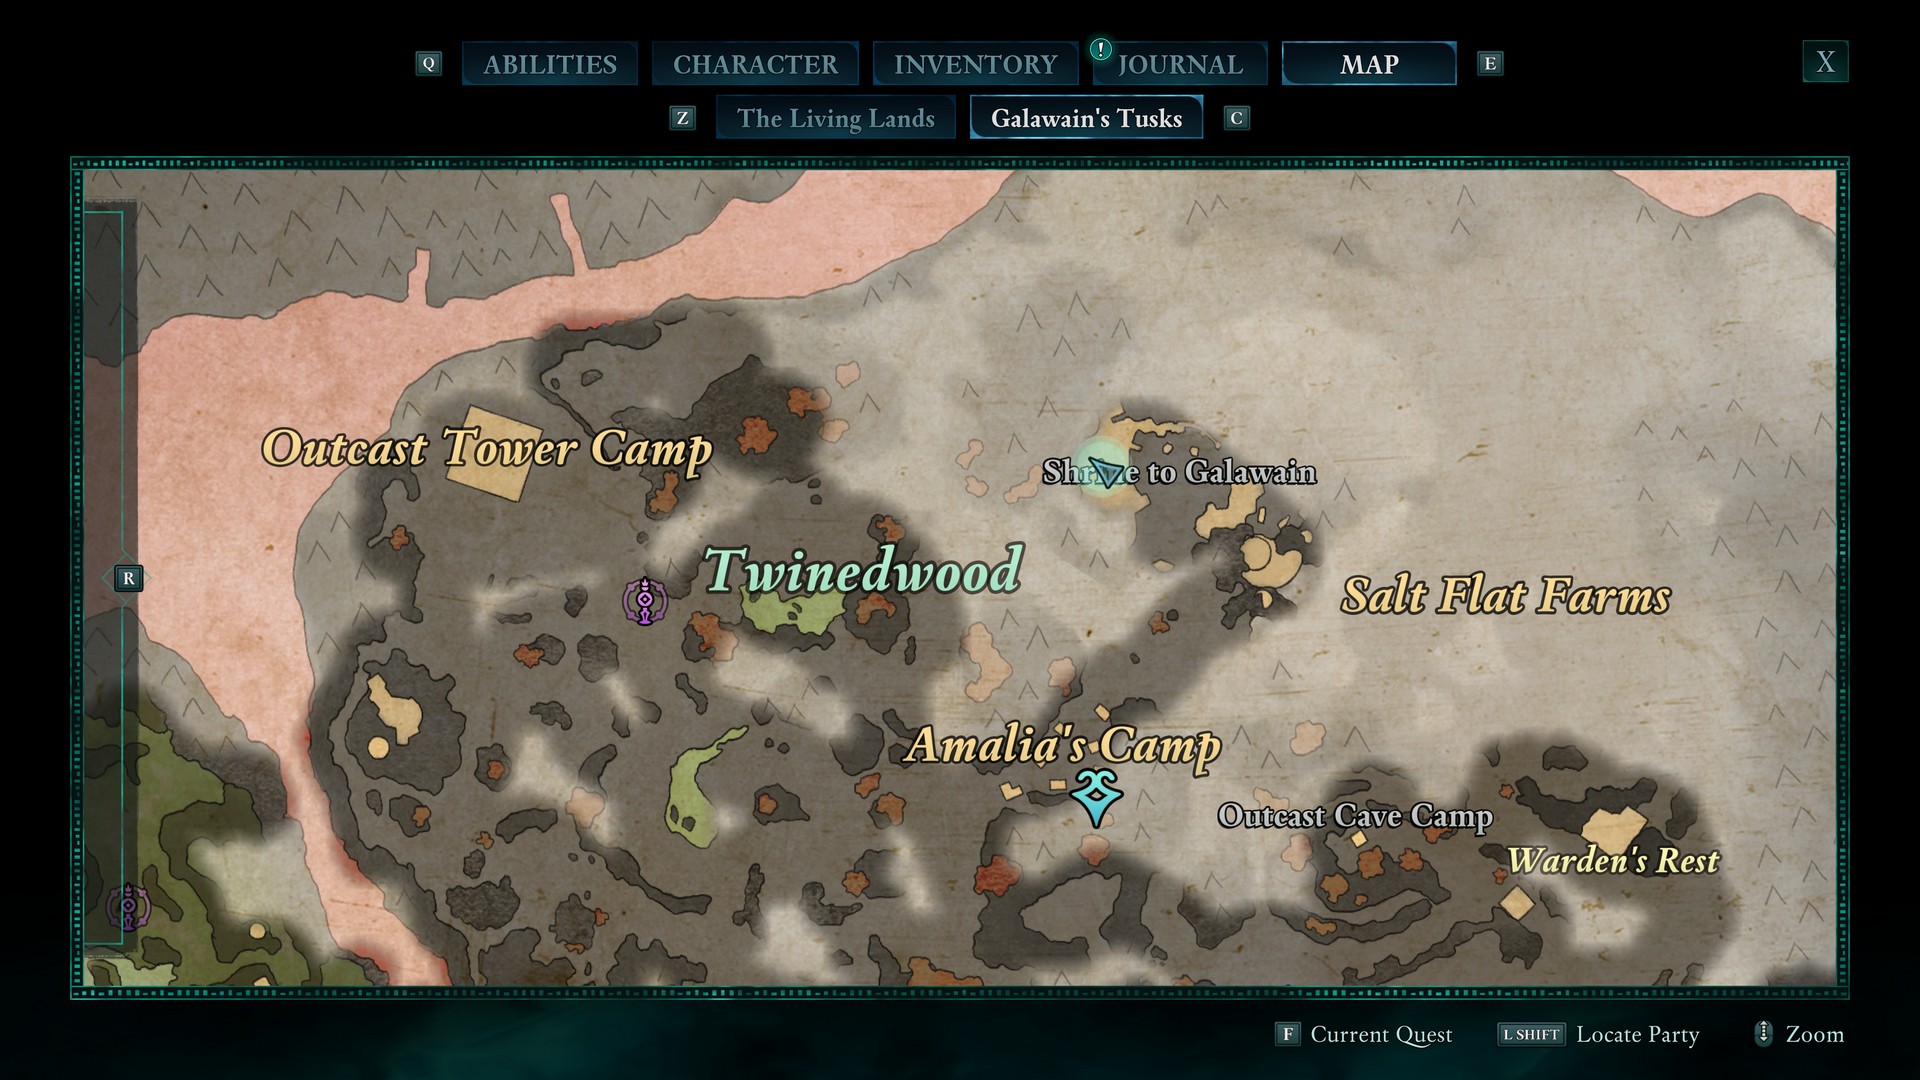
Found at the altar of the Shrine to Galawain.

Antler of the Pursued Stag
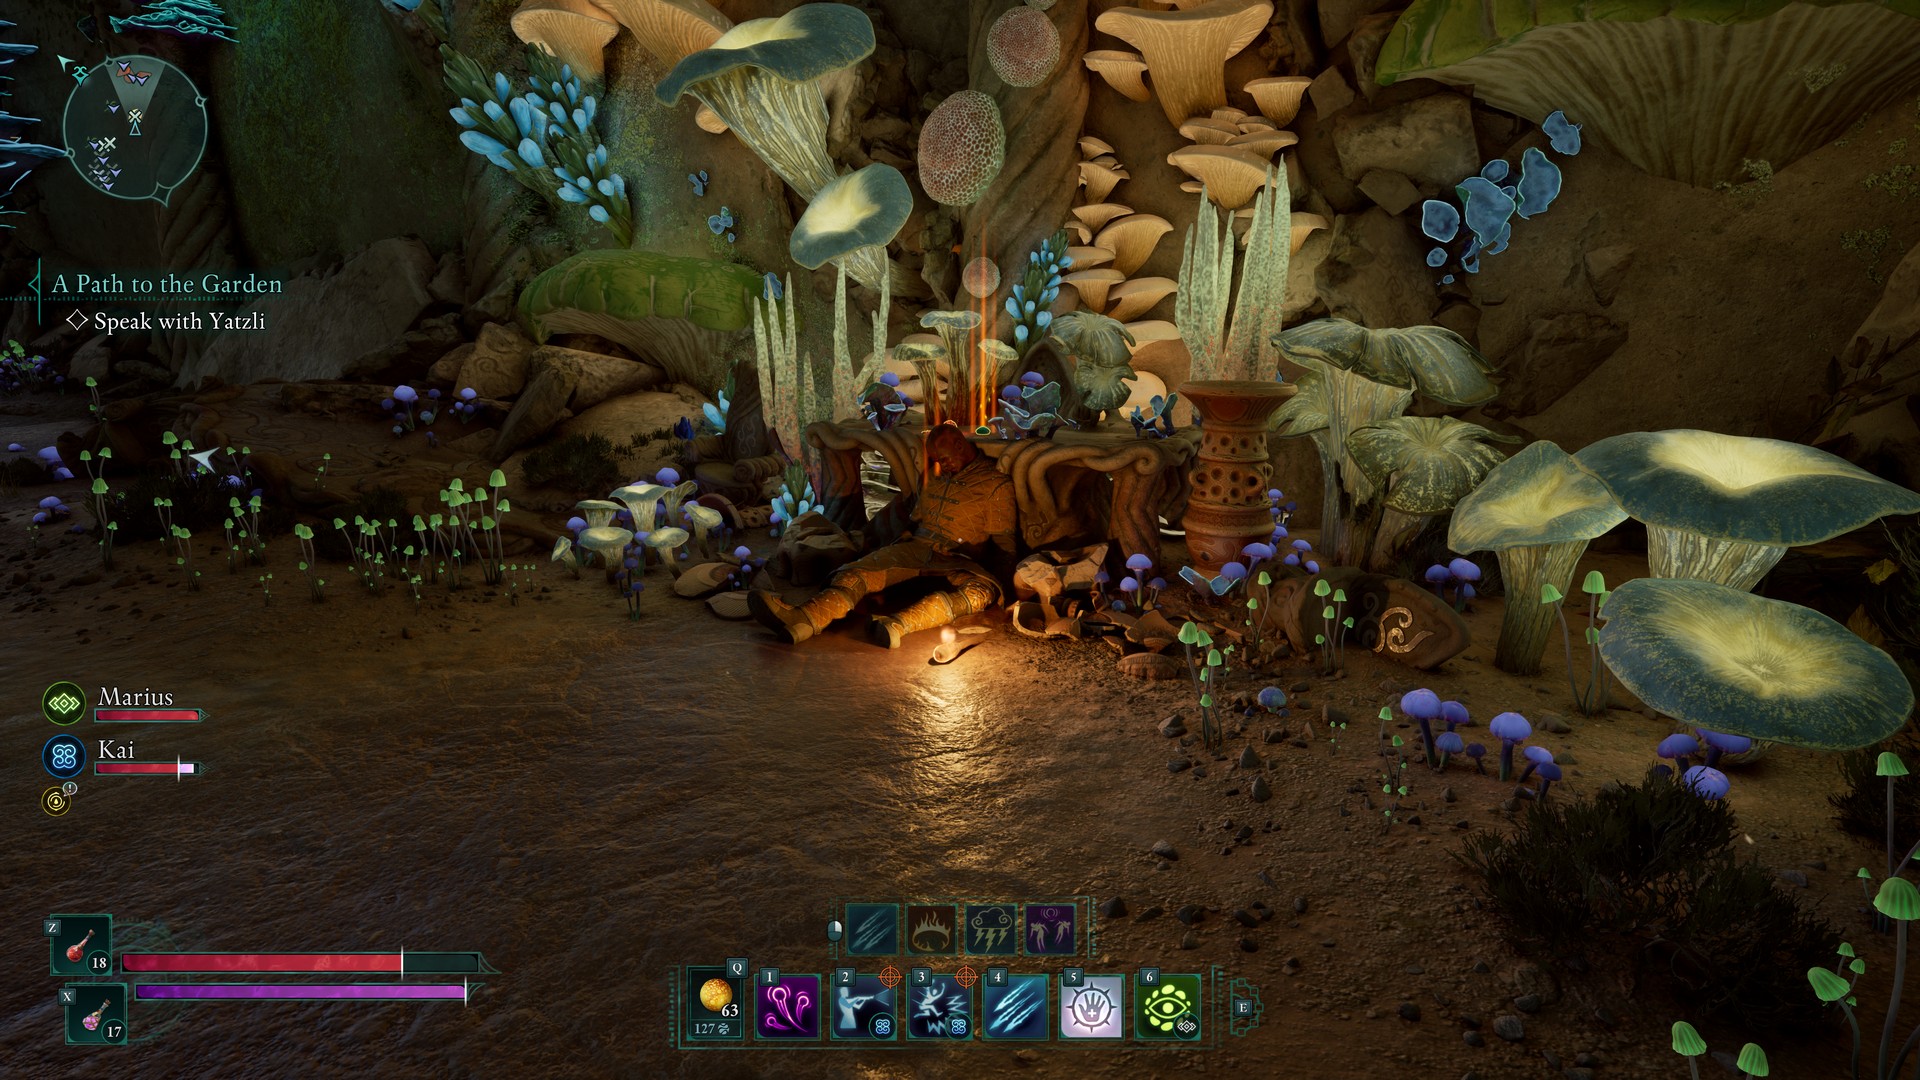
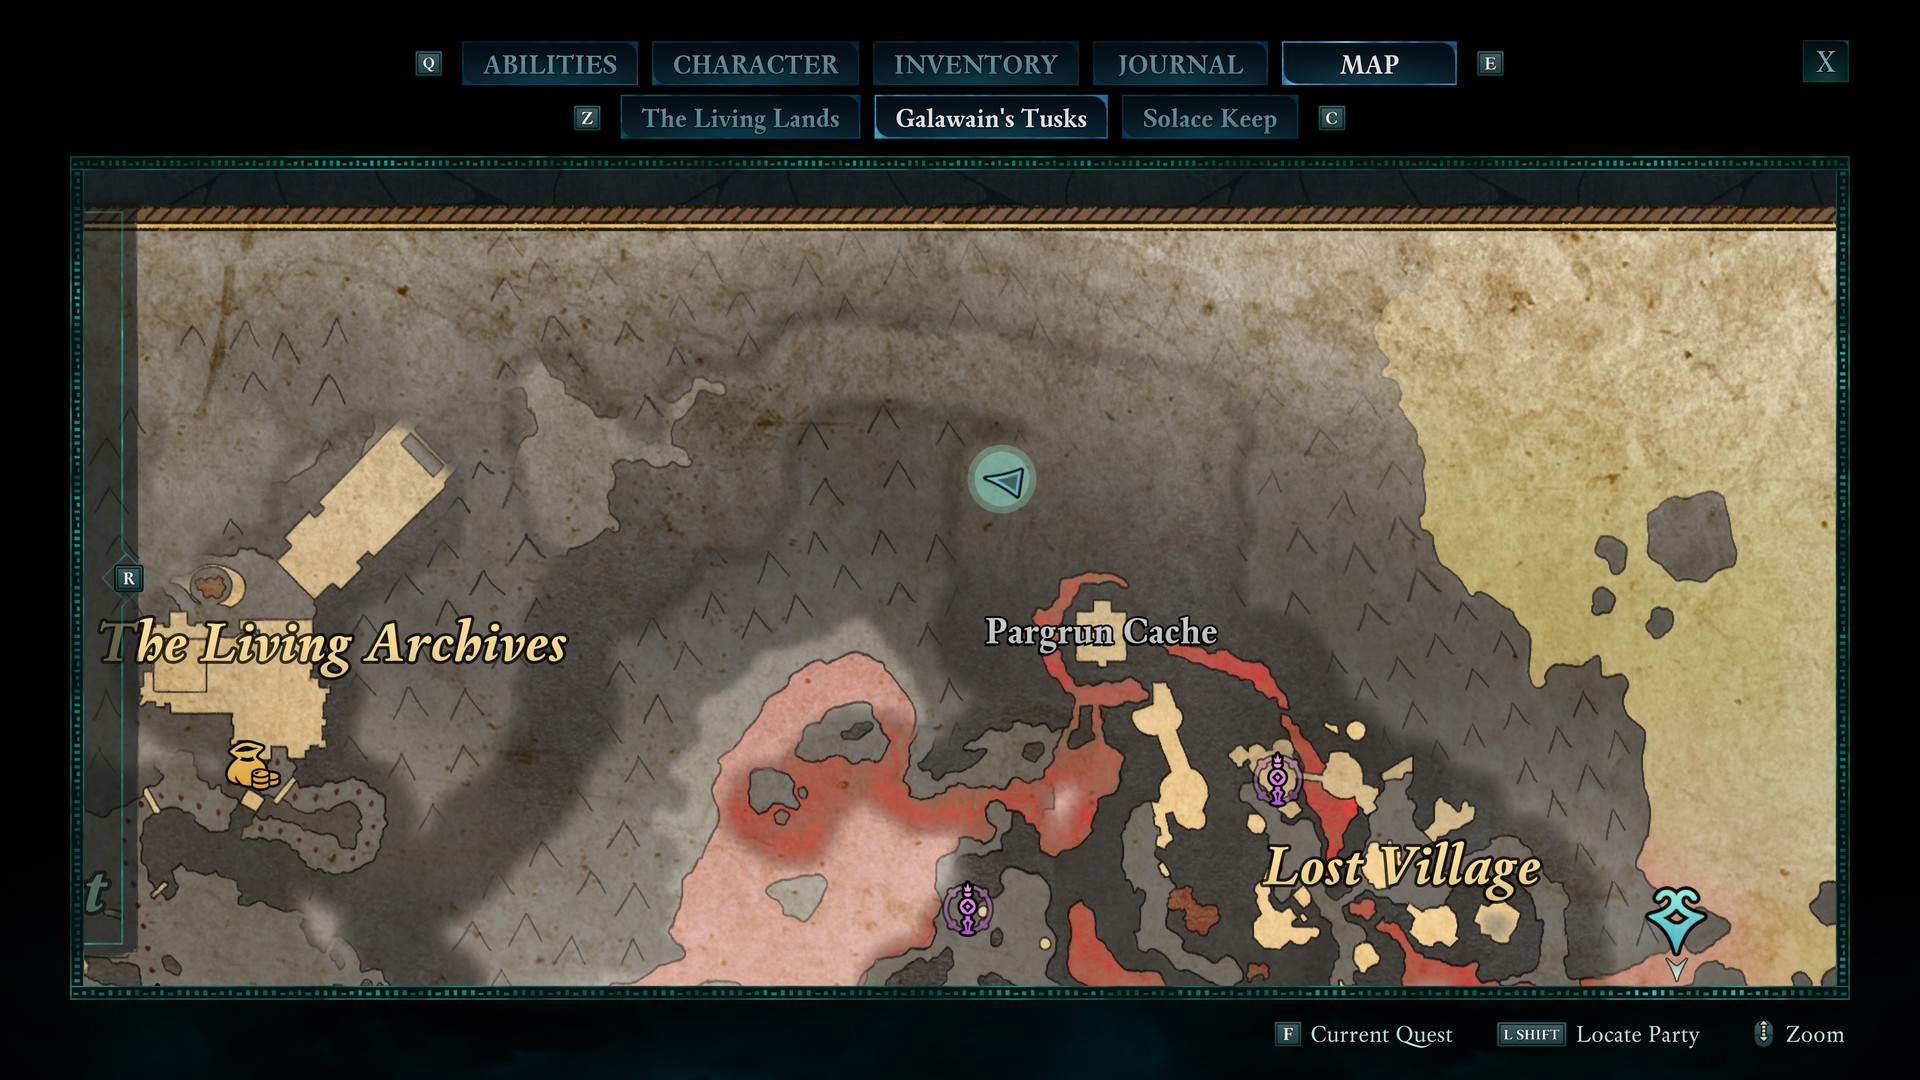
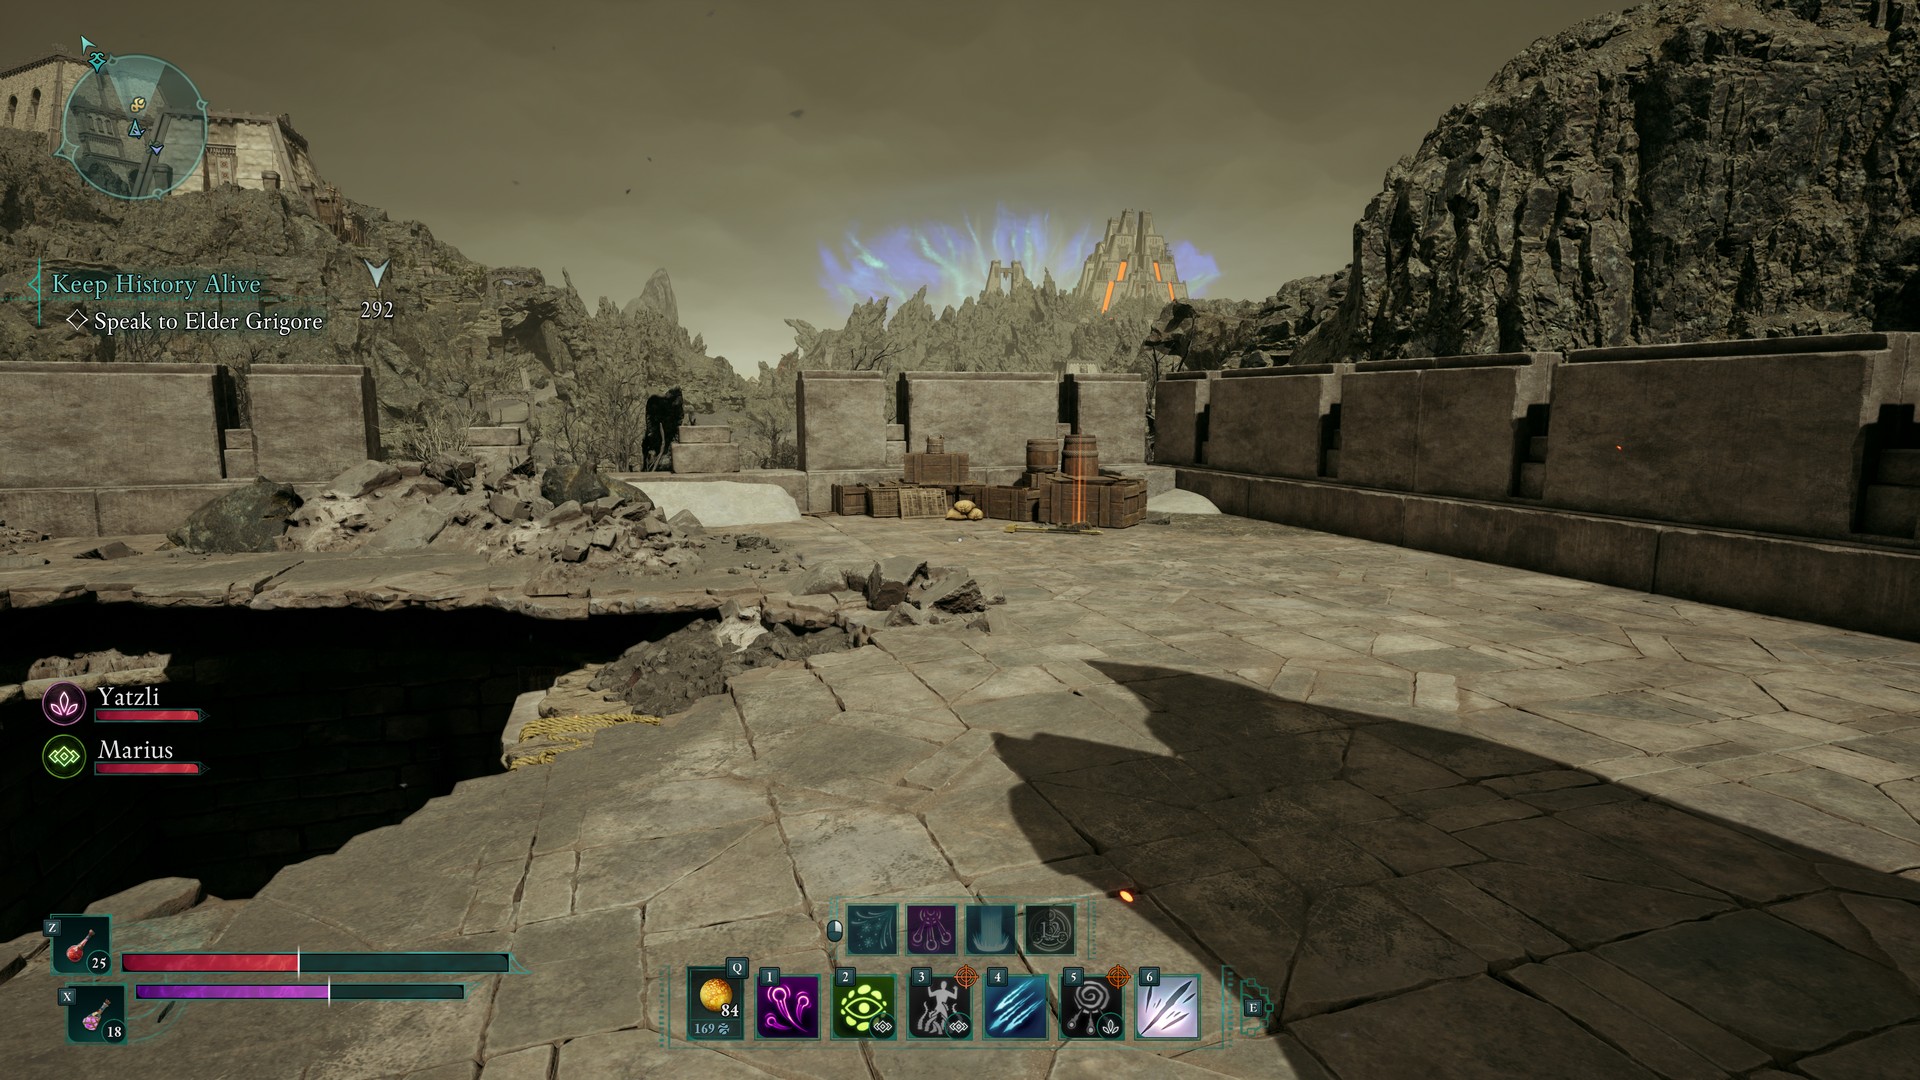
In a cave with an illusion entrance to the far north near Pagrun Cache. Use Yatzli to unblock the entrance to the cave, and then burn down some vines to your left.
Wolf’s Pelt Trophy
On top of the southern building of Ash Forest Outpost. Climb up via the platforms to the south of it.

Hunter’s Arrow of Seeking
Find at Mt. Forja Summit. Take the elevated path to the east and you’ll find this up a few stone steps.
Hunter’s Arrow of Surviving
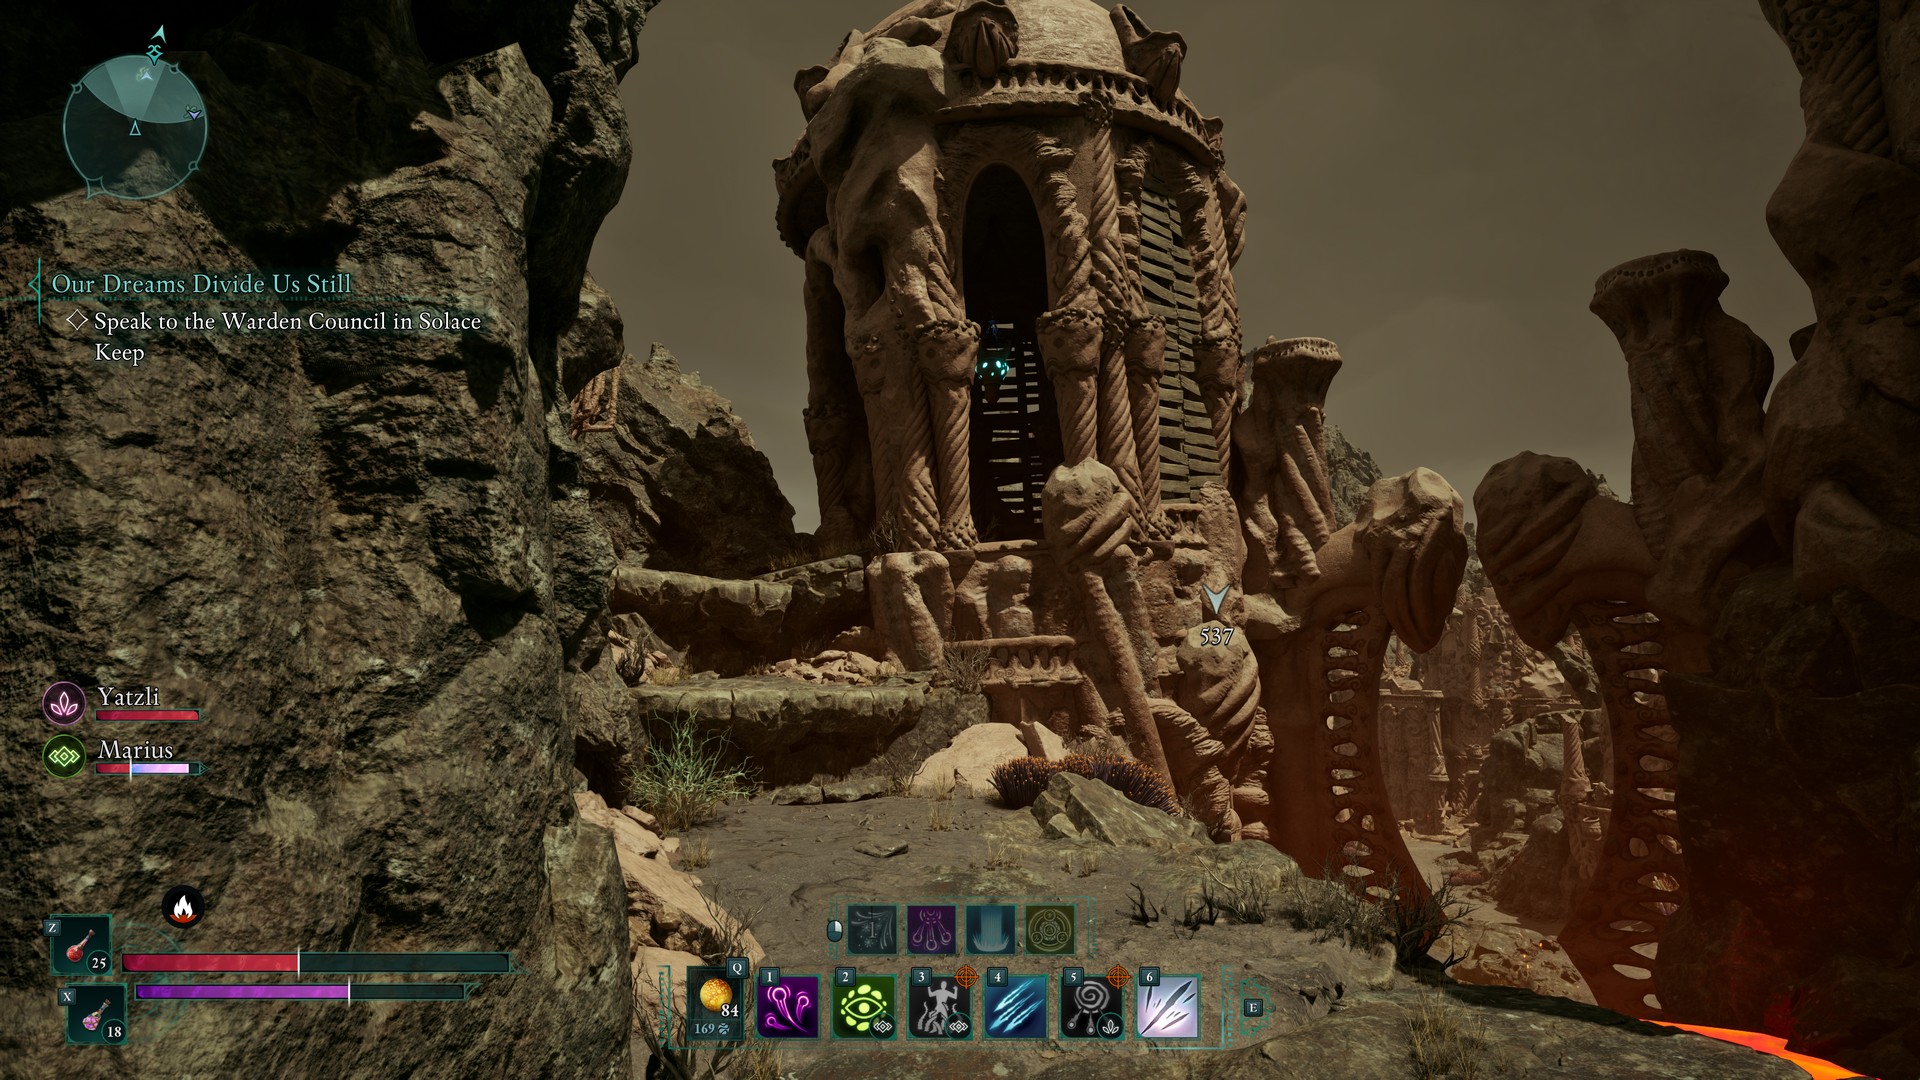
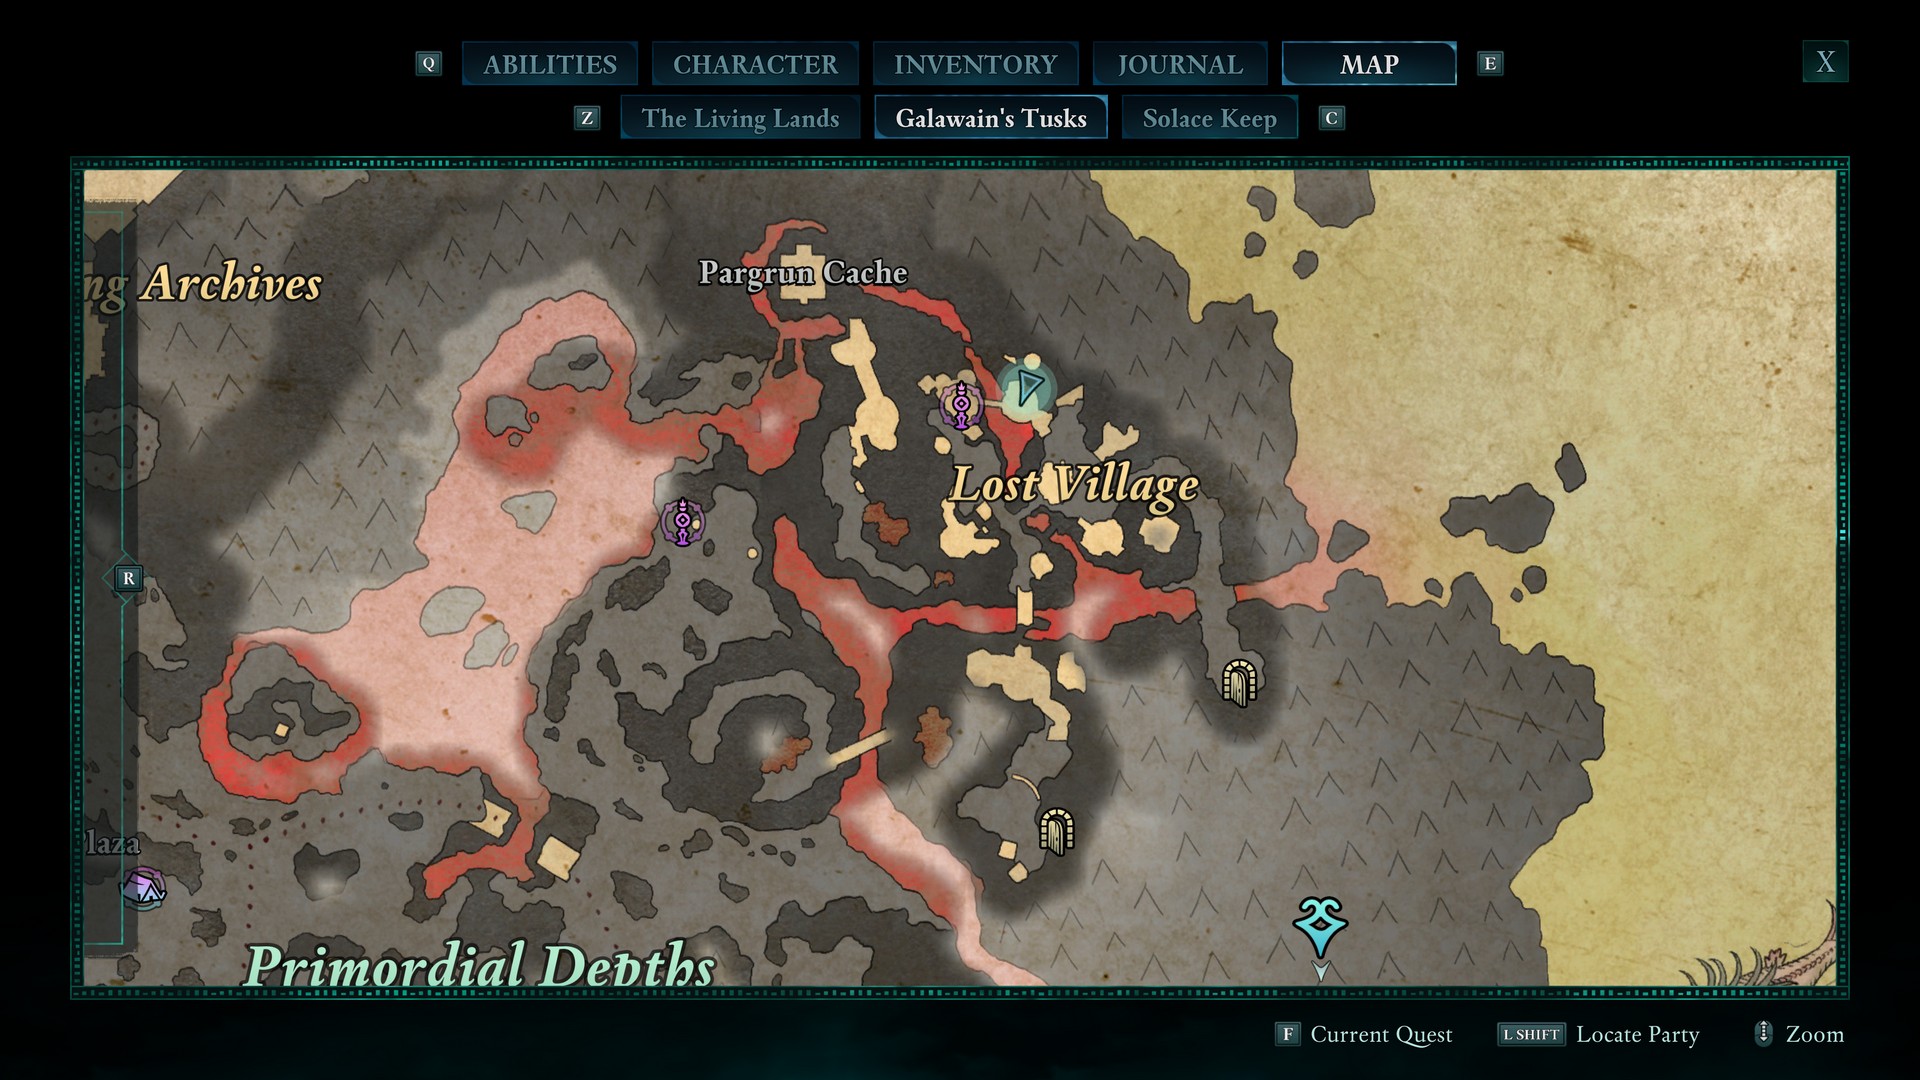
From the Pargrun Cache on the far northeast of the region, follow lava flow southeast to a tower near Lost Village.
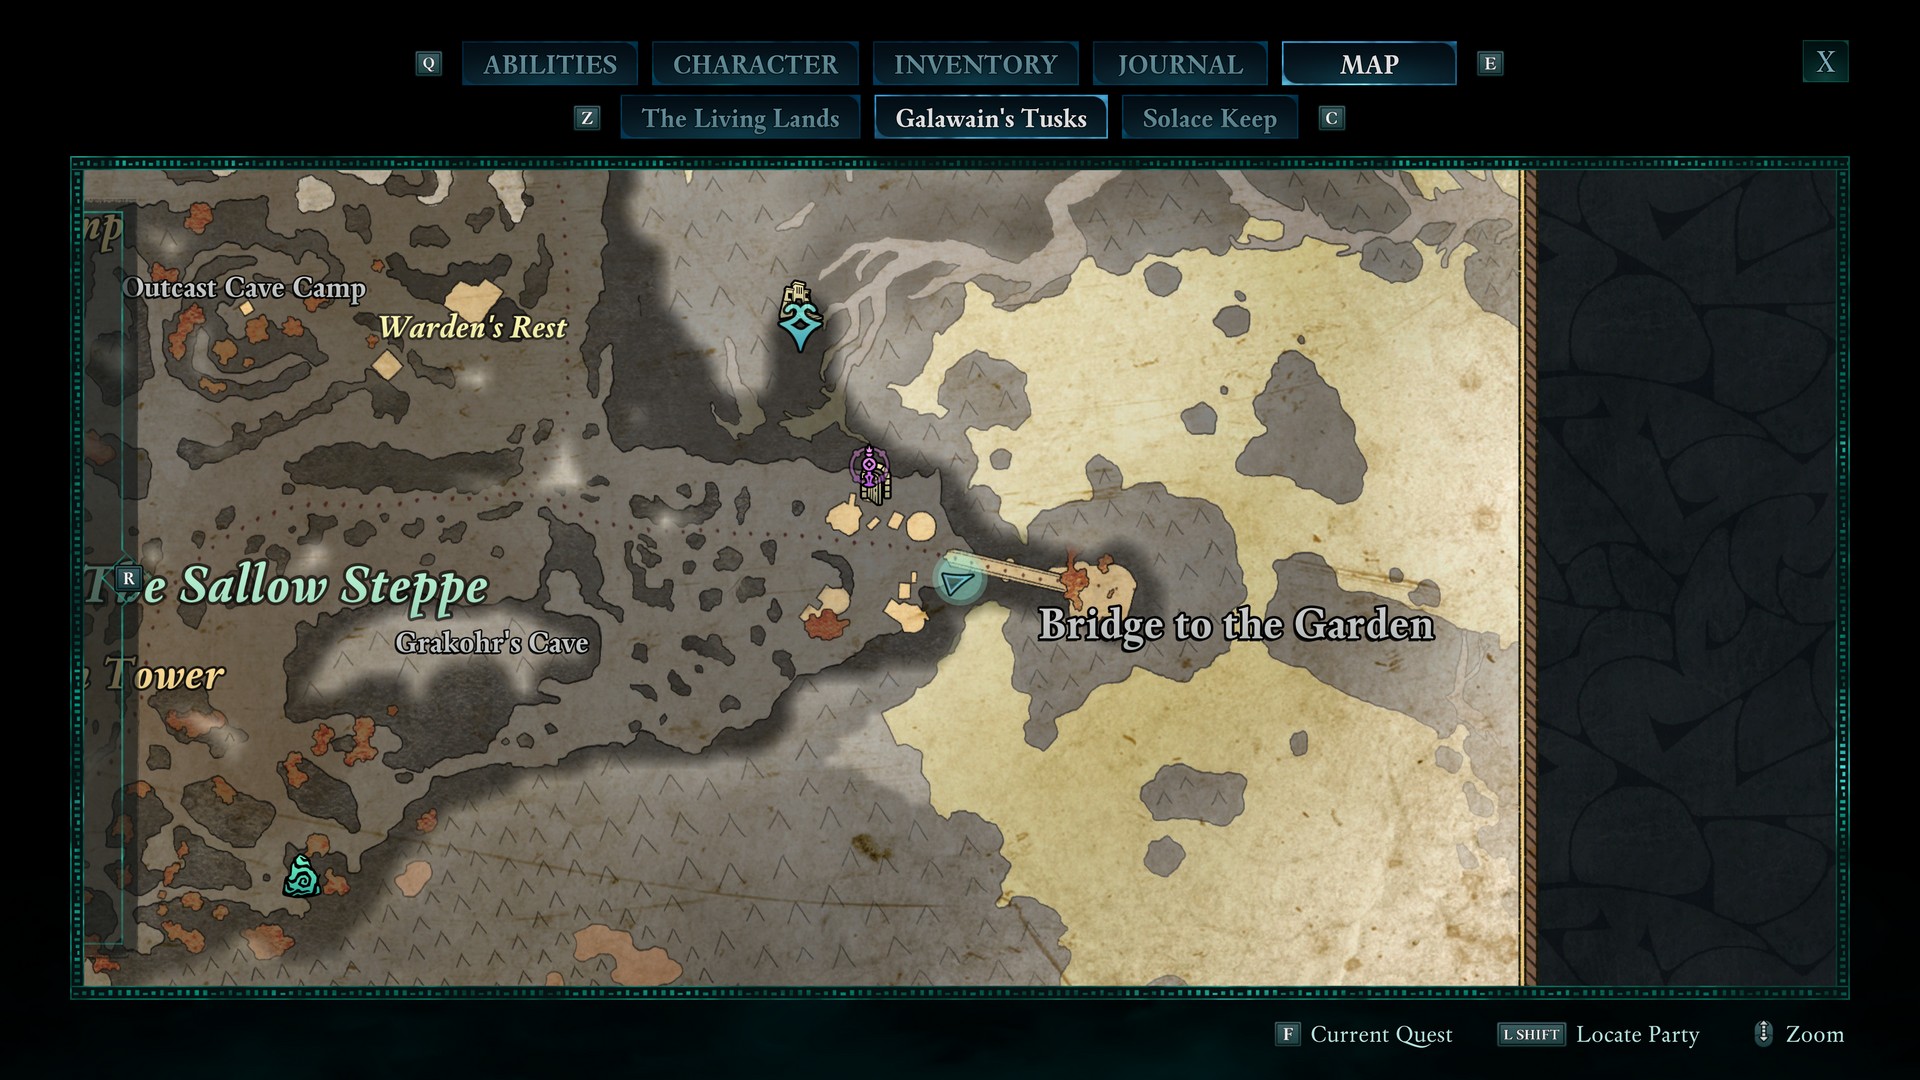
Antler of the Persevering Stag
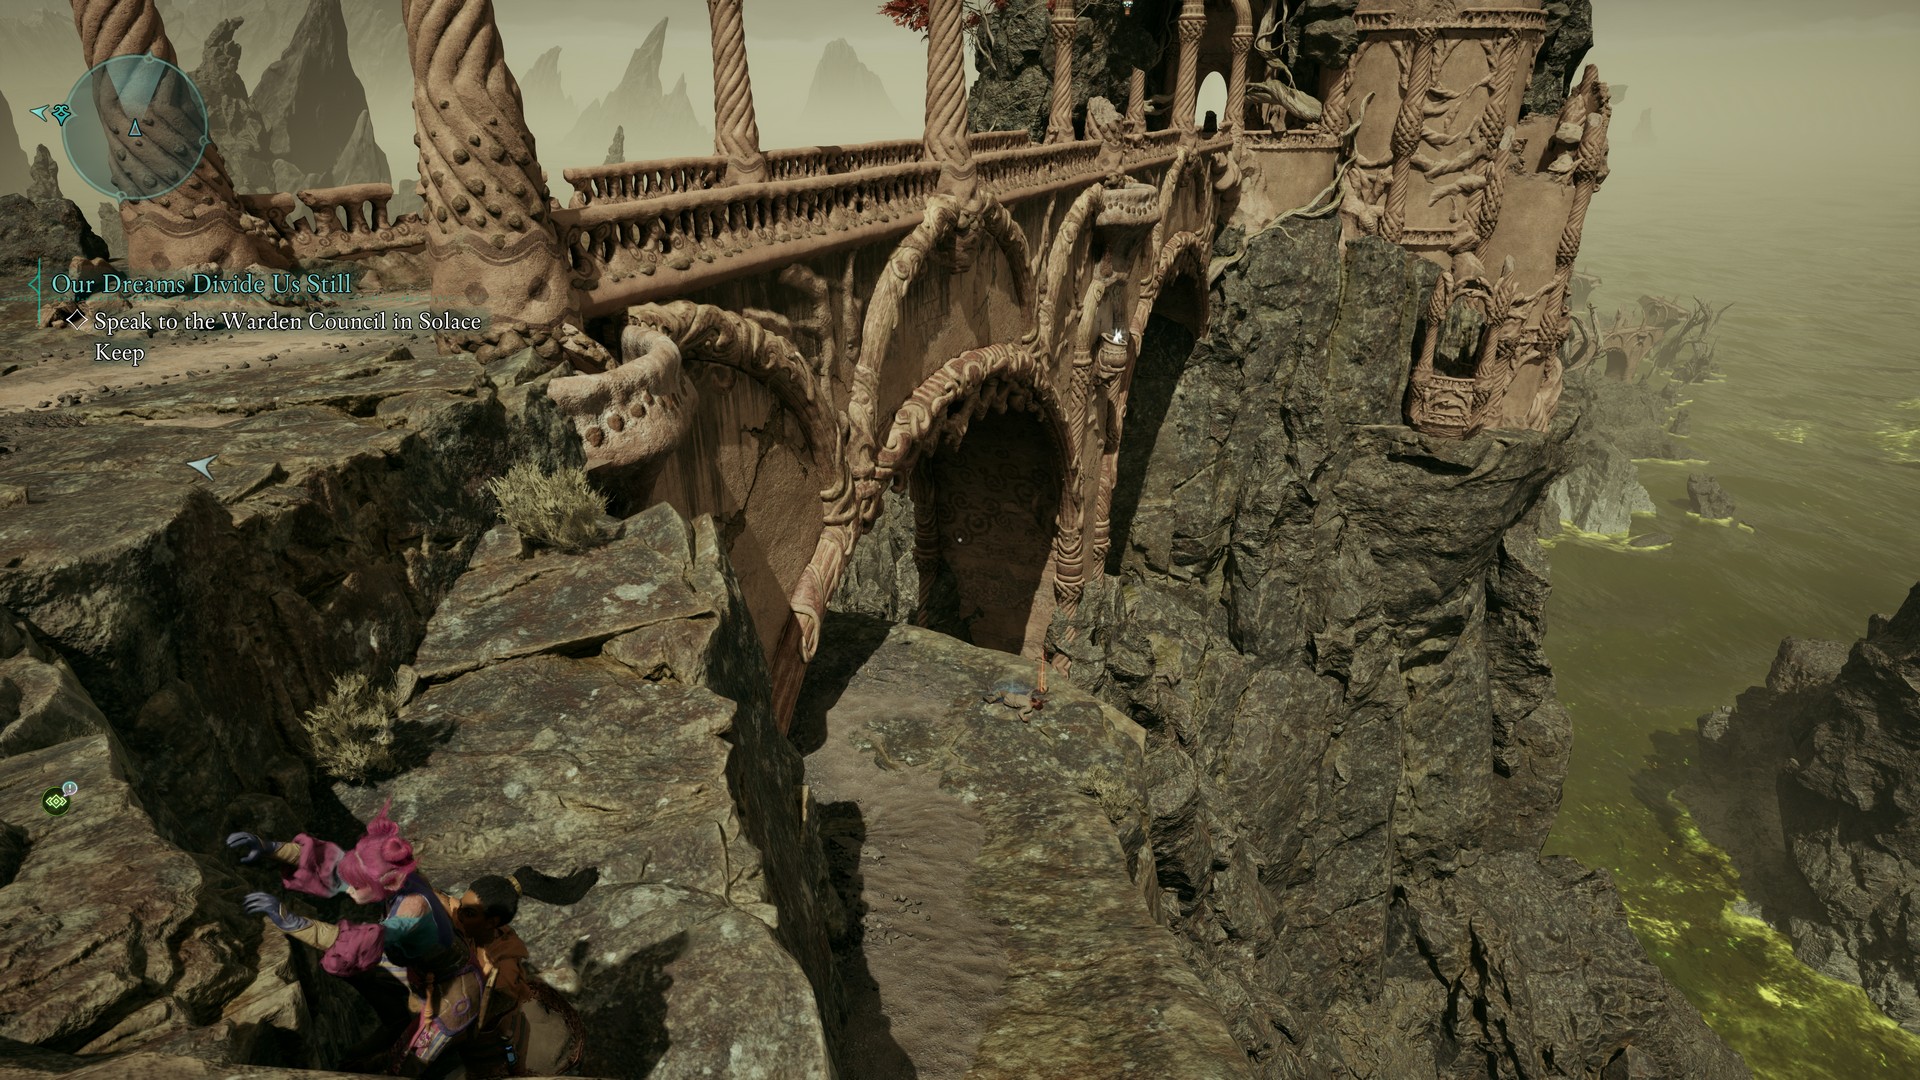
Under the Bridge to the Garden, leading to the view of the Garden, on the east side of The Sallow Steppe.
Hunter’s Arrows of Slaying
On a high bluff at Slumbering Fields, can be found when on the way to the Ekidan Workshop.
The Huntermaster’s Spoils Totem Bonuses
- Quarry to Slaughter - Increases your damage against prone enemies by 75%.
- Bloodied Hands - Critical Hits deal high Bleed Accumulation.
- Hunting Howl - Second Wind casts Barbaric Shout.
- In Victory’s Raiment - Killing an enemy gives you +4% Damage Reduction for 10 seconds.
- The Changeling’s Power - +2 Might, +2 Constitution
- On Victory’s Heels - Killing and enemy gives you +20% Move Speed for 10 seconds.