
Suikoden II Clive Quest guide: How to complete Clive’s secret quest for The Howling Voice Guild trophy
One of the things that makes Suikoden II so broadly beloved is that it’s a rich, complex game. There’s a lot of content to enjoy throughout the game - but one particular quest is unmarked, entirely hidden, and rather difficult to complete: Clive’s Quest.
Being unmarked, the quest doesn’t have an official name, but in fan nomenclature it has come to be referred to after the character central to it. On this page, we explain how the Clive Quest works, how to recruit Clive, and how to beat the quest - either naturally, or with a little bit of cheating. We also explain the rewards, just in case you decide it isn’t worth pursuing this weirdly esoteric quest at all.
- How Clive’s Quest Works
- Quest Rewards & Trophy
- Cheating the Quest in Suikoden II HD Remaster
- Clive Quest Walkthrough
How Clive’s Quest & its Time Limit Works in Suikoden 2
Clive’s Quest essentially boils down to one concept: this is a time trial challenge. In the pantheon of RPG side quests, it most reminds me of the infamous Excalibur II side quest over in Final Fantasy IX, which challenged you to finish most of the game in a very short time frame indeed. The same applies to Clive’s storyline in Suikoden II.
In order to complete the Clive Quest, you’ll basically need to complete the lion’s share of the game in just 20 hours.
This isn’t very long at all, especially if you’re being a completionist and following our Suikoden II Walkthrough. As a result, if you want to see this storyline play out you’ll have to drop a lot of the game, rush past events, skip things including missable recruitable characters, and so on. Having less time to grind also makes combat more challenging, of course.
As a result of all of this, we wouldn’t recommend tackling Clive’s Quest in a first play-through unless you are playing the new Suikoden II HD Remaster, which has a method to cheat this quest which makes it easy to do on a first run. More on that in a moment.
Clive’s Quest Rewards
The truth is, Clive’s Quest doesn’t really have any traditional RPG rewards - there’s no shiny new weapon or stack of cash at the end of it all. All you really get are scenes and story - cutscenes that reveal background information on Clive and a handful of other characters, revealing some truths about events that were teased even in the first Suikoden.
If you’re playing the new Suikoden II HD Remaster, there is a secondary reward: an achievement. Titled ‘The Howling Voice Guild’, this secret achievement pops specifically for completing Clive’s hidden quest.
The associated achievement is worth 30 Gamerscore on Xbox, and is a Silver Trophy on PlayStation.
Cheating Clive’s Quest in Suikoden 2 HD
If you’re playing the newest version of Suikoden 2, there is a way built into the game to cheese Clive’s quest. Don’t worry, we won’t tell anyone if you don’t…
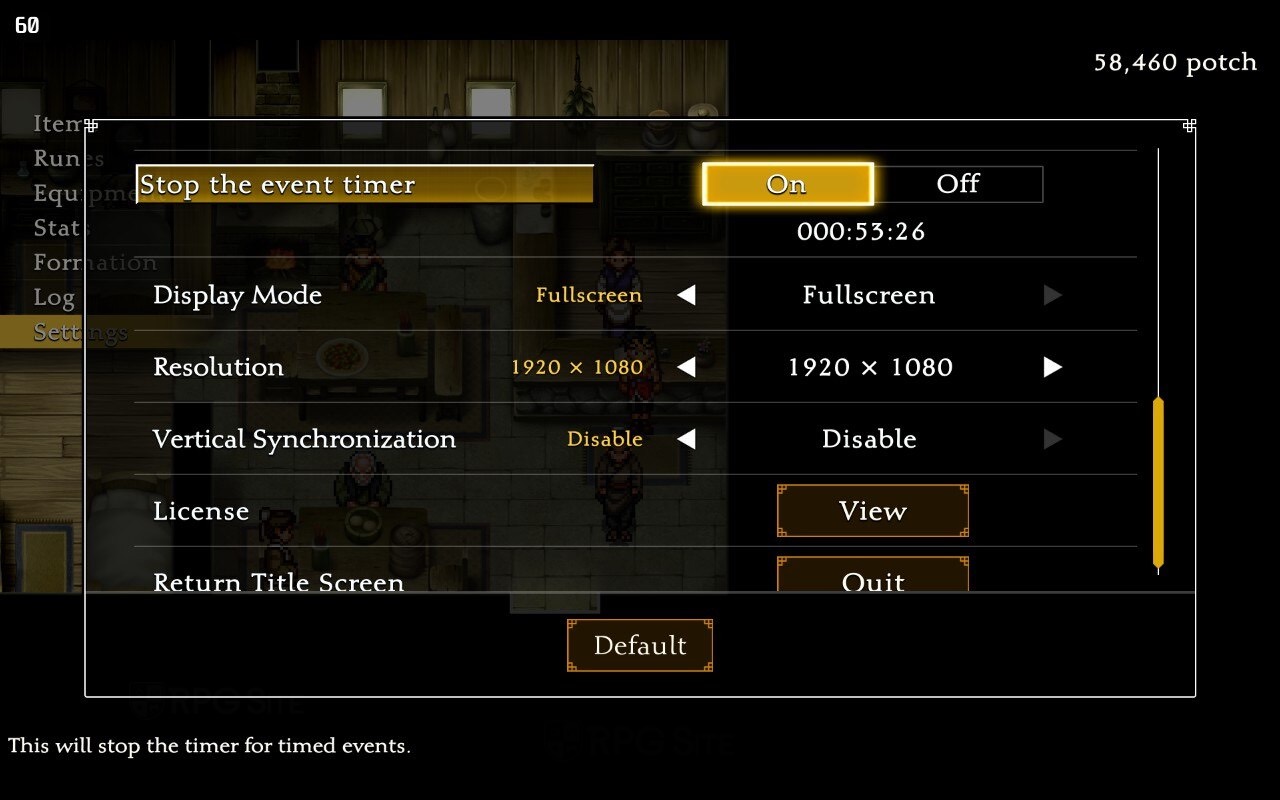
Time-sensitive manners in Suikoden 2 are all managed by what the game calls the ‘event timer’, which is basically an internal clock the game uses to keep track of how much time has passed in-world. This is what tracks if you’re too slow for Clive - but in the HD Remaster, you can turn the event timer off.
To do this, go to the Settings Menu - there’s an option that’s quite literally called ‘Stop the event timer’. Flick this to On and you basically disable the timer you’re racing against for Clive’s quest. This means you can take it at a leisurely pace, follow our step-by-step Suikoden 2 walkthrough, and go for a 100% save.
As a note, in our testing, other events that require some time to pass such as cook-offs or Mukumuku’s friends appear to carry on and function as normal even with the timer disabled. Though if you encounter any strange issues with quests not progressing, it may not hurt to enable the timer again temporarily.
Clive’s Quest Walkthrough
In order to complete Clive’s Quest, you’ll need to progress the story in Suikoden briskly, and make sure that you see several scenes peppered throughout the game that advance Clive’s hidden sideplot.
The quest ultimately consists of eight events - you need to trigger them all before heading into the final showdown at the end of the game in order to see all of the scenes the quest has to offer - and then bonus or changed scenes in the game’s ending.
Furthermore, each step has a timer attached to it - if you don’t reach each new stage quickly enough, you’ll fail the quest.
Scene 1: Meeting Clive & Elza in Muse
As detailed in our Suikoden II Character Recruitment Guide, this is a missable event that is vital for recruiting Clive, and in turn vital for this quest.
When you arrive in Muse after the White Deer Inn events, head north-east to find Elza. Talk to Elza, who asks you to hold on to something for her. Agree, and you’ll meet Clive.
As you leave Muse, you’ll need to give the packages back. Some events play out, and that’s that… for now.
The timer starts from the start of the game, not here, so you need to reach this event as quickly as you can, but there is no ‘hard’ time limit yet.
Scene 2: Clive’s Recruitment
Having now met him, you can later in the game recruit Clive. Eventually the story will have you head to Lakewest Town via boat. As soon as you get your boat and take it out to sea, you'll be able to recruit Clive.
You can find Clive near the entrance point to South Window. All you need to do is chat to him to recruit him. Again, you can only recruit him as soon as you have a boat and have at least once taken it out to sea.
Again, there’s no hard time limit for hitting this point, but you should try to hit it by five hours in; certainly less than six.
Scene 3: The Letter
With him recruited, add Clive to your active party and go to the Lakewest Inn. The innkeep NPC will give Clive a note, which he really does not like. The note points to your next destination.
You need to reach this scene by the time the event timer hits 11 hours.
Scene 4: Forest Trickery
The first time you enter Forest Village in the Greenhill area, take Clive here - ideally before heading to Greenhill. When you enter the village he’ll immediately sense Elza’s presence if he’s in your active party.
Go north until you find a clearing behind the Trading Post. There she is! Or is it? Not all is as it seems…
You must reach this scene by the time the event timer hits 13 hours.
Scene 5: Hunting for Clues
Go to any Inn around the Matilda Region - the nearest will of course be the one in Rockaxe itself - with Clive in your party.
You must hit this event by the time the event timer strikes 14 hours.
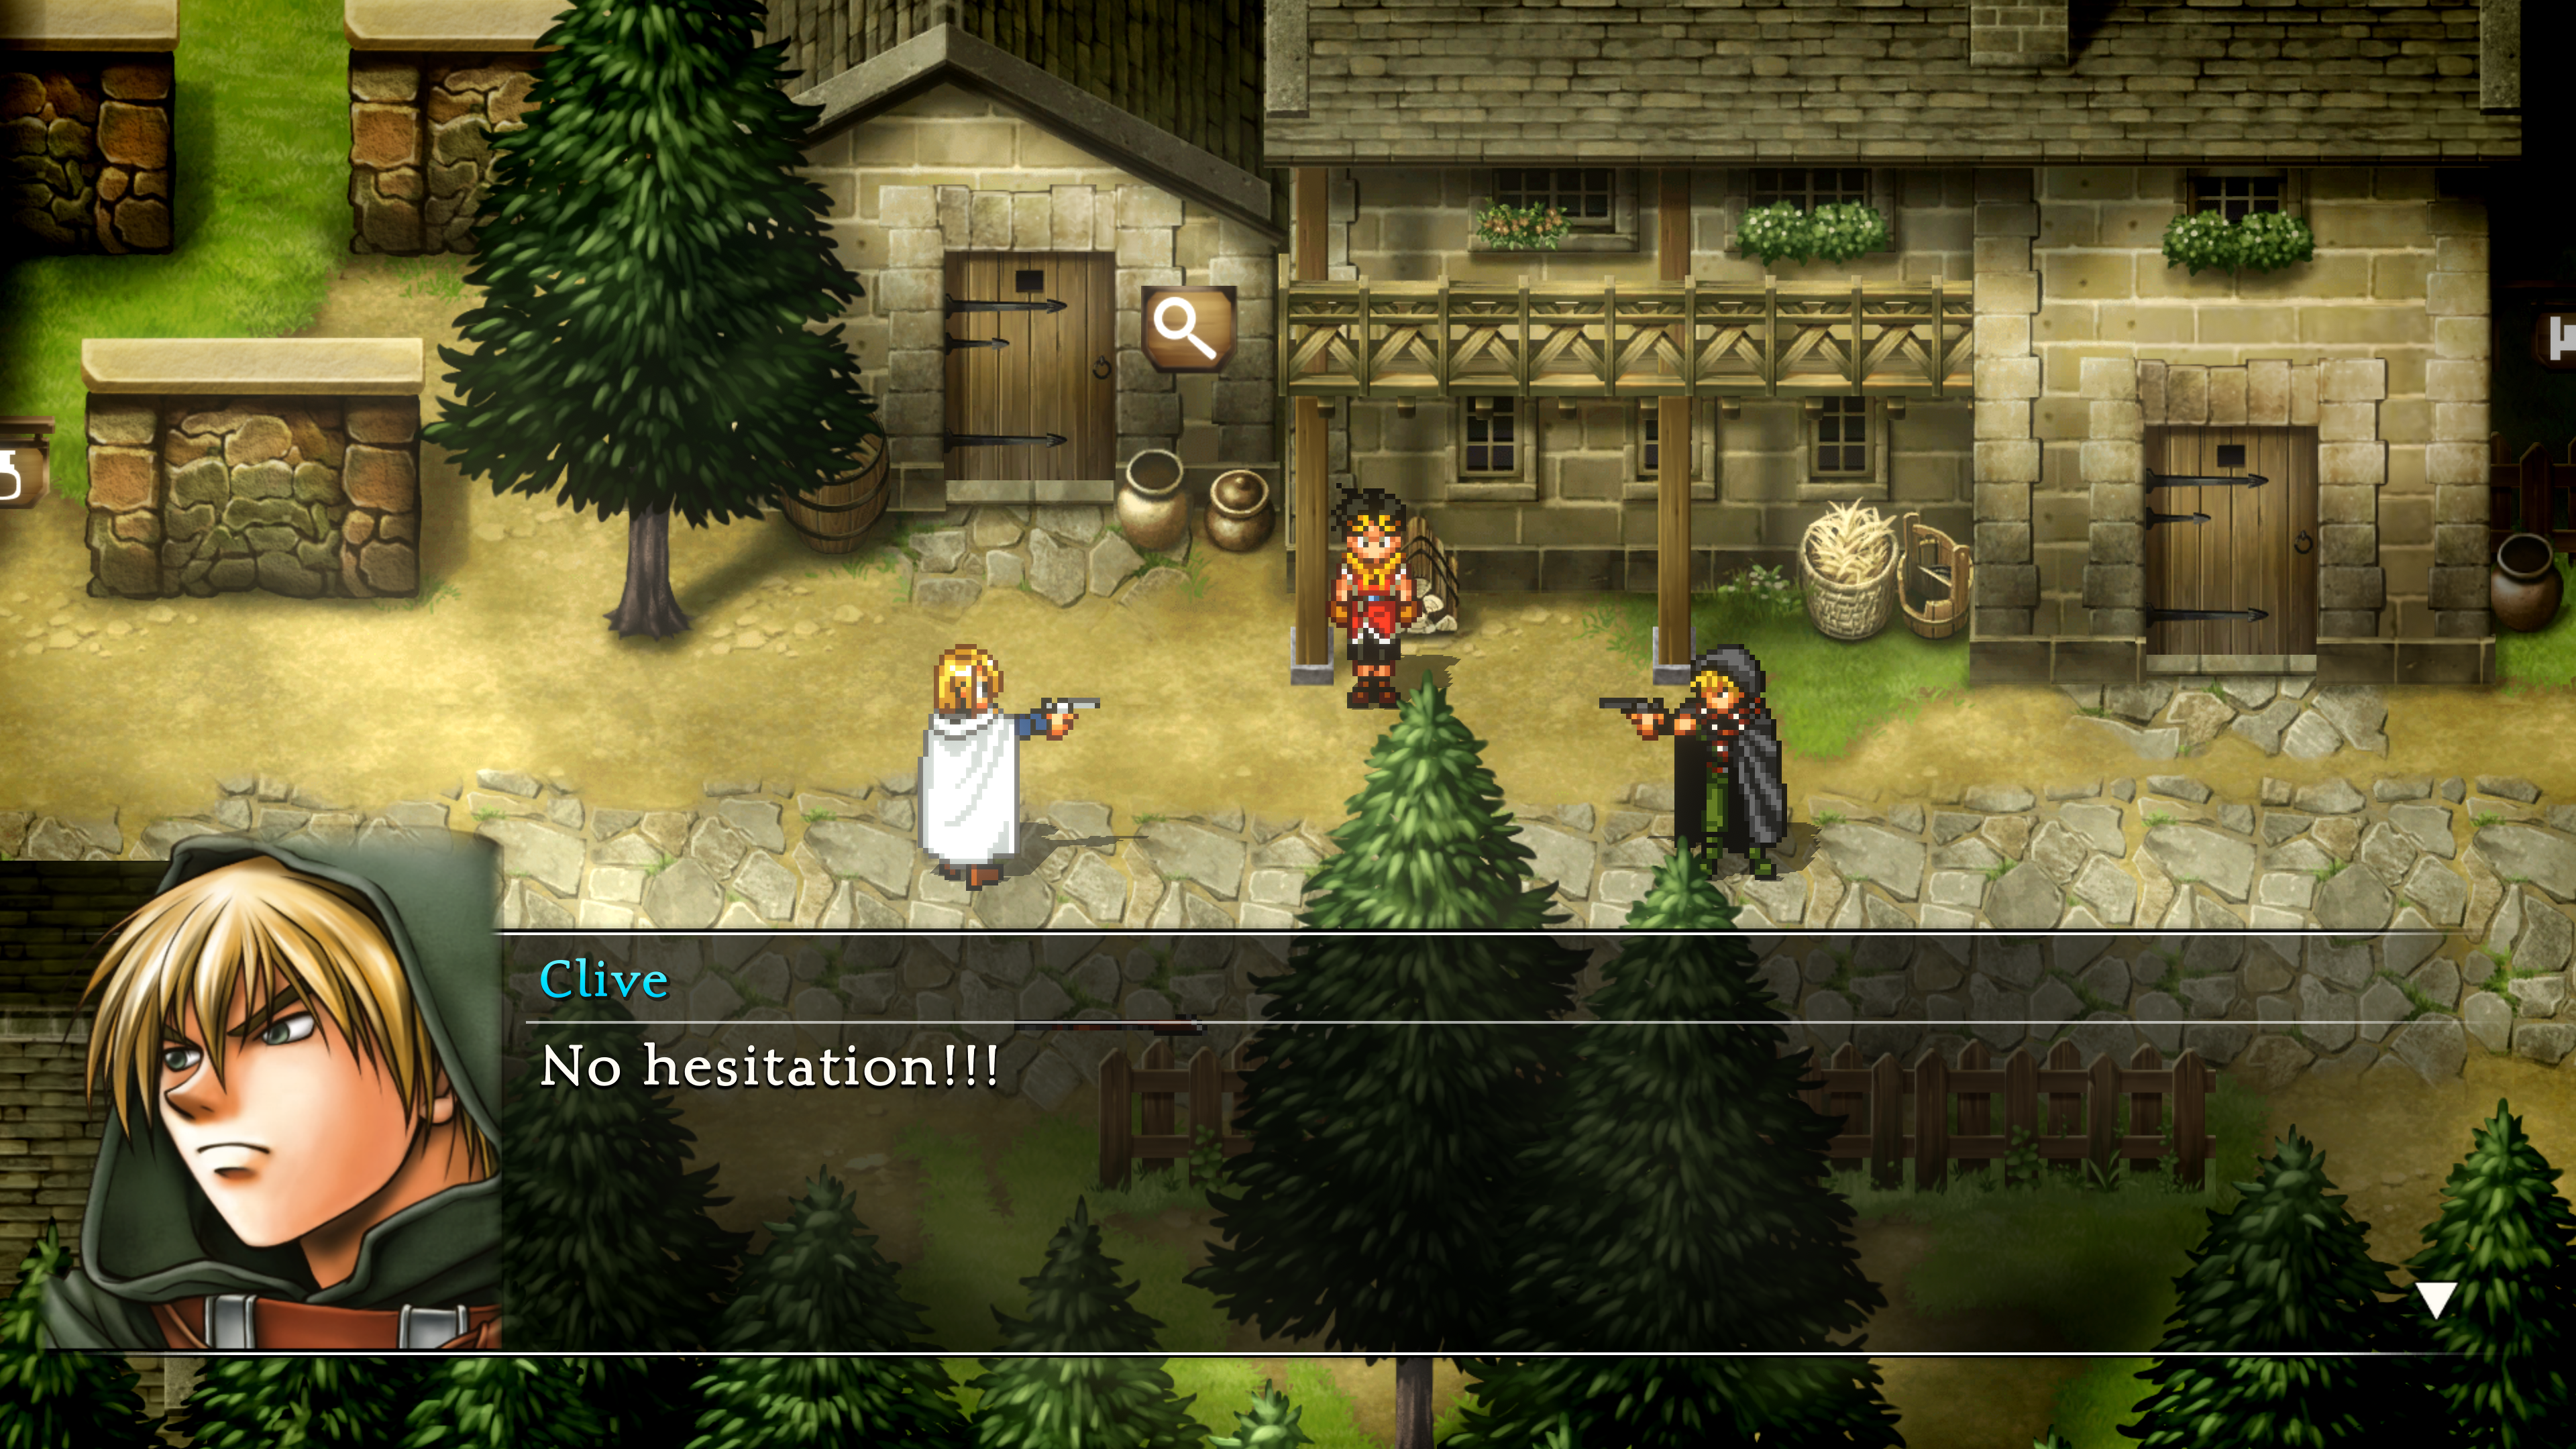
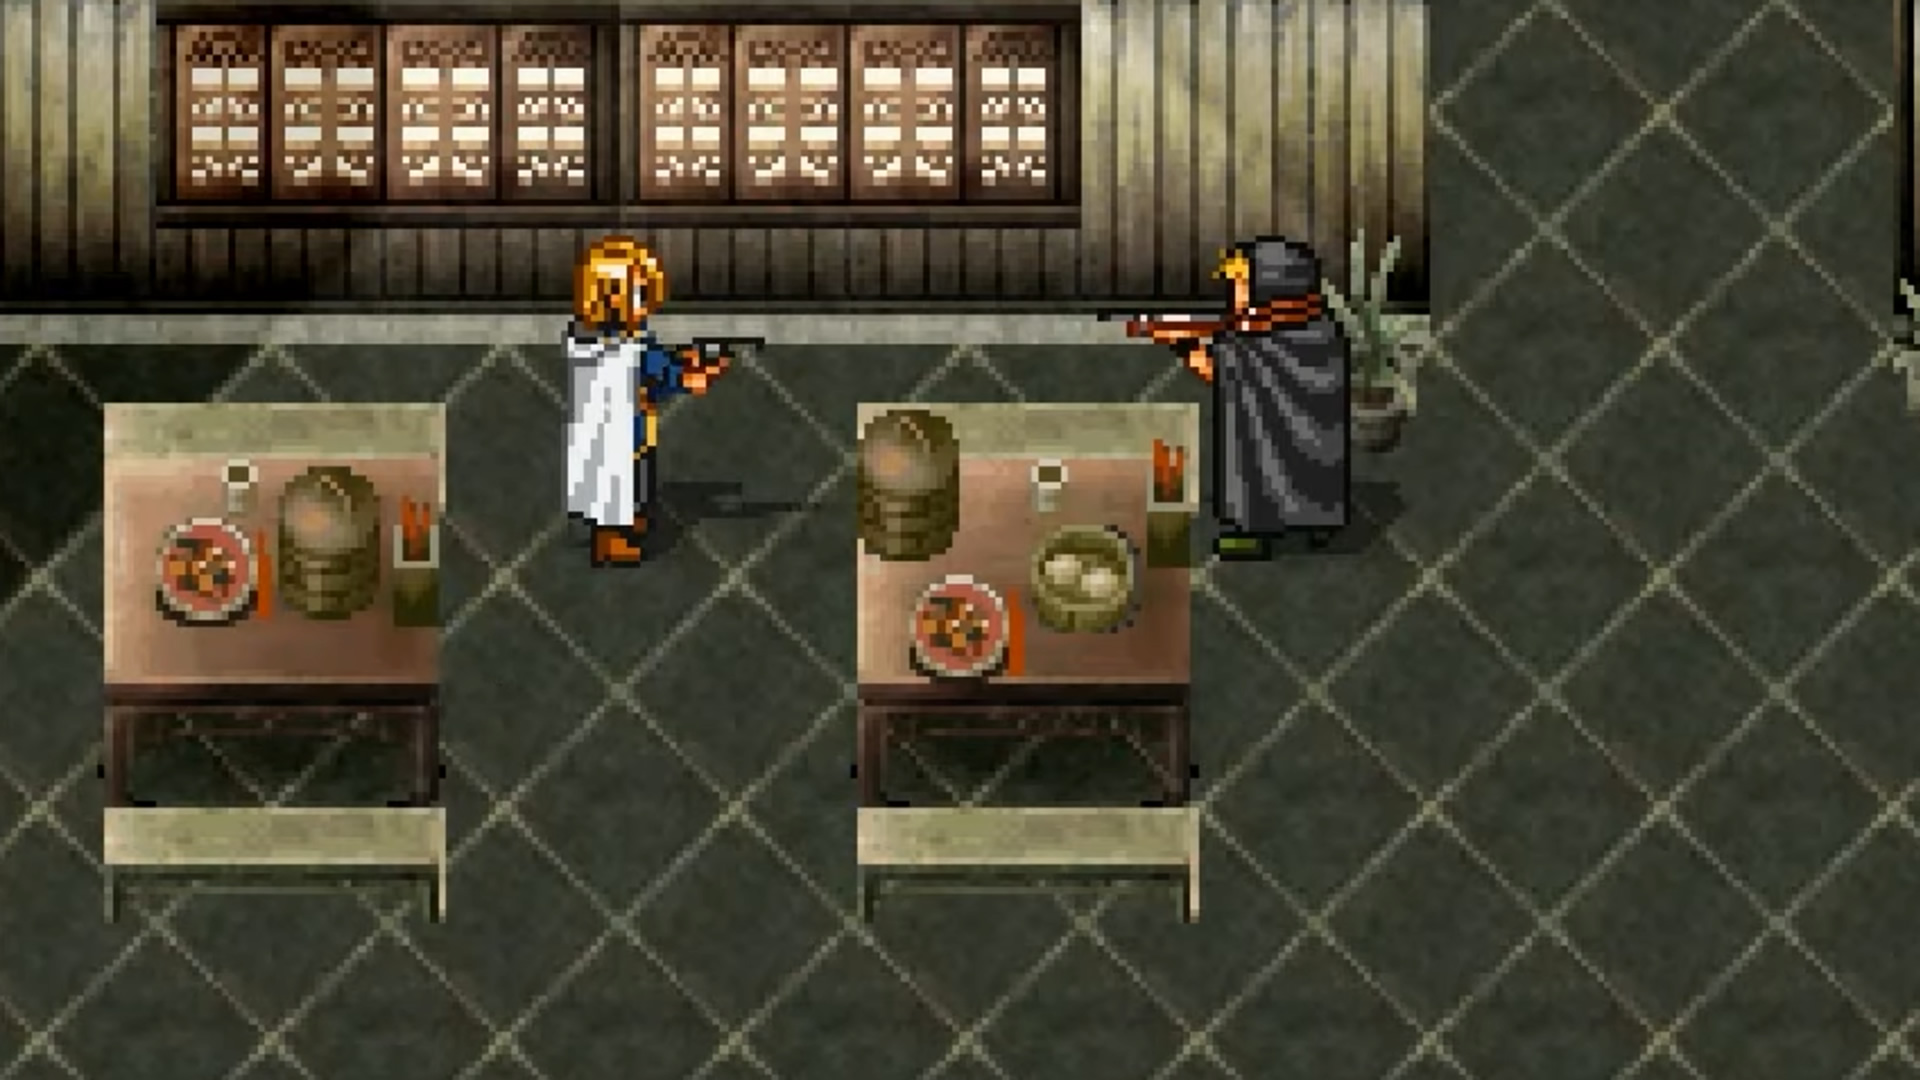
Scene 6: Gunslinging
After finishing up in Matilda, before returning to your Castle, take the opportunity instead to go to Radat Town. Clive needs to remain in your party, of course.
Though you can see this scene later on, if you advance the main storyline any further, you’ll be barred from seeing it for quite some time - so do it right after clearing out Matilda, but before going back to your castle.
Go into the Bar in Radat with Clive - and watch what goes down. You need to reach this event before the event timer reaches 15 hours.
Scene 7: The Truth
After Rockaxe is freed late in the game, take Clive to Muse. At the top of Jowston Hill, another fateful encounter takes place.
Scene 8: Resolution
You’ll be in the final stretch of the narrative at this point. When you’re preparing an army to take to L’Renouille, put Clive in your party and delay the big battle - instead, take your party - which should consist of your most powerful characters - north-west, to Sajah Village.
The end of the storyline plays out here. Naturally, you need to hit this by the 20 hour mark.
With this, Clive’s quest is completed. As a result, you’ll know more about these characters, and even see some slightly different variations to certain ending scenes. Congratulations on completing the challenge!
Tips to Keep in Mind
If you’re racing the timer for real, there’s several things you should do and remember to have the best chance of making it:
- Keep Clive with you. Once you recruit him, you might as well just leave him in your party - his presence is required for all scenes, and swapping things around just wastes time.
- Set up for speed. Run from battles often, hammer through dialogue, and run everywhere. Don’t forget to also set the text speed to ‘Fast’ in the game settings.
- Only talk to NPCs critical for advancing the story. Our walkthrough is handy for pinpointing these.
- If given the option to hear more about something or not, always choose to not - keep things moving.
- If you die, keep going. Rather than reloading, carry on - you retain EXP earned since the last time you saved. In fact, sometimes dying can be beneficial in this sense.
- [This has been patched, and therefore doesn't work, in the HD Remaster, only the original PS1 version] Use the ‘Matilda trick’. This bug lets you push the gate at the Muse/Matilda checkpoint when it’s closed in order to force your way past, before the gate gets opened in the story. This lets you battle powerful enemies and level up fast, which expedites the speed of other battles. This does mean enduring some very difficult fights, however - but this is where dying deliberately can come in handy.